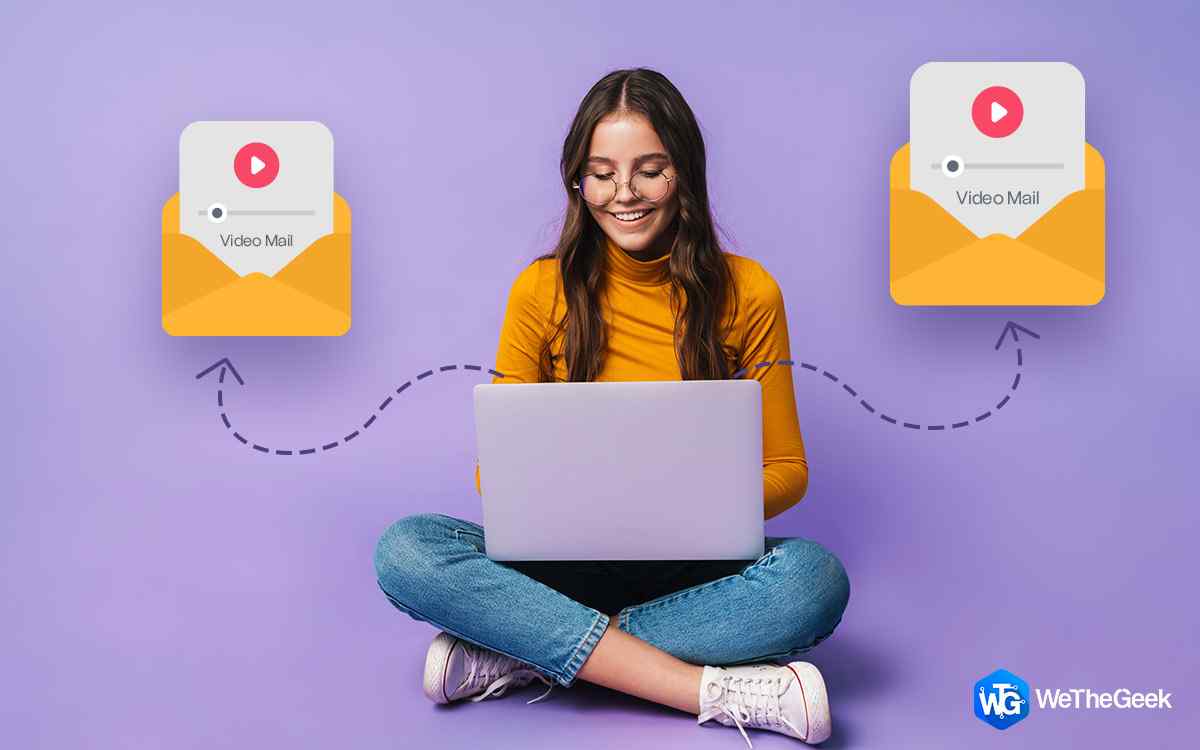
You will probably agree with me: “People can usually talk faster than they can type.” As long as you know what to communicate, recording a video message is simpler and faster than typing an email. For instance, if you want to present a project update or a company review, taking a “vlog” approach can go a long way towards making the receiver feel more engaged and valued.
In this guide, we’ll help you record and share video messages online like a pro.
Why Would Anyone Consider Sending A Video Email In The First Place?There are certainly a lot of benefits when it comes to video emailing and ditching traditional electronic mail. 1. Add a Personal Touch Let’s get real! Reading words on a screen certainly lacks real emotions and intent. Often, it is not easy to convey the actual perception when written. Things can be easily misconstrued, which is very common between teen generations. So, think of sending a video message as a voicemail for the 21st century. 2. Effective & Efficient Did you know? The average typing speed of a person is around 40-50 words per minute (wpm). And an average office worker sends approximately 40 emails per day. Keeping the facts in mind & if you’re a content writer, it won’t be wrong to say that you likely spend a LOT of time typing. And now that we have verified that an average speaking rate of a person is 100 to 130 words per minute, we’ll understand that it’s much faster and more convenient to send a message via video. 3. Go Out Of The Box Well, the cry for attention is real! To be heard, you need to find a way to stand out from the crowd. Therefore, sending a video email is one of the less explored options. |
How To Record & Send Video Message Online
Now that you know all the potential benefits of sending a video message, let’s learn how to record one. Installing the right video recording software should be your first step, followed by choosing a reliable email client that supports large file size limits, offers an ideal experience to view the embedded video, etc. Let’s get started!
Step 1: Finding The Right Video Recording Software For You
One of the simplest and most useful screen recording tools, Advanced Screen Recorder, is most recommended. This recording software records your computer’s screen, on-screen activities, webcam, or both. You can install the lightweight video–capturing software on your desktop/laptop and manage all your video recordings in one place. The application offers many benefits and is considered one of the most convenient choices for recording webinars, streaming content, voice-overs, and more.

| System Requirements: Advanced Screen Recorder
Processor: Intel Core i3 or higher Memory: 4GB RAM or more Hard Disk Space: Minimum 2 GB free space, SSD for better performance Display: 1280×768 size or better Compatibility: Windows 11, 10, 8.1, 8, 7 (Both 32-bit & 64-bit) Other Details: Price: Free trial (30 days) File Format supported: MP4, FLV, AVI. |
Features That Make Advanced Screen Recorder Worthy:
- Can capture a full computer screen, selected region/window.
- Supports recording videos in HD & 4K resolution without any hiccups.
- Auto-Stop & Auto-Split videos based on duration or size for hassle-free file uploading and sharing purposes.
- Helps you capture yourself via webcam and overly supports webcam while recording desktop screen.
- Record system sound via speaker & users’ voice via microphone.
- Annotate your captured screenshots & recordings with text, borders, arrows, draw free-hand, and more.
- Assist you in recording sound from your computer & voiceover via microphone (together or separately).
- Allows you to broadcast your recorded videos to Facebook and YouTube directly.
- Comes with a Scheduled recording option.
Must Read: How to Use Screen Recording to Improve Your Productivity
How To Record Video Messages With Advanced Screen Recorder?
Using Advanced Screen Recorder is pretty straightforward & both novices and pro users can get started with it:
STEP 1 = Download Advanced Screen Recorder using the button below.
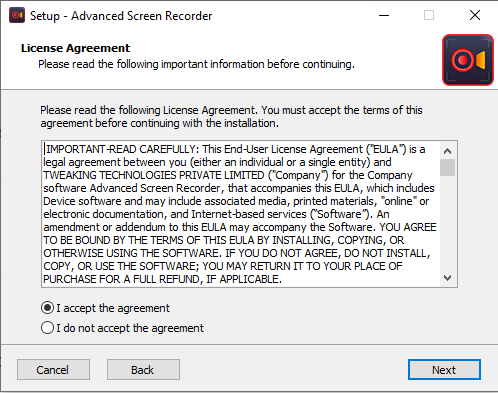
STEP 2 = Follow the on-screen wizard to complete the installation process.
STEP 3 = As soon as the setup is completed, you will be greeted with a window shared below. Hit the Start Now button to proceed!
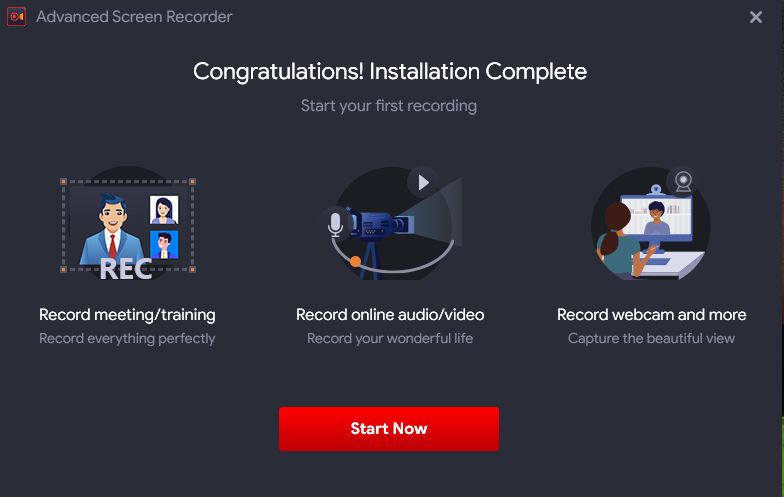
You will be guided with a short tutorial on how to use the video-capturing software on Windows 11. Follow the same to get an idea!
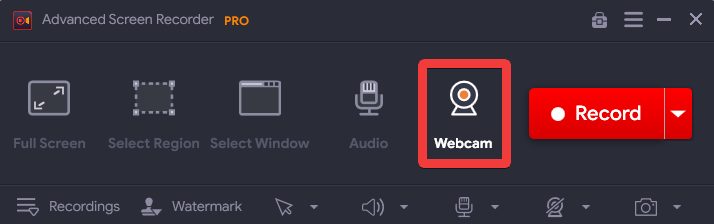
STEP 4 = Depending on your requirement, you can choose to record yourself via webcam or record the screen and yourself simultaneously. If you go with the first option, hit the Webcam button, as shown in the screenshot below.
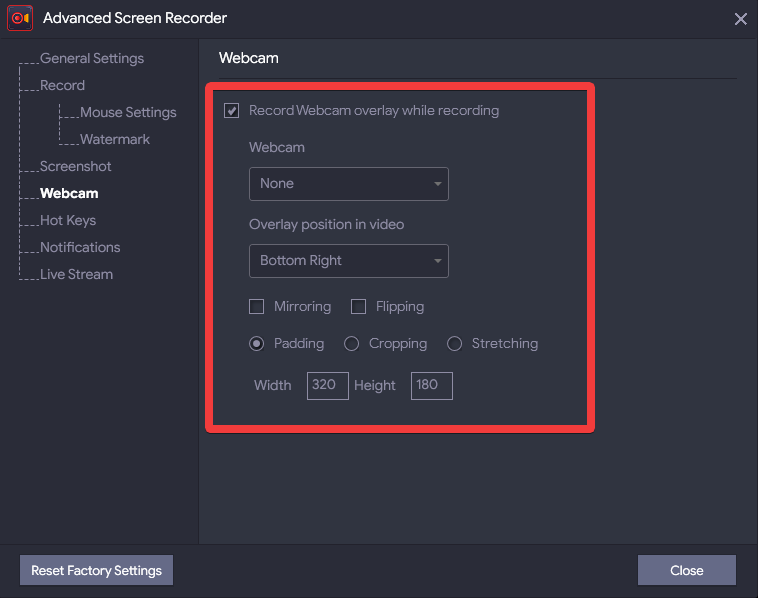
Do not forget to go to the settings > Webcam and select your camera for recording via Webcam. I’ve selected the Overlay position in the video to Center as I want to record only myself in the video.
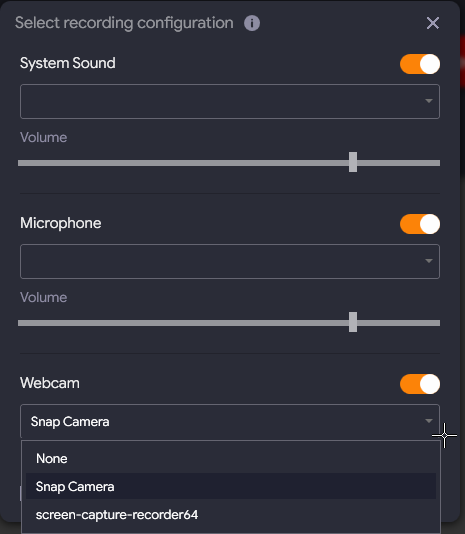
STEP 5 = Once altered, hit the Record button, and a pop-up window for managing your audio settings will appear. Since you want to record your voice, attach the microphone to your system before pressing the Start Recording button.
A countdown will appear on your screen, so you can get all set for recording the video message.
Additional Information: Keep your hands clear of the built-in microphone (attached to your PC) while recording your video. It would be wise to have your discussion points jotted down so that you don’t miss any important topics while you speak.
STEP 6 = You can click the Red button to stop the video recording as soon as you’re done.
![]()
You can share the video message over the mail now!
How To Send A Video Through Email Via Email?
Sending video emails certainly drives more connections and better outcomes. Follow the step-by-step instructions to learn how to send video emails via Gmail.
STEP 1: Log in to your account on the Gmail website or create a new Gmail account if you do not already have one.
STEP 2: Once logged in, click on the Compose button at the screen’s top-left corner.

STEP 3: A pop-up window will appear on your screen, where you can draft your email and add the video message. Click on the Attach Files (paperclip icon), and you need to locate the video file you wish to add from the dialog box that pops up on the screen.

STEP 4: Once the video message is added, you’re all set to send the video email. Alternatively, if your video file size is larger than 25 MB, you need to attach the file from Google Drive and upload the same for instant sharing.

Add the recipient’s name, subject, and body content. Hit the Send button to send the email. It’s one of the best ways to mail the videos. There are tons of other top email clients for Windows 10 and Mac that you can try for sending video messages in 2023.
Bottom Line
Hope today’s guide was helpful, and you faced no problems recording the video message. With Advanced Screen Recorder, you can easily capture high-quality HD videos right from your desktop/laptop. Now you’re all set to record videos for professional and personal use. Create project demonstration videos for clients or wish your closed one a happy birthday in a creative way through a selfie video!
Follow us on social media – Facebook, Instagram and YouTube.
References And Further Reading: