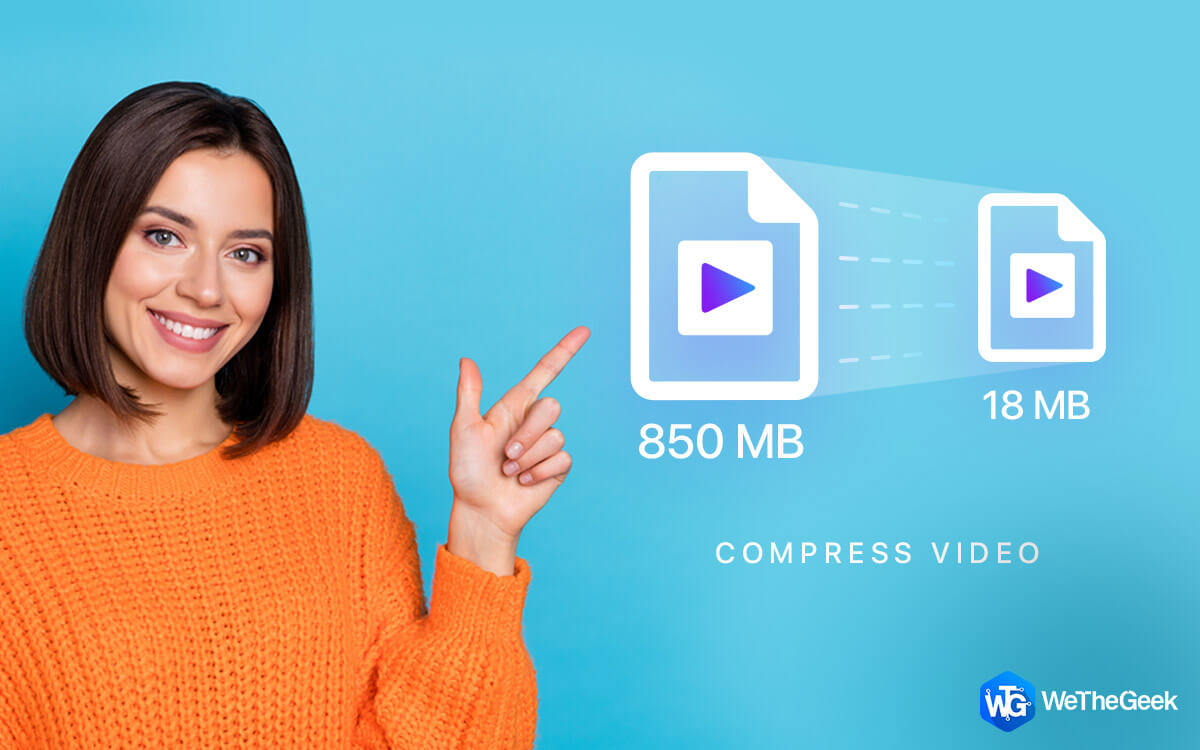
There could be multiple reasons you want to compress your screen recording or record a video of a smaller file size. For instance, in case your record the activity on your screen frequently, the recorded videos with unoptimized file size will soon start filling up your hard drive space.
Another reason why you may want to record videos with small file sizes is because you have to share them with others. Regardless of the reason, here is how you can record video with smaller file size or compress screen recording on your Windows PC.
How To Record A Video With A Small File Size
When recording a screen on your Windows PC, focus on the following settings –
- Frame Rate
- Resolution
- Video Quality
For this post, we shall use Screen Recorder, one of the best screen recording software for Windows. Here we will show you how you can adjust the above-mentioned settings with the help of a live screen recording.
To begin with, we shall use the highest settings in all three parameters and tone them down to see the change in the file size. In Advanced Screen Recorder, here are the steps to access the parameters mentioned above –
1. Download, install and run Advanced Screen Recorder on your Windows PC.

2. Click on the hamburger icon or the three horizontal lines from the upper-right corner of the interface.
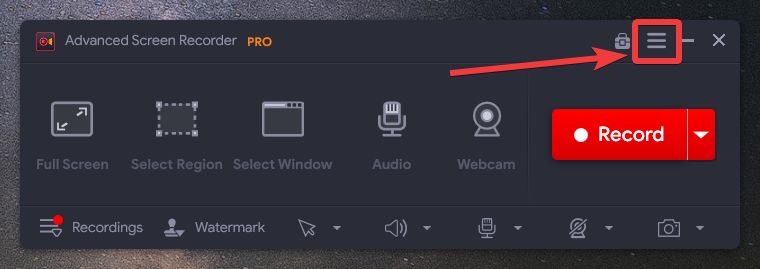
3. Click on Settings.

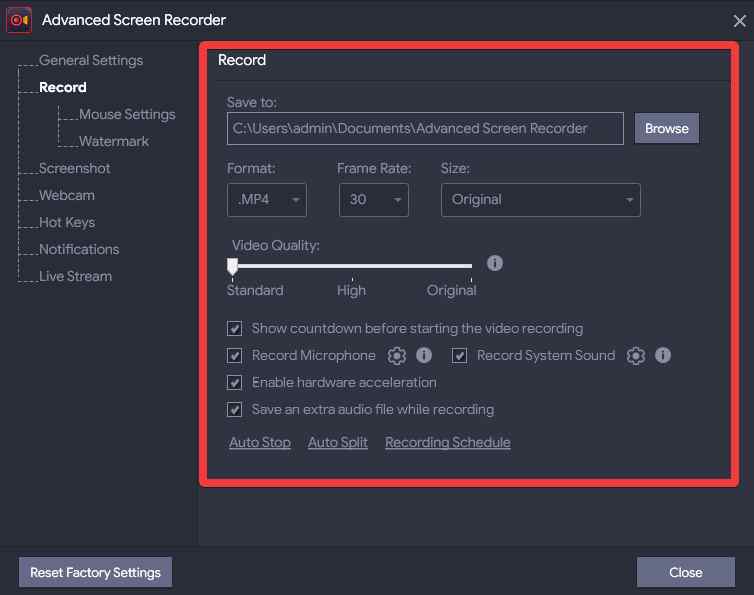
4. From the left-hand side, click on Record.
5. You will find the various options for Frame Rate, Resolution/ Size, and Video Quality on the right-hand side.
How To Record Screen Using Advanced Screen Recorder?
1. After you have set up the Frame Rate, Resolution/ Size, and Video Quality, select a region of the screen that you want to record.
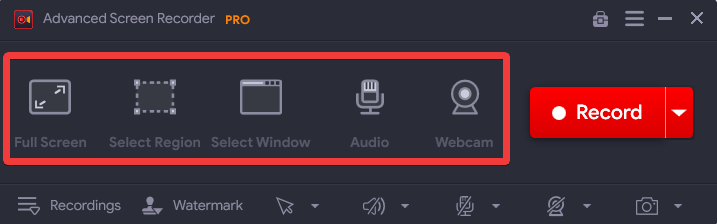
You can choose to record the following with audio-
- The complete screen
- A selected region
- A selected window
- Webcam
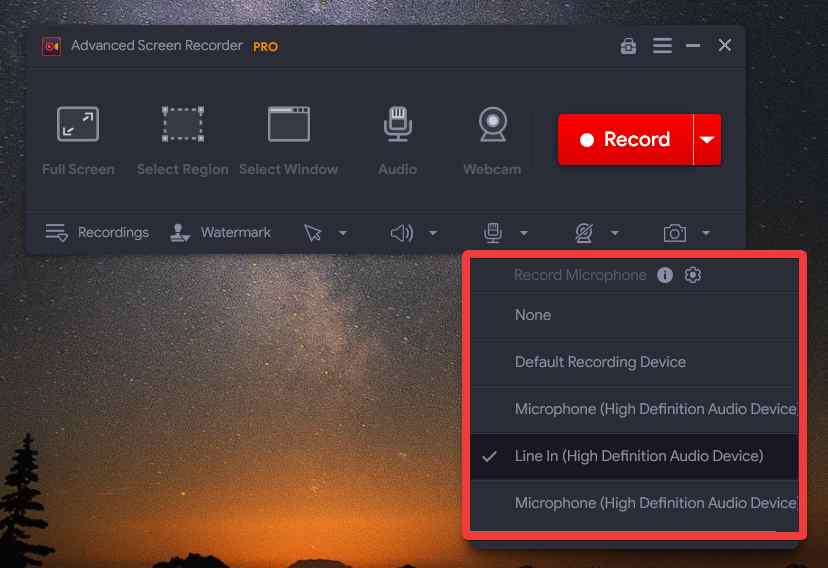
2. After you have chosen a region, select Audio settings as per your liking.
3. Click on the Record button to initiate the recording process.
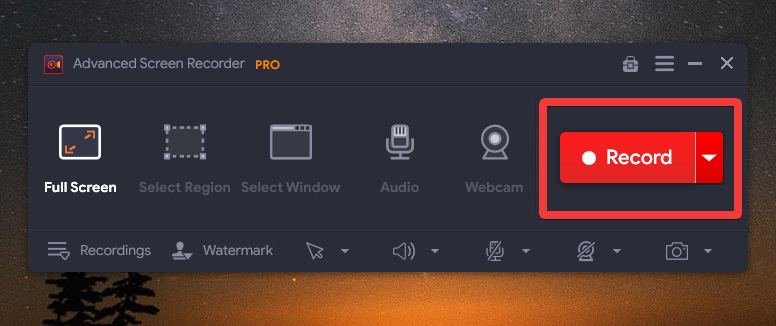
4. You can pause in between or click on the Stop button to stop the recording.
| Frame Rate (Frames Per Second (FPS)) | Resolution/ Size | File Format | Video Quality | Time Duration of the Recorded Video | File Size |
| 120 FPS | 4K | .MP4 | Original | 10 seconds | 1.14 MB |
| 30 FPS | FHD (1920X1080) | .MP4 | Standard | 10 seconds | 0.80 MB |
As you can see, by toning down the frame rate, resolution/ size and video quality we were able to reduce the file size of the recorded video.
What Are Some Other Features of Advanced Screen Recorder –
Advanced Screen Recorder is an easy-to-use screen recording utility for Windows. Apart from being customizable, here are some of its notable features –
- Record any region of your computer screen.
- Schedule recording.
- Record with high-quality audio, separate the audio file if required
- Auto Split and Auto Stop
- Apply watermark.
- Record with webcam overlay.
We discussed these features and more in this Advanced Screen Recorder review.
How To Compress Screen Recording On Windows PC
If you further want to reduce the file size of your recorded video, you should opt for a compressor utility like Wondershare UniConverter. It lets you compress your recorded video to perfection. That’s because it has advanced compression features and customizable settings. Although primarily a converter that let’s convert videos to all major file formats quickly, Wondershare UniConverter’s compression capabilities are equally commendable.
How To Compress Screen Recording Using Wondershare UniConverter?
1. Download, install and run Wondershare UniConverter.

2. Click on Tools from the left-hand side.
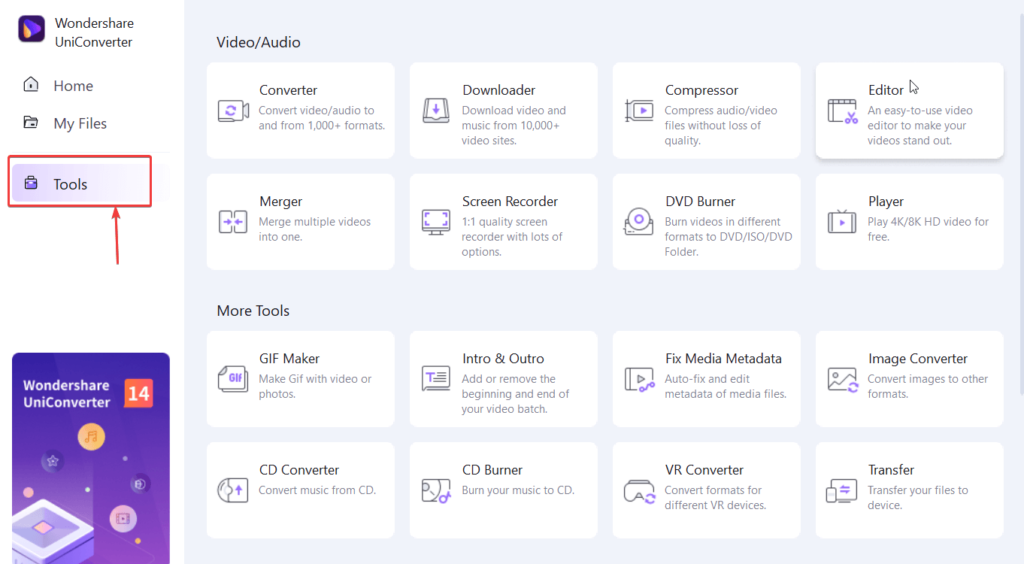
3. From the right-hand side, click on Compressor.

4. Add the screen recording you want to compress, or you can simply drag and drop the file onto the interface.
5. Click on the Settings button to change compression settings.
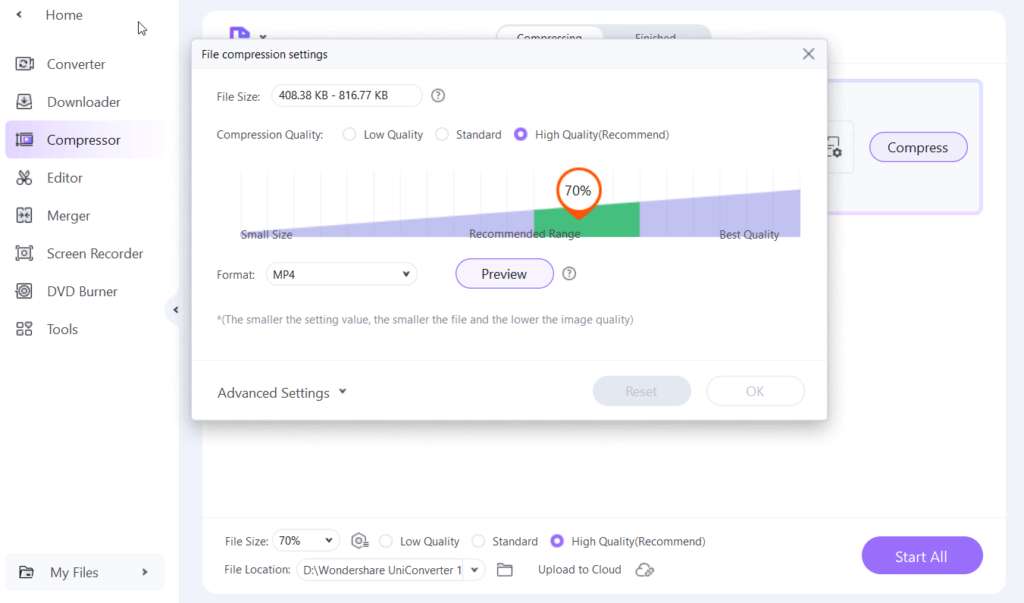
6. You can even choose Advanced parameters such as video and audio encoder, resolution, frame rate, sample rate, and channel. Click on OK once you have chosen the parameters.
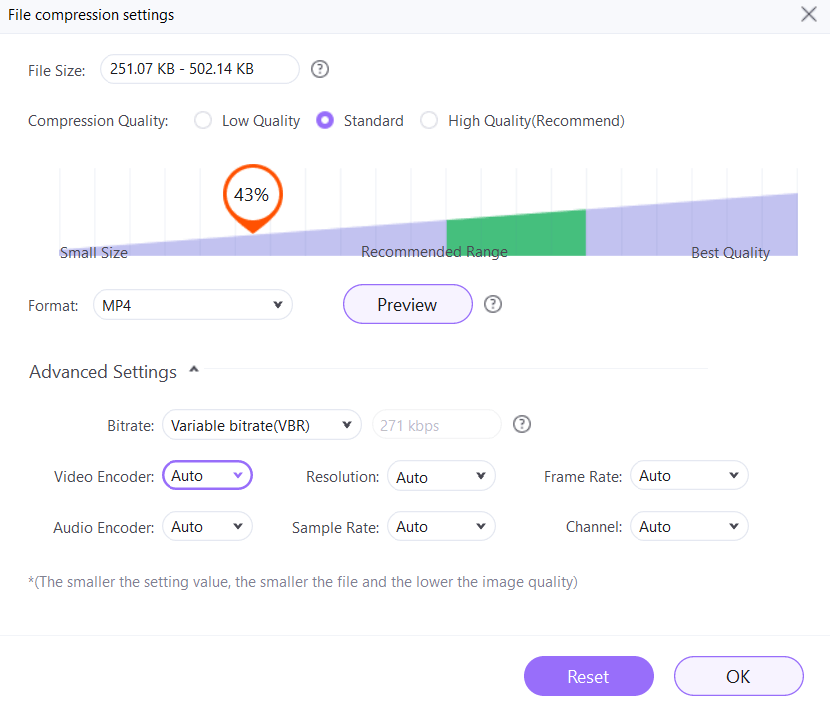
7. Once you have selected the parameters, click the Compress button.
Pricing: Starts at $39.99/ year for 1 PC
Wrapping Up
For anyone wanting to share a video or even upload it, video compression is a beneficial technique. And, if you have been able to compress your video recording and have been able to reduce its file size successfully, do share your success journey in the comments section below. For more such content, keep reading WeTheGeek. You can also connect with us on YouTube, Facebook, Instagram, Twitter, Pinterest, and Flipboard.