
As a gamer, you may have developed a liking for Valorant for its rewarding gunplay, strategic depth, regular updates, unique agents, maps, the list goes on. But, now for various reasons, you might want to uninstall Valorant from your computer. As easy as it may seem, the process of uninstalling Valorant could be somewhat tricky. In this post, we have tried to streamline this process for you.
Why It’s Tricky To Uninstall Valorant?
To uninstall Valorant, you will first have to uninstall Vanguard which is Riot Games’ custom game security software. Unless and until you disable and uninstall this software, you won’t be able to delete Valorant. A little later in this blog, we have specifically touched upon this.
Before we dive into the step-by-step ways to uninstall Valorant, let’s first have a look at some possible reasons why you might want to delete Valorant –
Probable Reasons To Uninstall Valorant from PC
- You want to try out other first-person shooter games.
- The gameplay has become addictive for you and you wish to take a break for some time.
- Valorant is taking a toll on your computer’s storage space and resources. It could be that your computer has become sluggish and needs to be optimized better.
- Due to improper installation, it could be that Valorant throws error messages now and then like “Your Game Requires A System Restart To Play”, we have a fix for it in this post.
If any of these reasons resonate with you and you are looking for a simple guide to uninstall Valorant completely from your Windows computer, let’s get started!
Must Read: Best PC Cleaner Software
How to Uninstall Valorant From Your Computer?
Step 1 – Disable Vanguard
The first step is to disable Vanguard, the anti-cheat system created by Riot Games. To do that follow the instructions below –
Step 1 – Click on the System Tray and right-click on the Vanguard icon.
Step 2 – Click on the Exit Vanguard option from the context menu.
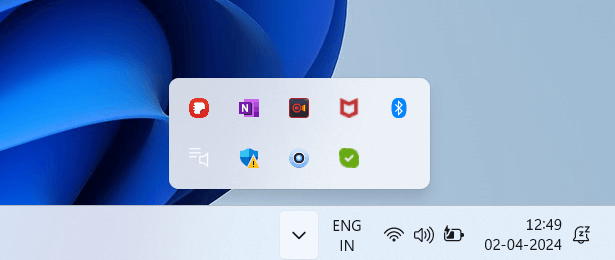
Step 3 – When the “Are you sure you want to continue” prompt appears, click Yes.
Step 2 – Uninstall Riot Client, Riot Vanguard and VALORANT
Once you are through with the first step, it’s time to uninstall both Vanguard and Valorant. To do that follow the steps mentioned below.
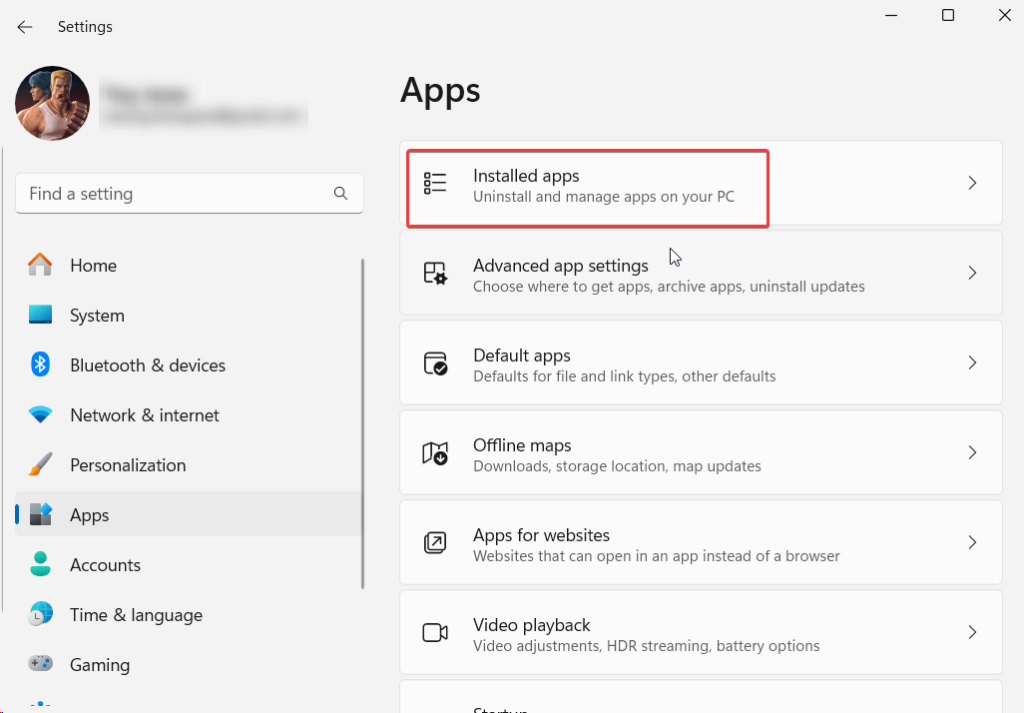
Step 1 – Press Windows + I and open Settings.
Step 2 – Click on Apps from the left-hand side.

Step 3 – From the right-hand side, click on Installed apps.
Step 4 – Locate Riot Client, and hit the Uninstall button.
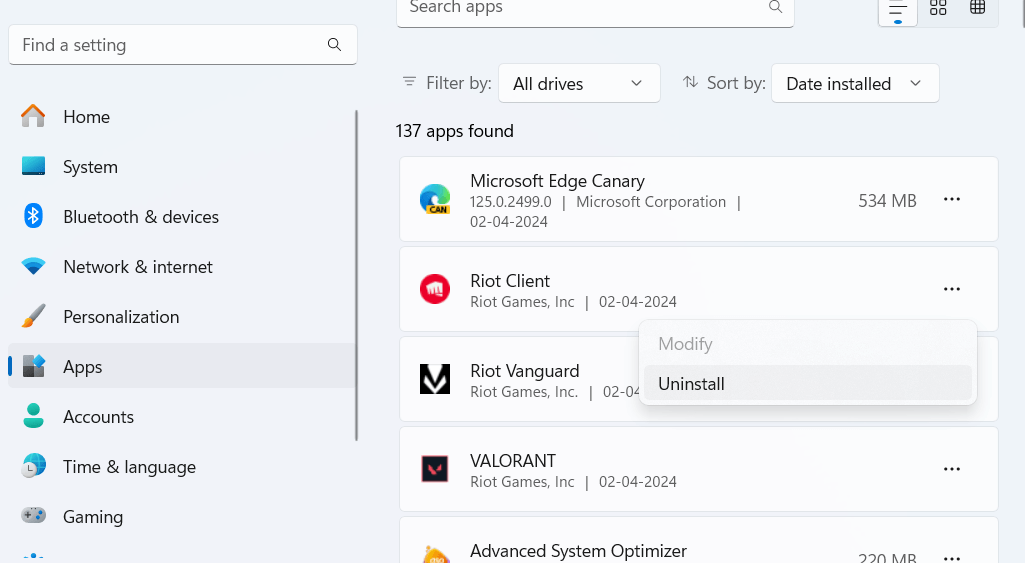
Step 5 – Following the same steps as above, uninstall Riot Vanguard, and VALORANT as well.
Step 3 – Restart Your Computer And Check for Leftovers
After uninstalling Valorant, restart your computer and check if there are any leftover files. To do that follow these steps –
Step 1 – Open your File Explorer.
Step 2 – Head to C:\\Riot Games
Step 3 – Delete all the folders that you can see.
Writer’s Tip – Use A Third Party Software To Uninstall Files Completely
Just to ensure that you have uninstalled Valorant completely and there are no leftovers, you can take the help of a third-party tool like Advanced System Optimizer. It won’t just help you uninstall Valorant completely but also perform various optimization tasks as well as shown in this review. Plus, as an avid gamer, you can benefit a lot from its Game Optimizer module which lets you play games in a disturbance-free environment.
Step 1 – Download Advanced System Optimizer and run the installation file.

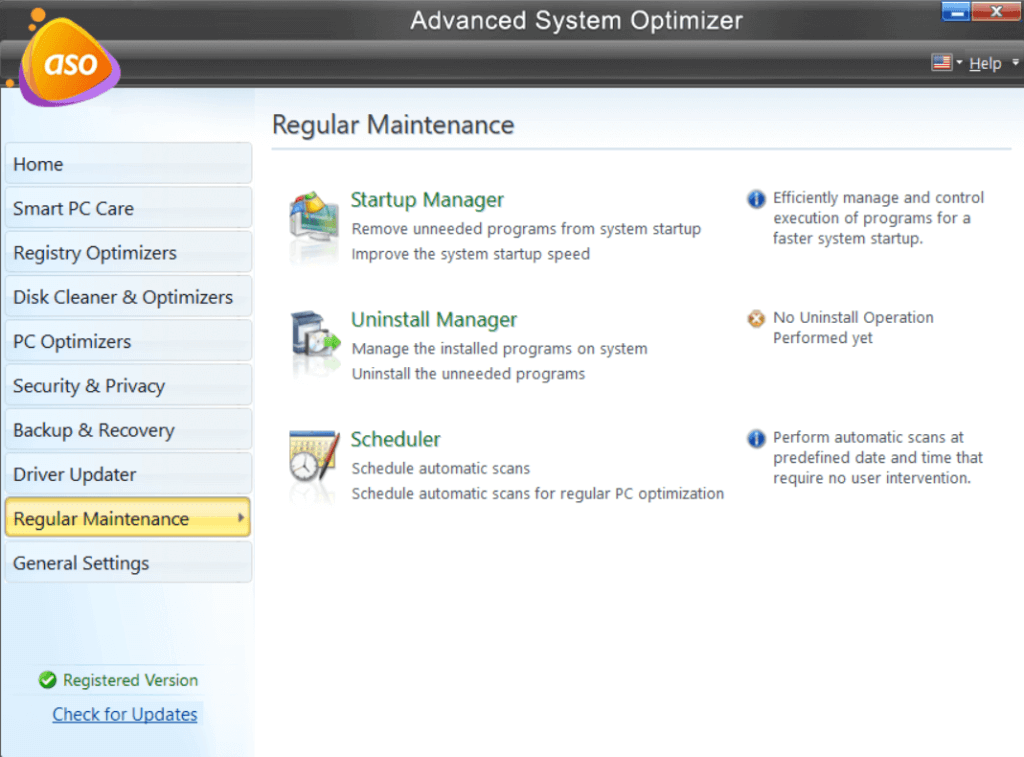
Step 2 – From the left-hand pane, click on Regular Maintenance.

Step 3 – From the right-hand side, click on Uninstall Manager.
Step 4 – Click on the Software List.
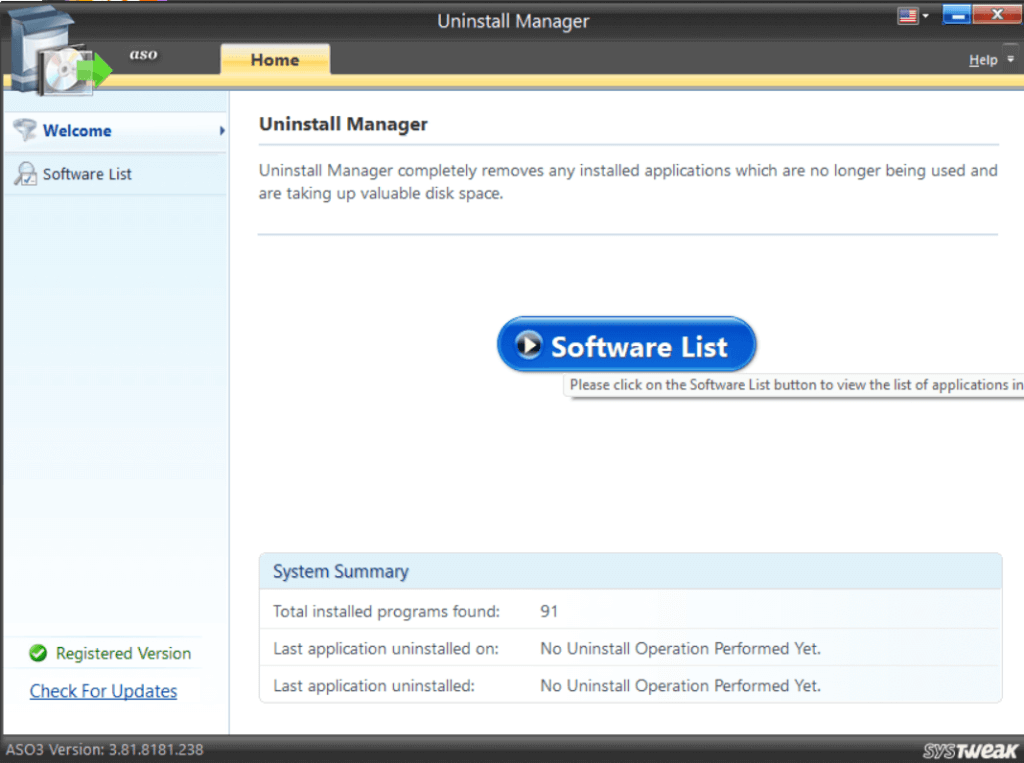
Step 5 – Locate Vanguard and VALORANT. Select each of them one by one and hit the Uninstall button from the bottom right-hand side.
This will quickly remove the software along with its associated files and save you time and efforts of searching for it in different steps.
Wrapping Up
Do let us know if you were able to uninstall Valorant from your Windows 11/10 computer using the steps mentioned above. We’d also like to mention that the steps of uninstallation may slightly differ for some users. So, if you have encountered a difference in the steps, do share your experience in the comments below. For more such content, keep reading WeTheGeek.
As a tech enthusiast or someone who frequently faces software-related issues, WeTheGeek can be your one-stop shop for great content. You can also reach out to us on Facebook, Twitter, YouTube, Instagram, Flipboard, and Pinterest.