Going by the title i.e. “How to recover files lost during the cut and paste”, you might be wondering – is that even a situation? How about we say – Yes, It is!
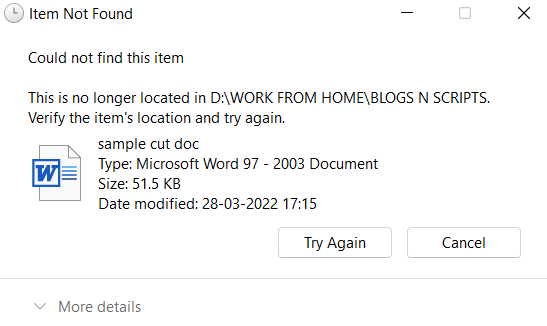
Consider these – You have cut several files from one location and at that moment, your system crashed. When the system resumed, those cut files were no longer there. In another instance, you cut several files from one location, and much before pasting them onto another location, you deleted them. The result? Those files are gone. To demonstrate what we mean, we cut a document from a location using ctrl + X, and before pasting it anywhere else we shift-deleted it. When we tried pasting it onto another location, this is what we got –
So, the question is how to recover files that are deleted or lost during cut and paste? That’s what this post is for –
How To Recover Files Lost During Cut And Paste
1. Are The Files Hidden?
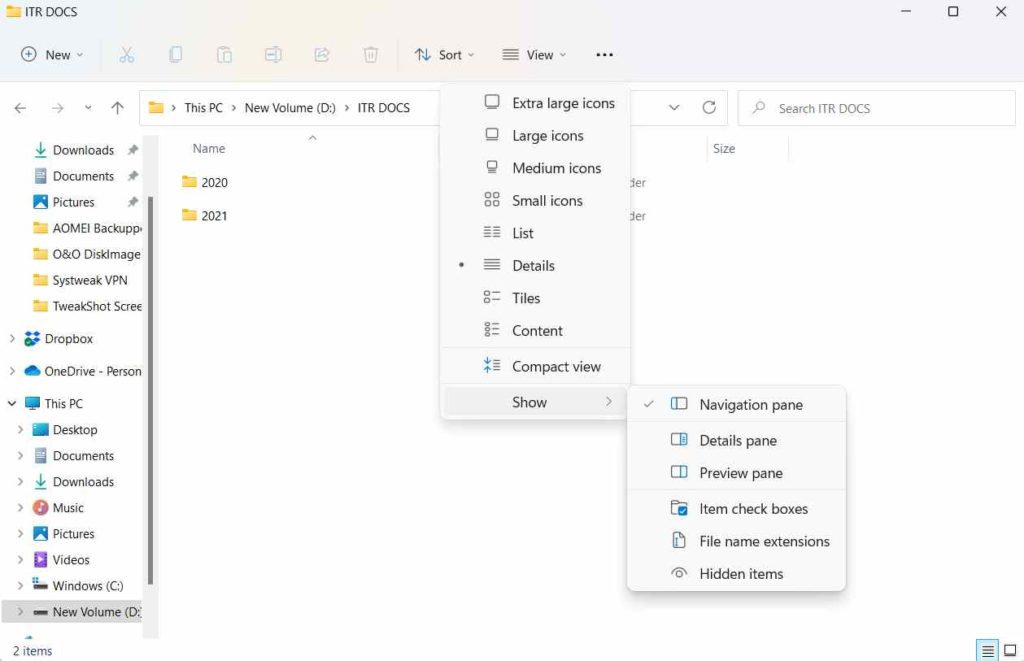
Sometimes things might not be as complicated as they may seem to be. It could be that the files you think are deleted are actually hidden. So, this step is to eliminate that possibility. If you are a Windows 10 user, here is how you can show hidden files and folders. As for Windows 11, here are the steps to unhide files –
1. Open your File Explorer.
2. Head to the location, where you think the files or folders may have been deleted.
3. From the top, click on the View button and then further click on Show > Hidden Items as shown in the screenshot below
2. Use A Data Recovery Tool
In a situation where you want to recover files lost during cut and paste, a data recovery tool can increase the probability of recovering your data. Advanced Disk Recovery is one of the best data recovery utilities that can help you recover data accidentally lost because of various reasons, cut and paste being one of them. Here are some of the notable features of Advanced Disk Recovery –
- Recover data across all major formats.
- Restore data from all data loss situations.
- External and internal locations supported.
- Multiple scan modes that can help you restore data from all data loss situations
- Advanced filters based on which data can be recovered based on time, date, size, etc.
How To Recover Data Using Advanced Disk Recovery?
1. Download, run and install Advanced Disk Recovery.
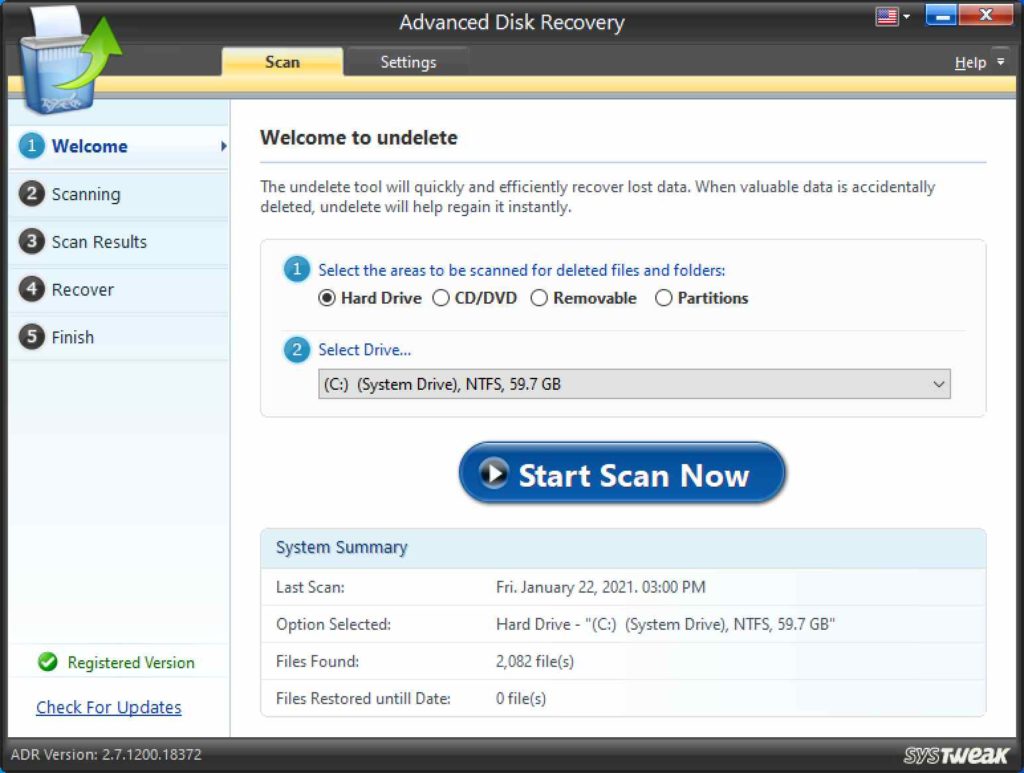

2. Select the area and the drive to be scanned.
3. Select a scan mode based on how deep you want the scan to be to identify the lost file.

4. Once the scan is complete, you will have a list of files. Select the ones that you want to recover.
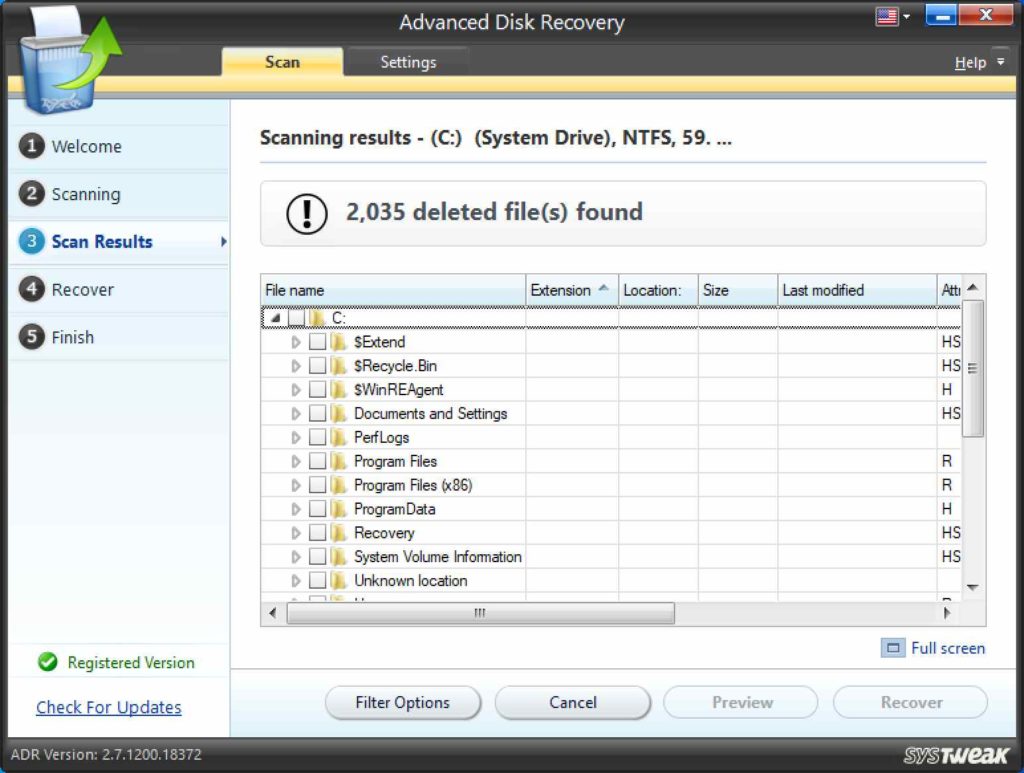
5. Once you have selected the desired files, click on the Recover button from the bottom right-hand corner of the screen.
|
Some Words of Wisdom – Based on our past experiences and to increase the effectiveness of a data recovery tool or any other method for that matter, here are some points that you should consider – 1. Instead of cut and pasting (unless necessary), you can opt for a copy and paste operation. 2. When cutting and pasting files or folders from external drives, never forcefully eject an external drive while the cut-paste operation is carried out. 3. If you have realized that you have lost data, stop using your computer at that very moment. 4. It is recommended that you frequently take a backup of your data. So that, if a file is completely irrecoverable, you would at least have a backup to fall back on. Talking of backup, Windows 10 has a File History feature with the help of which you can save and restore data provided you have set this feature up beforehand. To know more about this feature, click on this link. |
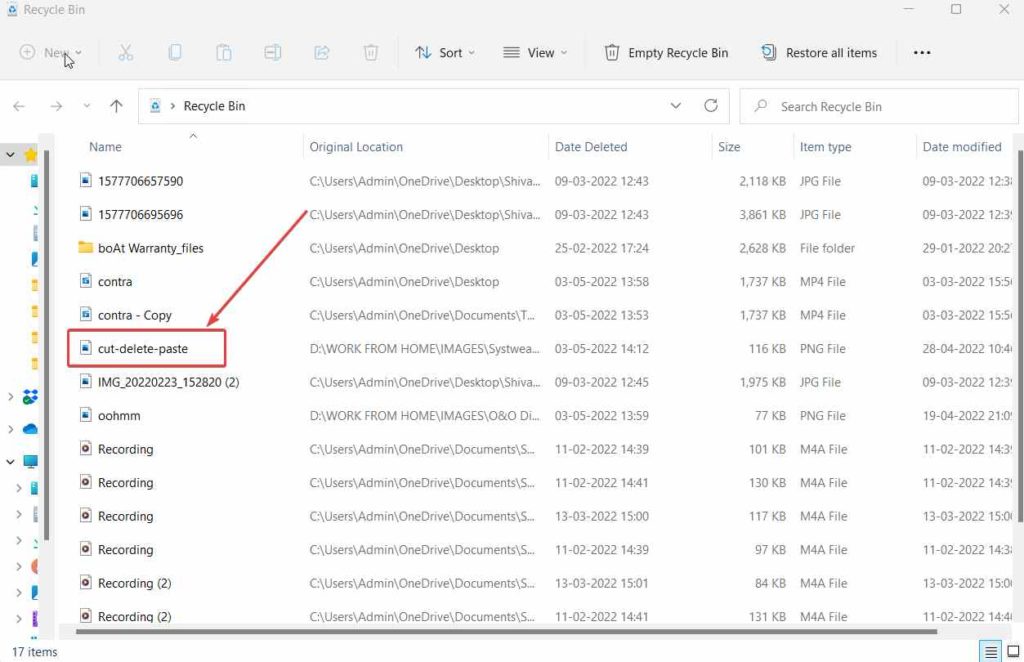
3. Check Your Recycle Bin
Let’s assume, you had cut the files and accidentally deleted them before pasting them onto another location. Lucky enough, you had used the delete button instead of the shift + delete to delete them. In that case, immediately, open your Recycle Bin and check if your files are there. Consider the instance, we mentioned at the start of the post. Instead of shift+deleting the file, we only hit the delete button to remove a file. We are not saying that you would now be able to paste the file, but at least the deleted file is there in the recycle bin and can be restored from there.
Wrapping Up
It’s a matter of being highly cautious and prudent because instances like these can occur anytime. To put it in a few words, have a data recovery tool like Advanced Disk Recovery handy so that in a data loss condition you have hope of getting your data back. Also, some wise steps such as refraining from using the computer if you have lost data or sticking to cut-pasting data can reduce your chances of data loss during cut-paste. If you found the blog to be helpful, do give your valuable feedback in the comments section below.
For more such content, keep reading WeTheGeek. Follow us on social media – Facebook, Instagram and YouTube.