What is Windows Telemetry? How can we Disable Telemetry and Data Collection in Windows 10 to maintain privacy? In this article, we will educate you through the entire process.
According to Microsoft:
“Windows telemetry is vital technical data from Windows devices about the device and how Windows and related software are performing. It’s used in the following ways:
- Keep Windows up to date.
- Keep Windows secure, reliable, and performant.
- Improve Windows – through the aggregate analysis of the use of Windows.
- Personalize Windows engagement surfaces.”
Is It Safe to Disable Telemetry?
Yes, there is no direct risk to disabling Telemetry on your PC. It is evident that with telemetry disabled on your computer you will not get any Microsoft related personalized improvements or updates. Microsoft aims at collecting the data through Telemetry to study and implement improvements for user experience.
5 Ways to Disable Telemetry and Data Collection in Windows 10
When we upgrade our computer to Windows 10 or install new Windows 10, the Telemetry and Data Collection feature is enabled. Since this is auto-enabled, it collects all sorts of user activity and sends it to Microsoft.
Though Microsoft says that the data collected only enhances the overall user experience and Windows functionality better, users are concerned more about their privacy, the number of data breaches happening across the globe has forced users to be extra cautious about their data privacy.
Since users want their data to be safe and secure, they must want this feature disabled. Unfortunately, Microsoft has not provided a direct way to disable it. But it provides several options to disable telemetry and diagnostic data collection in the built-in Settings app. We will discuss how to disable telemetry Windows 10 with the methods given below.
Here are 5 Ways to Disable Windows 10 Telemetry:
Method 1. Set Diagnostic and Usage Data to Basic:
Using this option, you can limit the User Data Collection in Windows 10; it does not disable Telemetry and Data Collection.
Step 1: Click on the Start button and then click on the Settings icon.
![]()
Step 2: From the Settings window, click on the Privacy.
![]()
Step 3: In the next window, click on Diagnostics & Feedback tab from the left panel and then set Diagnostics and usage data to Basic.
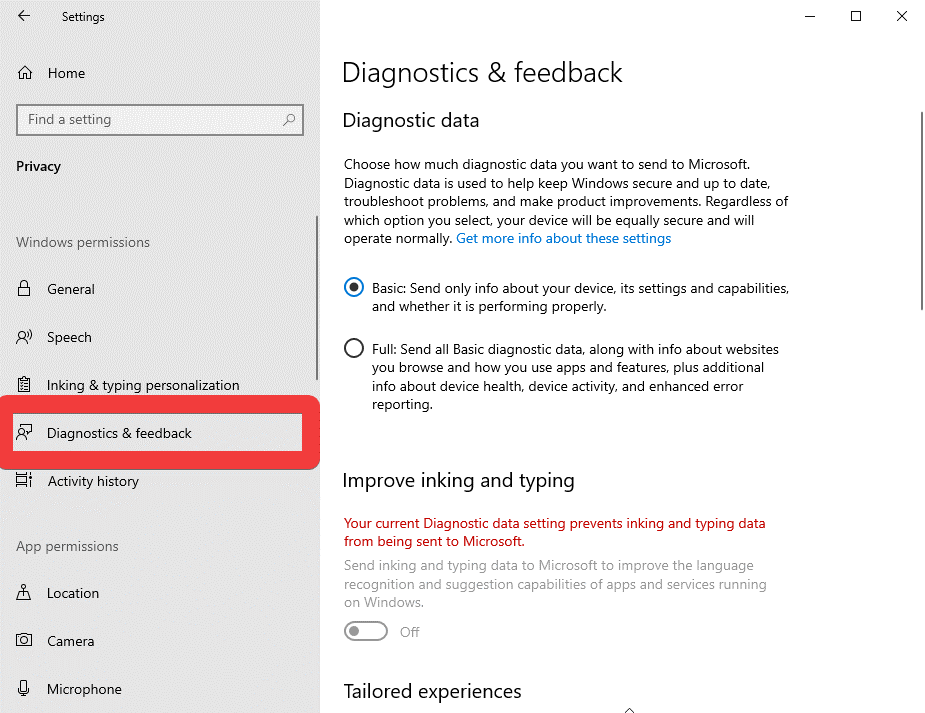
Doing this will limit the data sent to Windows and thereby decrease users’ data being hacked.
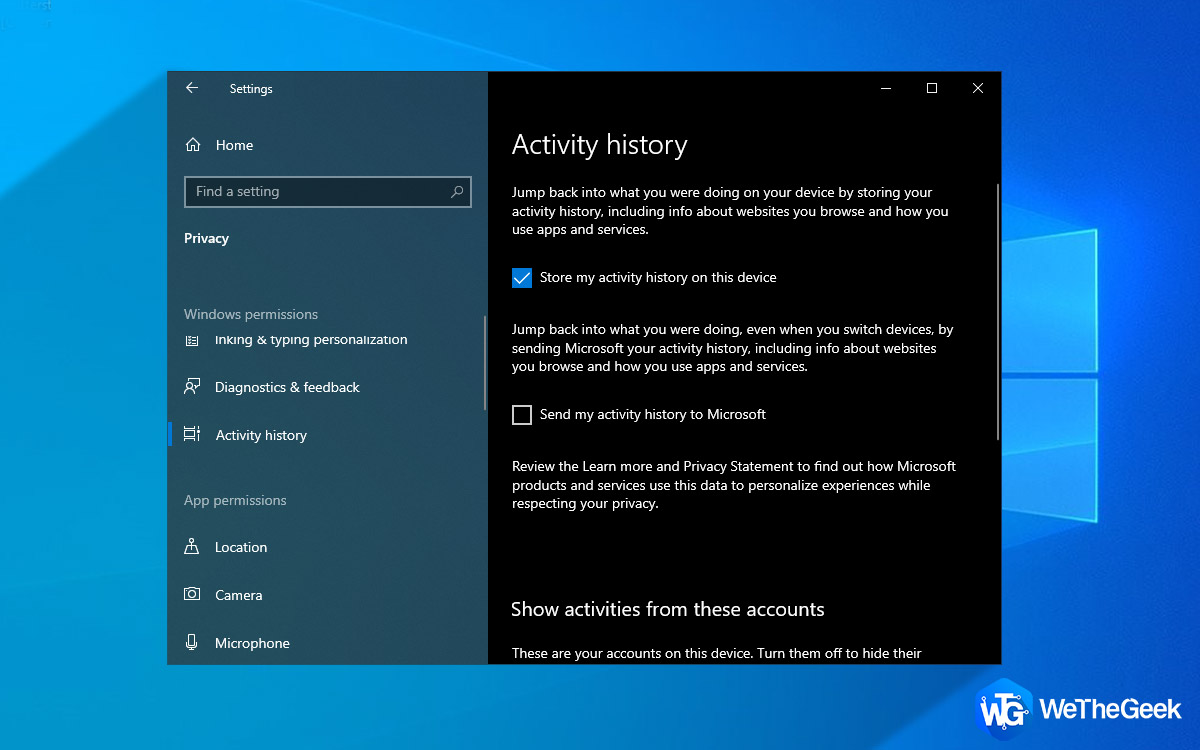
In the same Privacy tab, you will see more options to disable telemetry in Windows 10 to stop data collection.
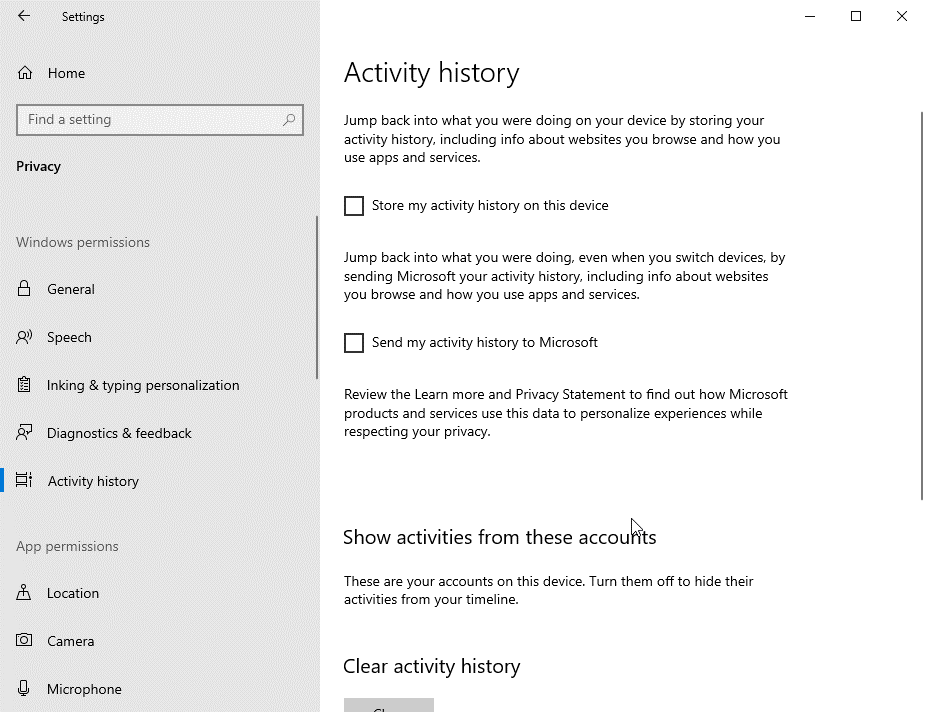
- Now, go to Activity history and turn off the options shown here. Uncheck the boxes for – Store my activity history on this device and Send my activity history to Microsoft.
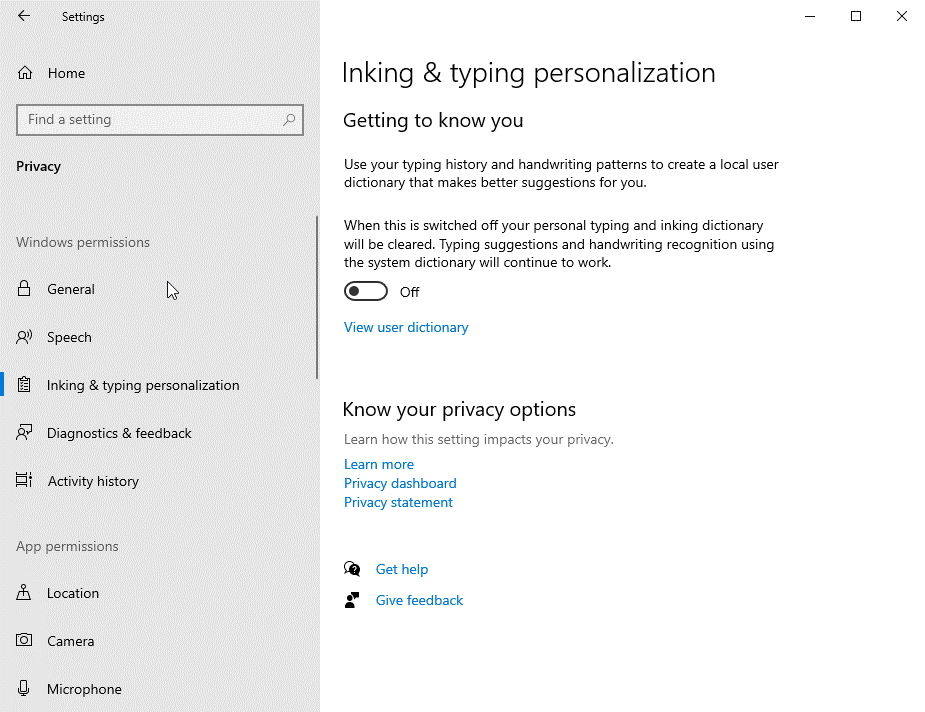
- Now go to Inking & Typing personalization, here turn off the toggle switch for typing suggestions.
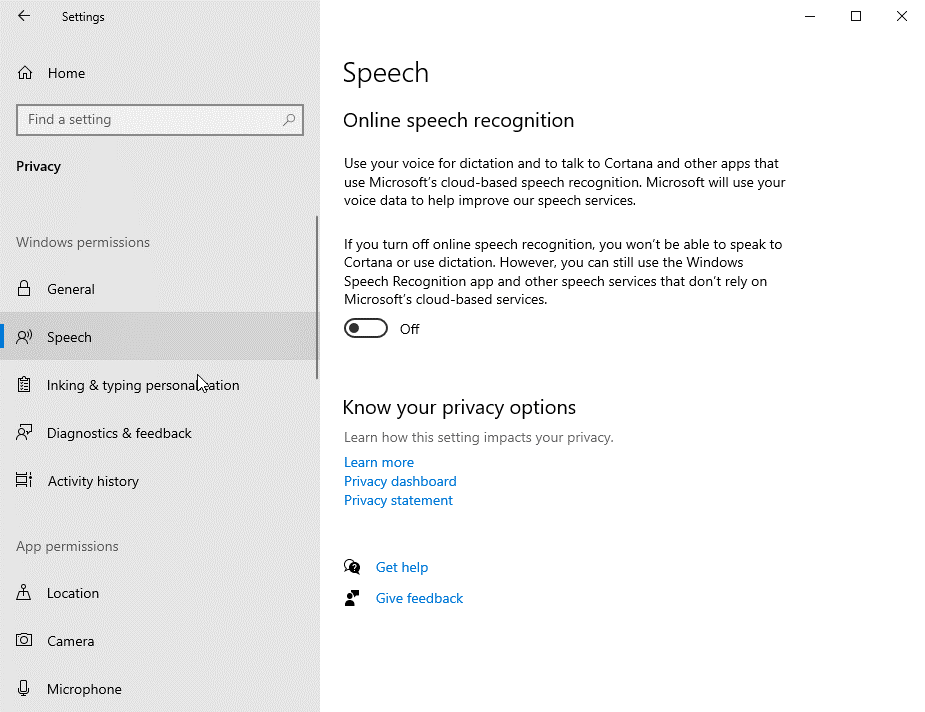
- Similarly, go to Speech and turn off the toggle switch for not giving any voice sample to Microsoft from time to time.
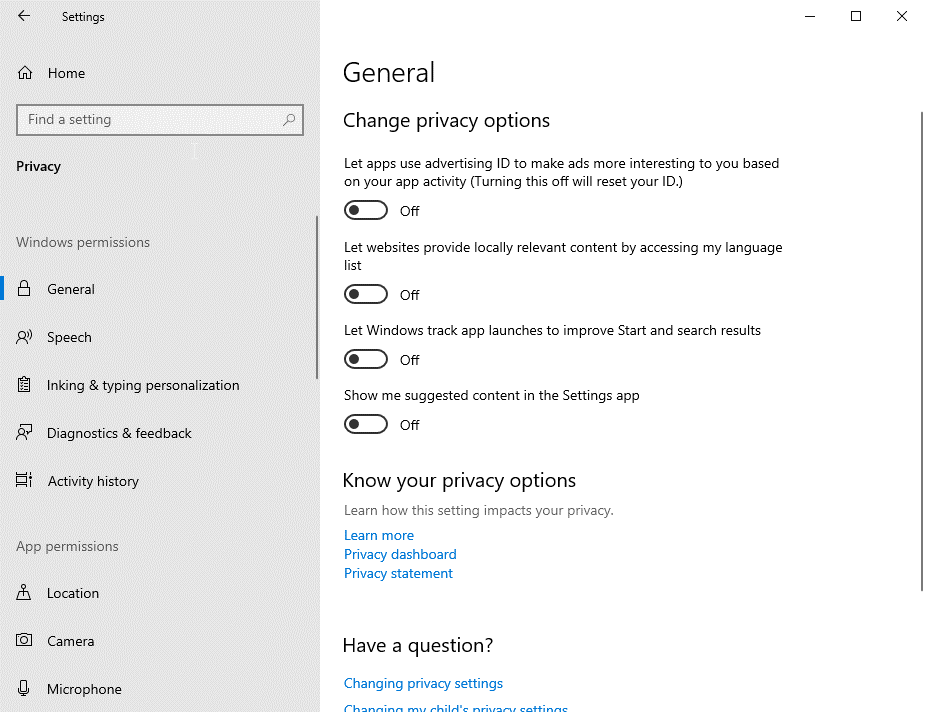
- Now under the General tab, turn off all the options that collect user data and send it to Microsoft.
Method 2. Disable Telemetry and Data Collection in Windows 10 Using Registry Editor:
If you do not wish to provide any information to Microsoft, you can use the below steps to Disable Telemetry and Data Collection.
Note: We recommend that you do not modify any registry entries because it is related to Windows or critical system files. If you have an incorrectly modified registry, it may cause unforeseen problems. If you decide to go forward with that, take a backup of your registry. Open Registry Editor and click on File>Export. Save the file to a location easy to find later on your computer. To restore your registry, go to File>Import and click on the same file.
Therefore, please be very careful while using the Registry Editor. You can follow the steps below:
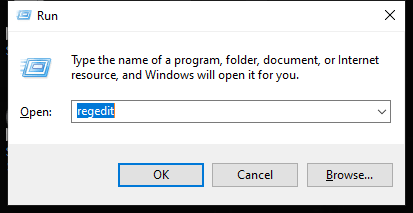
Step 1; Type in Regedit into the Windows 10 search box and press enter. Alternatively, press Windows Key + R to run command and type regedit and click on OK.
Step 2: Navigate to the Following trees from the sideboard pane,
HKEY_LOCAL_MACHINE\SOFTWARE\Policies\Microsoft\Windows\DataCollection.
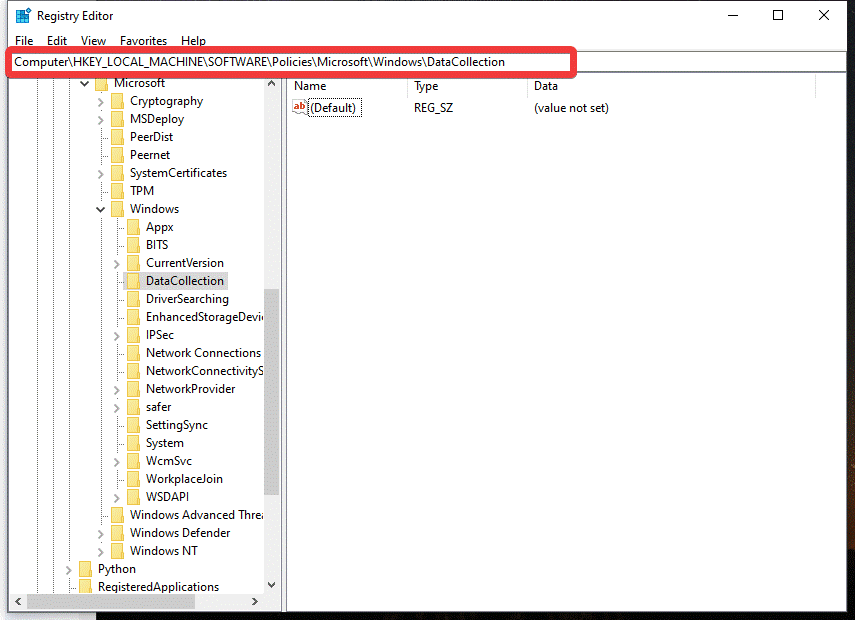
Step 3: In the right panel, right-click in space, and go to New, select DWORD value (32-bit). Name it AllowTelemetry.
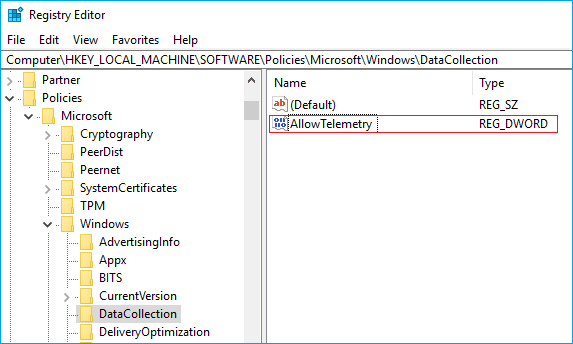
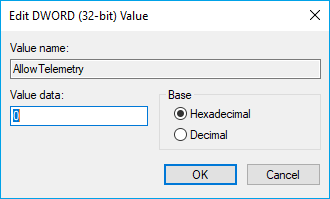
- Double click on the AllowTelemetry and set the value to 0 and click on OK.

Note: Please note that we have tested this on our Windows 10 computer 64 bit, service pack 3, and we did not notice any adverse impact on the computer’s performance while Disabling Telemetry.
Read Also: How To Get Rid Of Junk And Temp Files On Windows 10
Method 3. Disable Connected User Experience and Telemetry Service:
Once you have Disabled Telemetry and Data collection using the Registry Editor, you need to turn OFF “Connected User Experience” and “dmwappushsvc” services. This is necessary to disable Telemetry on your Windows 10 computer fully. To do so, follow the steps below:
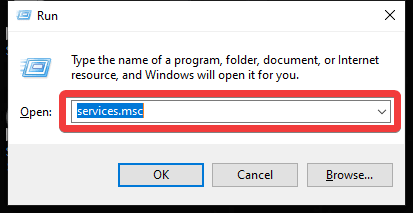
Step 1: Press Windows + R keys to open the Run command window. On the Run command window, type services.msc and click on the OK button.
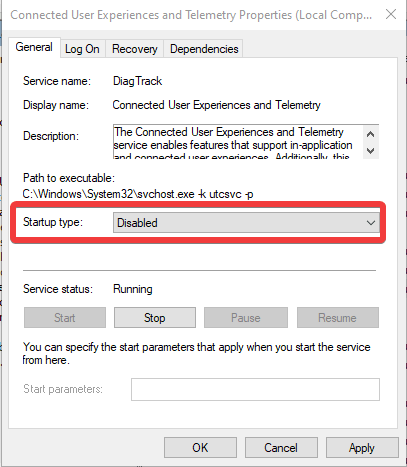
Step 2: In the Services window, scroll down and double-click on Connected User Experiences and Telemetry.

Step 3: On the next screen, disable Connected User Experiences and Telemetry by setting Startup Type to Disabled. Now click on Apply to make changes.
Step 4: Now find another service named dmwappushsvc service in the Services window and double click on it.

Step 5: Here, disable dmwappushsvc service by setting the Startup Type to Disable and click on Apply.
Read Also: How To Create Restore Point On Windows 10, 8 And 7
Method 4: Using Group Policy
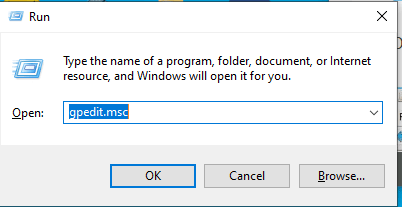
Step 1: Open Group Policy with the run command. Press Windows Key + R to open Run Command and type gpedit.msc. Click on OK or press Enter.
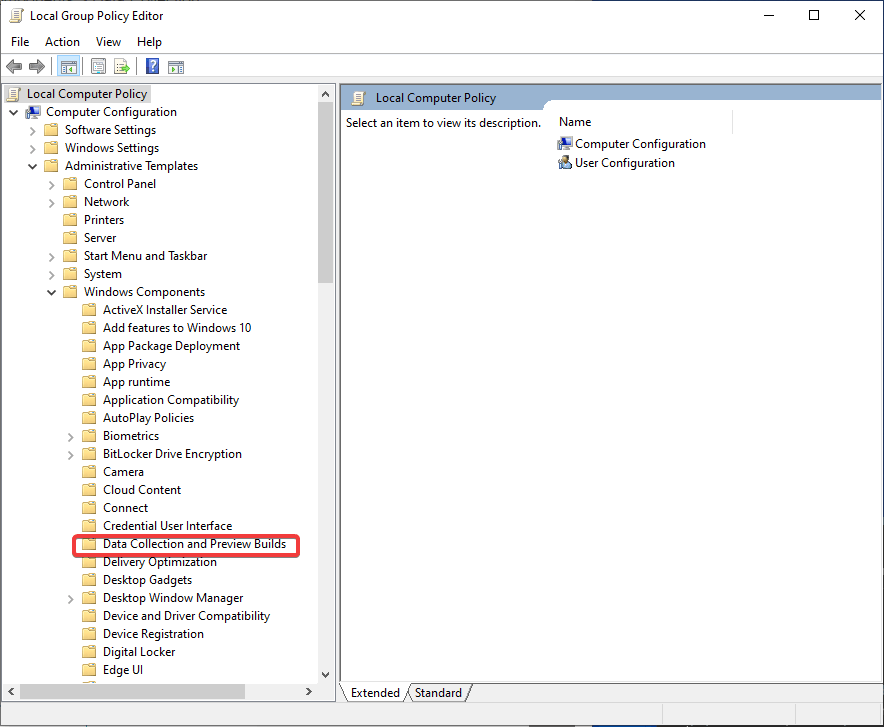
Step 2: This opens a new window named Local Group Policy Editor. Here you can need to look for –
Computer Configuration> Administrative Templates> Windows Components> Data collection and Preview Builds.
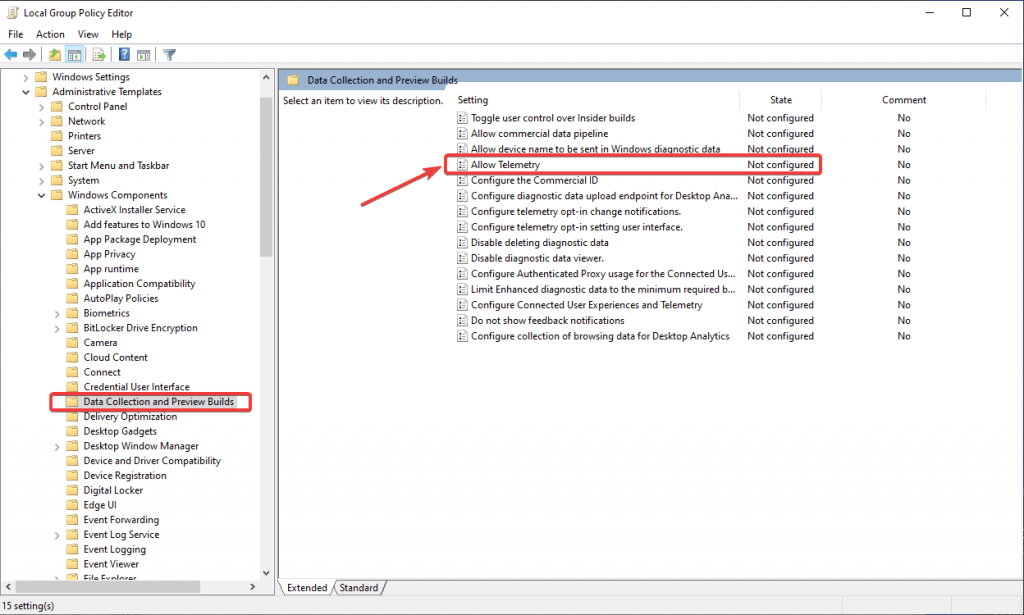
Step 3: Double click on the Data Collection and Preview Builds, and you will see options on the right pane. Now double click on Allow Telemetry.
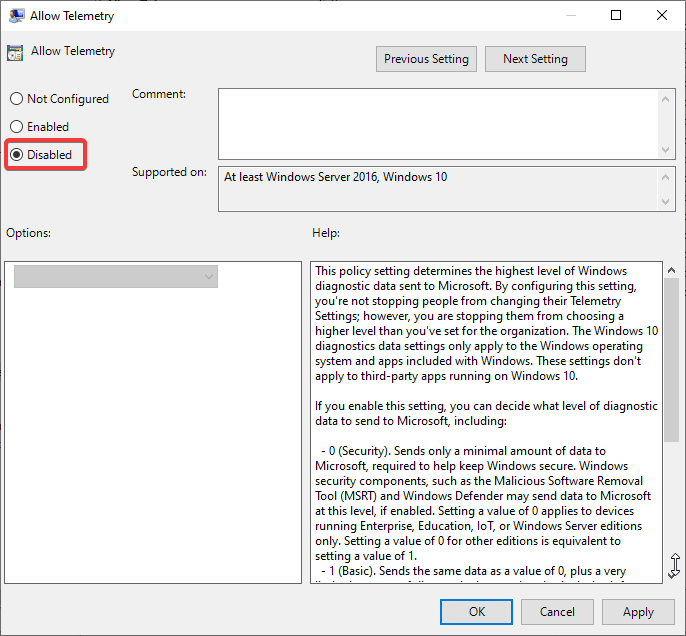
Step 4: Under the section Allow Telemetry, click on option Disabled. To apply the changes applied, click Apply.
Method 5: Using Task Scheduler
Step 1: Open Start Menu and type Task Scheduler on the search bar. Click on the option to appear on the Menu.
Step 2: In this Tab, Go to
Task Scheduler Library>Microsoft>Windows>Customer Experience Improvement Program.
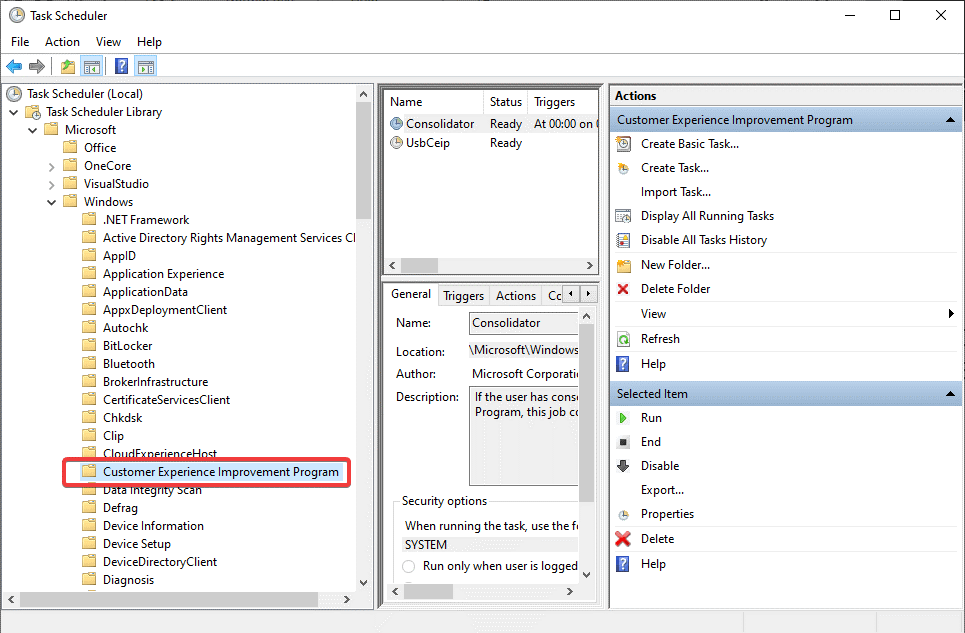
Step 3: Right-click on the task named Consolidator and Disable it. Repeat the process with all other tasks mentioned in this section.
So, if you are using Windows 10, then you can apply these methods to set the data collection to minimal or fully disable Telemetry and Data Collection features on your Windows 10 computer.
Anon
Thanks manSPOK
This is excellent information and easy to follow. Thank you for providing this information to help the conscious people protect their privacy.BoomerJohn
Good article. Would recommend.Srishti Sisodia
Hi, Thank you for your comment. We appreciate you liked our content.Tonia
Great! Thanks for sharing!Srishti Sisodia
Hi Tonia, Thank you for your comment. Glad you liked the post. For more tech updates, follow us on social media and don’t forget to subscribe to our newsletterBruno
Hi, does disabling all telemetry disable windows updates as well?Anonymous
thank you.. in my windows 10 pro build 2004 the 3rd step is named “Device Management Wireless Application Protocol (WAP) Push message Routing Service”blubberdeblub
thanks!! dmwappushsvc isnt on my machine at all, so that info might be outdatedJan
Simplified guide on the matter. Thank you, this is exactly what I needed for my Windows 10 machine.Mark
I don’t have the Service Connected User Experiences and TelemetryHrethel
Excellent. One comment. Just got new PC with Windows 10 Home 1909. Aside from not having group policy editor (which windows Home versions don’t), the dmwappushsvc service was not in the Services menu. So disabled it directly in register [HKEY_Local Machine\System\CurrentControlSet\Services\dmwappushservice. This ok do you think?samidev
unfortunately this didnt work , telemetry started working on its own even with all the above is disabled, I went back and double checked it all and it was still disabled while telemetry in task manager showed up and it was hogging around 40% cpu.Wapper
There is an error in the article: setting policy entry “Allow Telemetry” to “disable” will not disable telemetry, it will only disable (delete) corresponding registry entry. To disable telemetry, it is neccessary to enable the policy entry and choose 0 as its value.Rob
Good work, one of the few up to date information sources. Thank You And… it does not break Windowsnaryfa
This works. Someone mentioned dmwappushsvc isn’t listed in services anymore, but it is just renamed to Device Management Wireless Application Protocol (WAP) Push message Routing Service Cheers.Preeti Seth
Hello Sir/Ma’am Thank you for sharing your feedback and valuable piece of information.