
Over time, your computer can accumulate lots of temporary files and other junk that takes up valuable storage space. These files are created by your operating system and various programs, but are no longer needed once the tasks they were created for are complete. Leaving these files on your hard drive can slow down your computer and use up disk space that could be better utilized.
Fortunately, it’s easy to get rid of these unwanted files. Windows has built-in tools that allow you to quickly and easily find and delete temporary files, browser caches, download histories, and other junk that’s been collecting on your system.
By regularly clearing out these unused files, you can free up disk space and keep your computer running smoothly.
Quick Solutions:
- Use the Disk Cleanup utility built into Windows. This allows you to quickly identify and delete temporary files, system files, downloads, old Windows installation files, and other types of junk.
- Search or run %temp%, and delete everything inside.
- Empty the Recycle Bin.
Why Should You Clean Your Junk Files in Windows 10?
Regularly cleaning out junk and temporary files on your Windows 10 computer is important for several reasons. First, it frees up valuable storage space on your hard drive or SSD, which can extend the life of your device and improve overall performance. Secondly, removing unnecessary files can help speed up processes like booting, shutting down, and launching programs.
Finally, getting rid of old browser caches, download histories, and other personal data can help protect your privacy and security.
Different Types of Junk Files in a Windows Computer:
Your PC can gather junk files from various sources, like leftovers from uninstalled programs or old wallpapers you no longer use. Here are some common types of junk files found on most systems:
- Temporary files – Created by programs and the operating system, these files are meant to be deleted once their purpose is served.
- Browser caches – Web browsers store cached pages, images, and other data to improve browsing speed, but these files can accumulate over time.
- Download history – Your web browser keeps a record of all the files you’ve downloaded, which can take up space.
- System files – Windows creates various system log files, crash dumps, and other files that are no longer needed after a certain period.
- Program installation files – Installers and setup files for programs you’ve installed are often left behind.
- Old backups and restore points – Windows creates system restore points, which can consume lots of disk space over time.
How to Get Rid Of Junk And Temp Files On Windows (4 Simple Tips and Hacks)
Method 1: Using Disk Cleanup
The Disk Cleanup utility is a built-in Windows tool that allows you to easily identify and remove various types of junk files. This is useful because over time, your system accumulates temporary internet files, downloaded program installers, system files, and other unnecessary data that can consume a significant amount of disk space.
Running Disk Cleanup helps you quickly reclaim that space without having to manually hunt down and delete files.
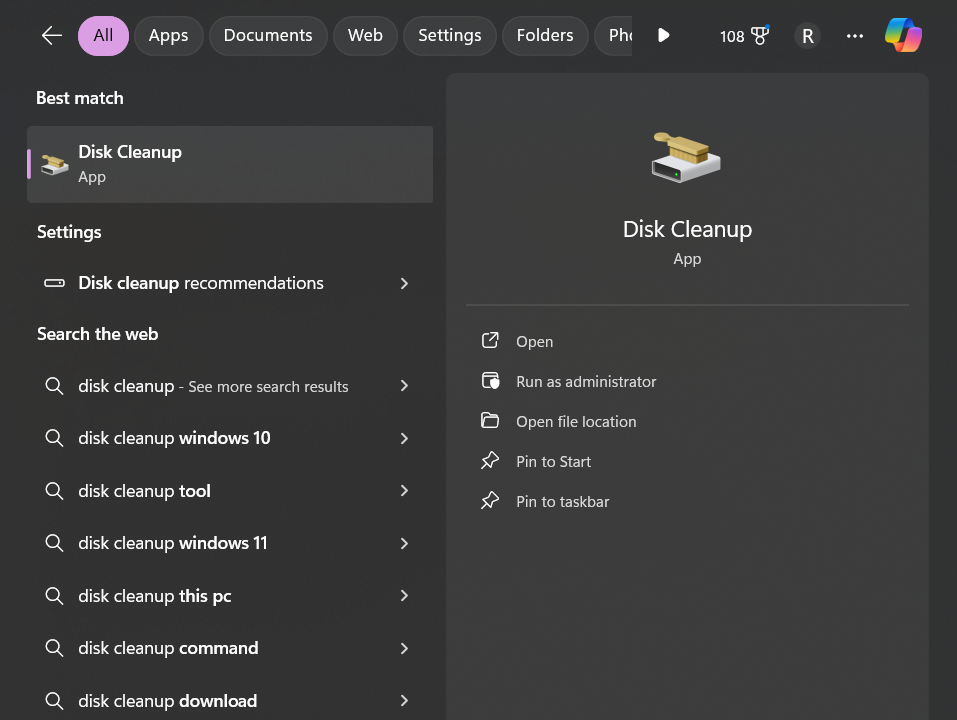
Step 1: Open the Start menu and search for “Disk Cleanup“. Open the Disk Cleanup utility.
Step 2: In the Disk Cleanup window, select the drive you want to clean (usually your C: drive). Click the “Clean up system files” button. This will scan for additional files that can be safely deleted.
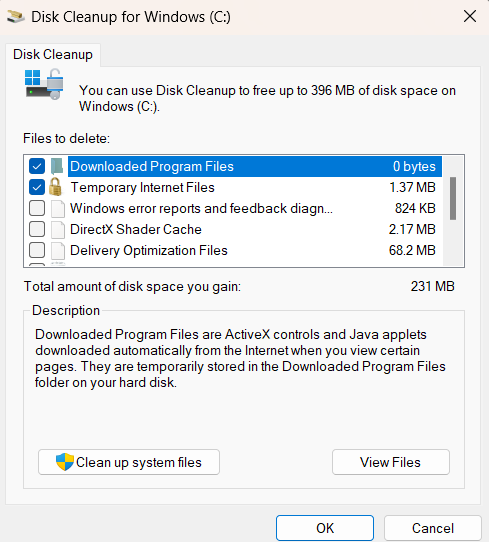
Step 3: In the list of cleanup options, check the boxes next to the file types you want to delete, such as Temporary Internet Files, Download History, Thumbnails, etc. These are all non-essential files that can be removed without impacting your system.
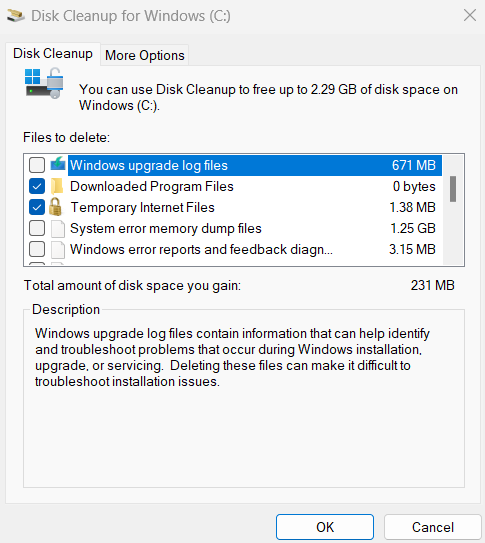
Step 4: Click “OK” to begin the cleanup process. Disk Cleanup will calculate how much space can be freed up.
Once completed, the Disk Cleanup tool will show you how much disk space was freed up, allowing you to reclaim that storage for more important uses.
Method 2: Using Settings App
The Storage settings in the Windows Settings app provide another way to manage and clean up junk files. This method is useful because it gives you more control over automated cleanup tasks, allowing you to configure Windows to regularly delete temporary files and other unneeded data. This helps ensure your system stays optimized without requiring manual intervention.
Step 1: Open the Start menu and click the Settings icon. In the Settings app, go to “System” and then select “Storage“.
Step 2: In the Storage Sense settings, turn on the “Storage Sense” toggle and configure the options to automatically delete temporary files, files in the Downloads folder older than a certain number of days, and other junk data. This ensures Windows will regularly clean up your system without you having to remember to do it.
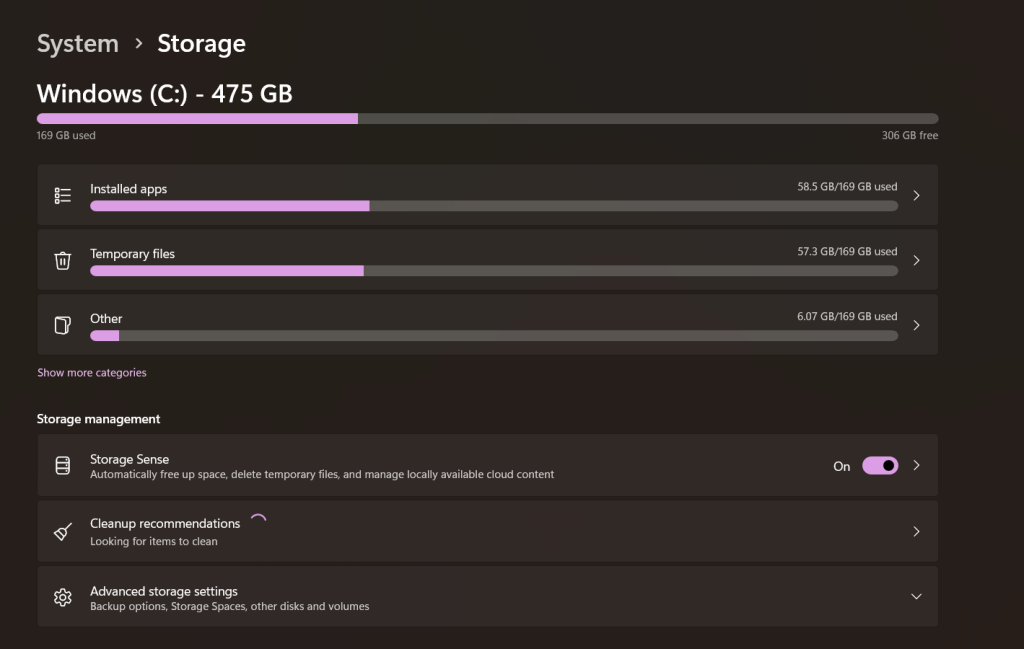
Step 3: Click “Clean now” to immediately run the Storage Sense cleanup and free up space.
Method 3: Using Command Prompt
The command line-based Disk Cleanup method is useful for power users who want more granular control over the cleanup process. Running Disk Cleanup from the Command Prompt allows you to customize the file types that are selected for deletion, and then automatically run the cleanup with those settings. This can be helpful if you have specific files or folders you want to target for removal on a regular basis.
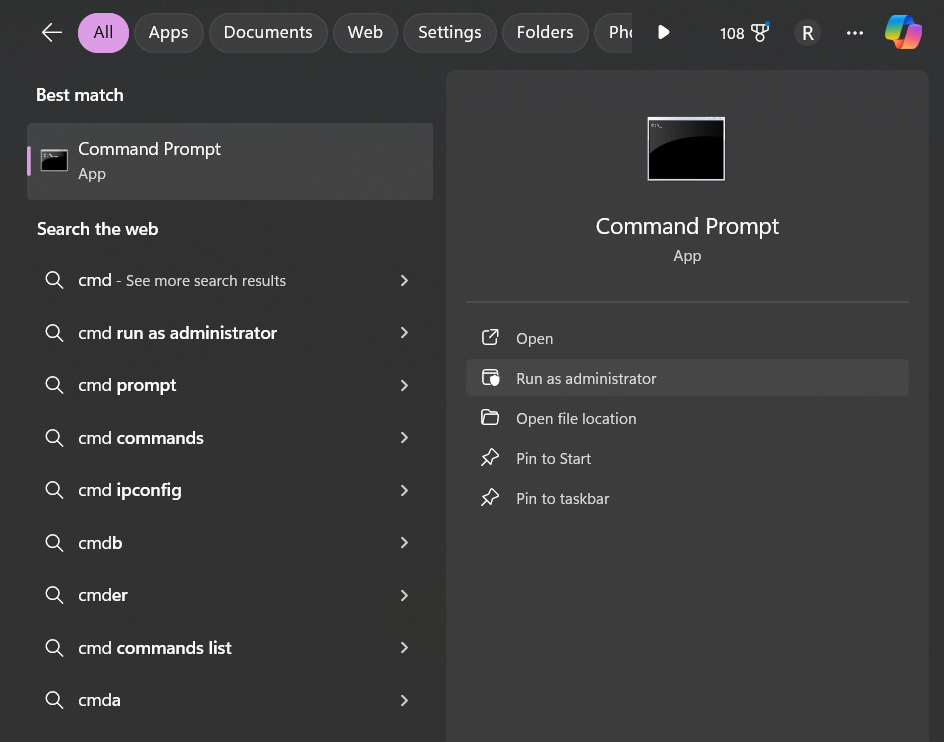
Step 1: Open the Start menu and search for “Command Prompt”. Right-click and run it as administrator.
Step 2: In the Command Prompt, type the following command and press Enter:
rd %temp% /s /q
Using a combination of these methods, you can effectively get rid of junk and temporary files to free up valuable storage space on your Windows computer, keeping it running smoothly and efficiently.
Method 4: Clearing the %temp% Folder
The %temp% folder is a special directory in Windows that stores temporary files created by the operating system and various applications. Over time, these temporary files can accumulate and take up a significant amount of disk space. Clearing out the %temp% folder is a quick and easy way to free up space.
Here’s how to do it:
Step 1: Open the Start menu and in the search bar, type “%temp%” (without the quotes) and press Enter.
Step 2: This will open the %temp% folder, which contains all the temporary files on your system. Select all the files and folders inside the %temp% folder (you can press Ctrl+A to select everything).
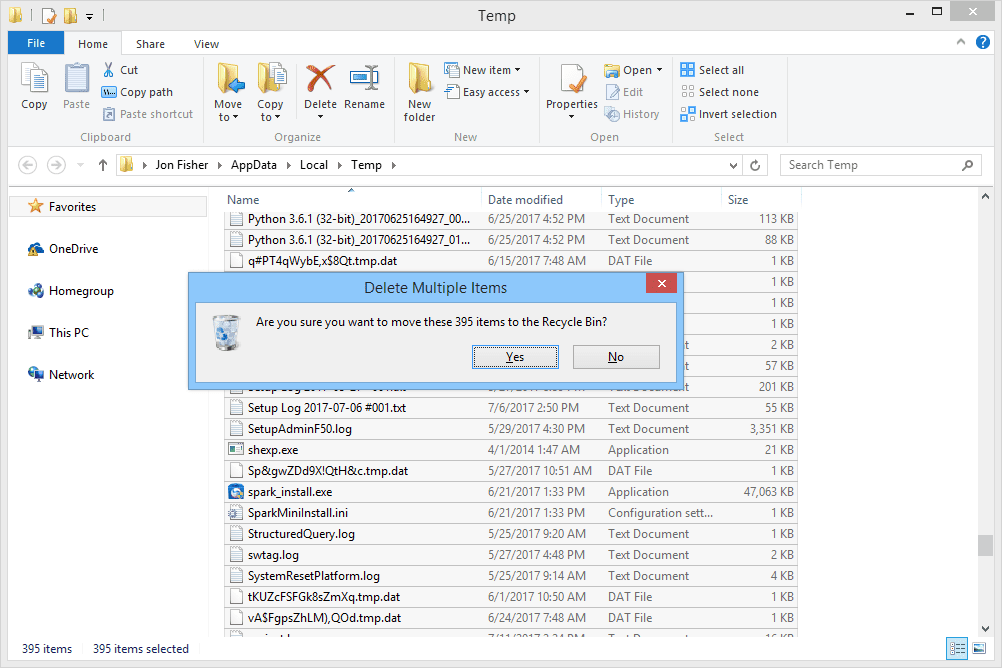
Step 3: Right-click on the selected items and choose “Delete” to remove them.
This method allows you to quickly and easily clear out a large amount of unwanted data that can accumulate over time.
Removing the contents of the %temp% folder is often one of the first troubleshooting steps recommended when dealing with performance issues or disk space problems on a Windows computer.
Clean the junk files and temporary files using Advanced System Optimizer tool:
In this post, we will talk about one of the best software Advanced System Optimizer to speed up your slow computer.
Advanced System Optimizer is one of the most powerful cleanup and optimization tool available for all the Windows versions . The awesome software comes with many features including the one that helps to get rid of junk and temporary files.
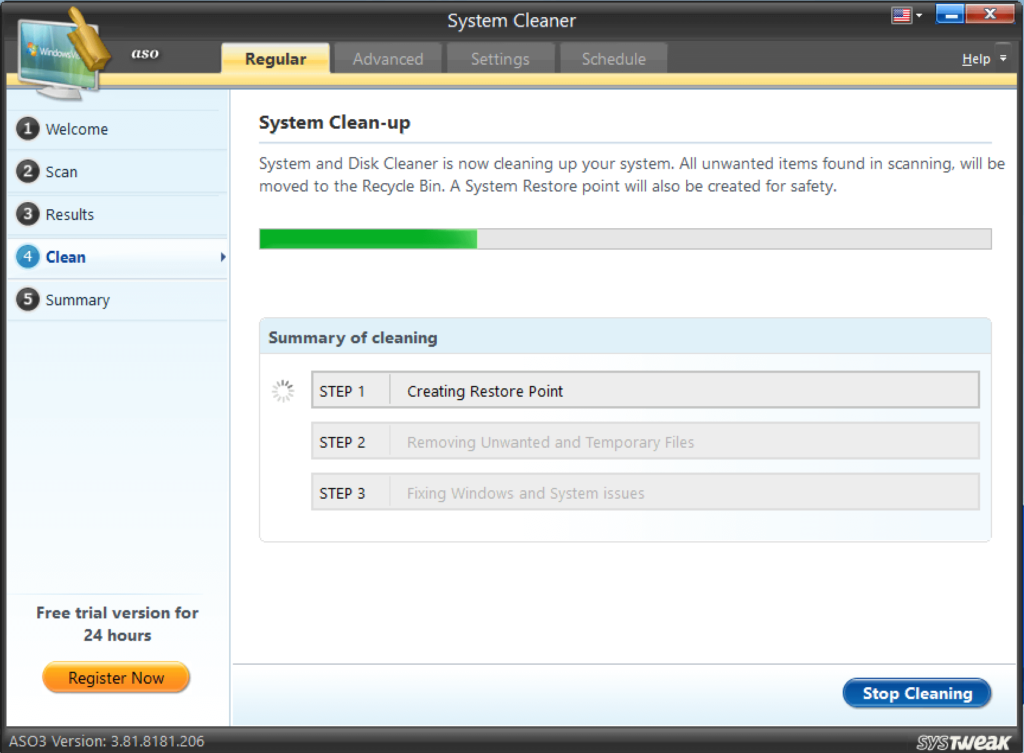
When you uninstall an application from your system, it leaves its files behind it. You need to find and delete those files. Advanced System Optimizer works as a system cleaner and makes your system run faster and smoother by removing those old and obsolete files from your hard drive. Before performing the step, it also creates a system restore point to make sure that your system is safe. Moreover, with the cleaner disk, you get more space and fewer system crashes.
Follow these steps:
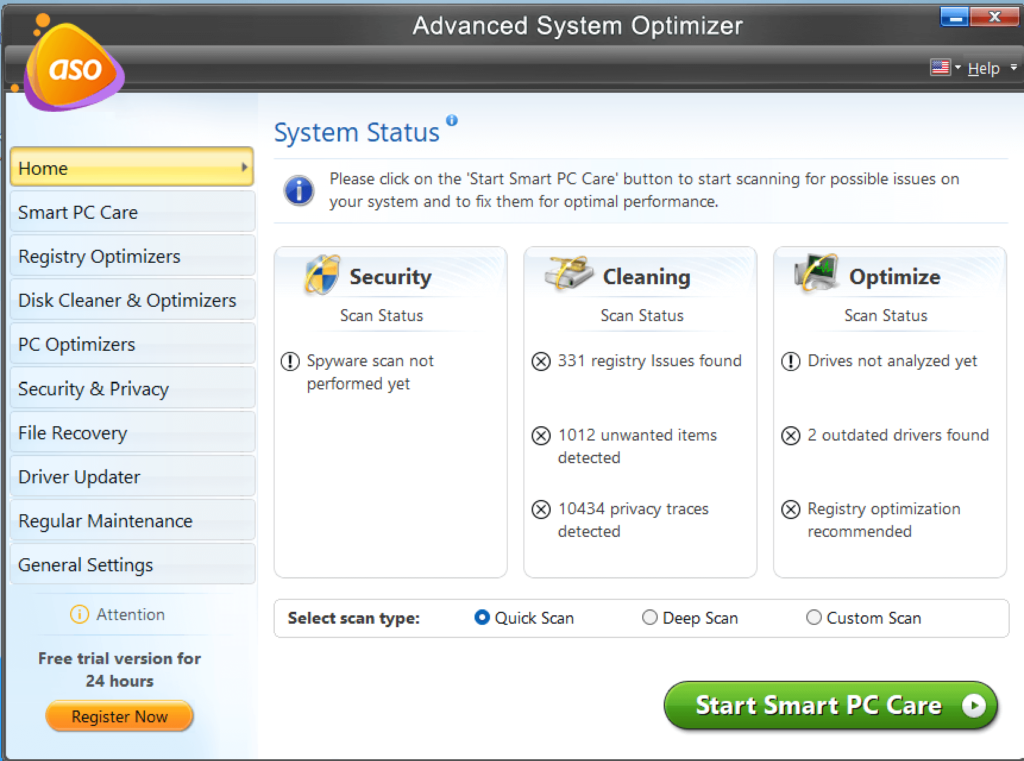
1. Download and Open Advanced System Optimizer.

2. Locate Disk Cleaner and Optimizer tab from the left-hand side pane.
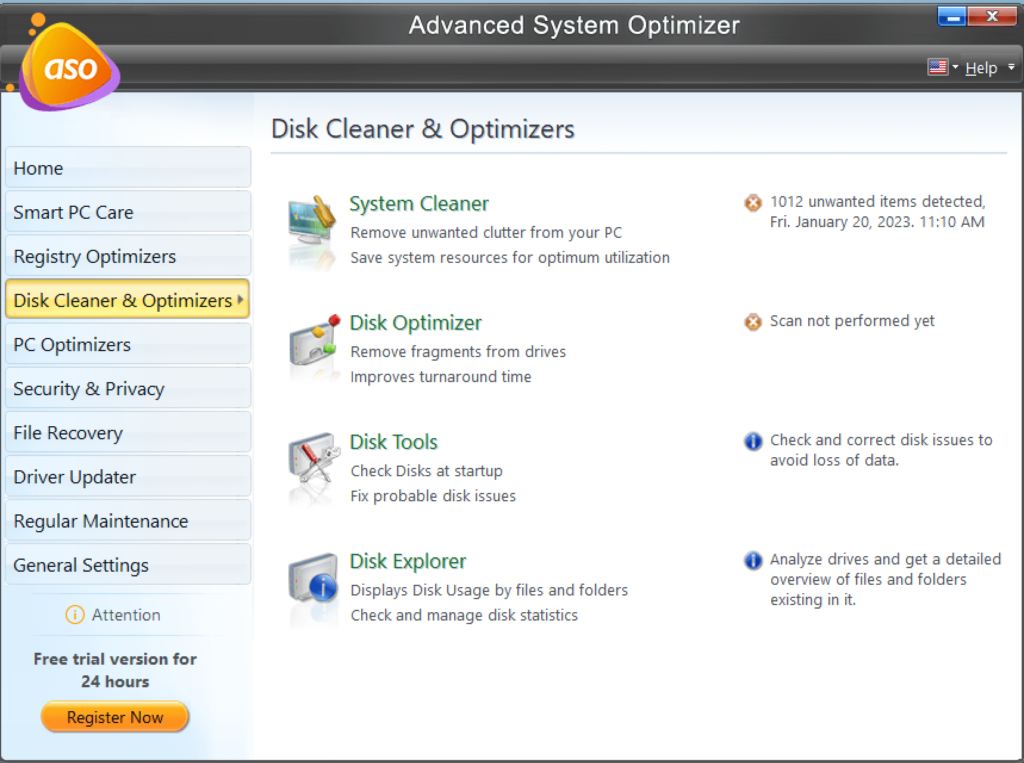
3. Once you are on the tab, navigate to System Cleaner and click on it.
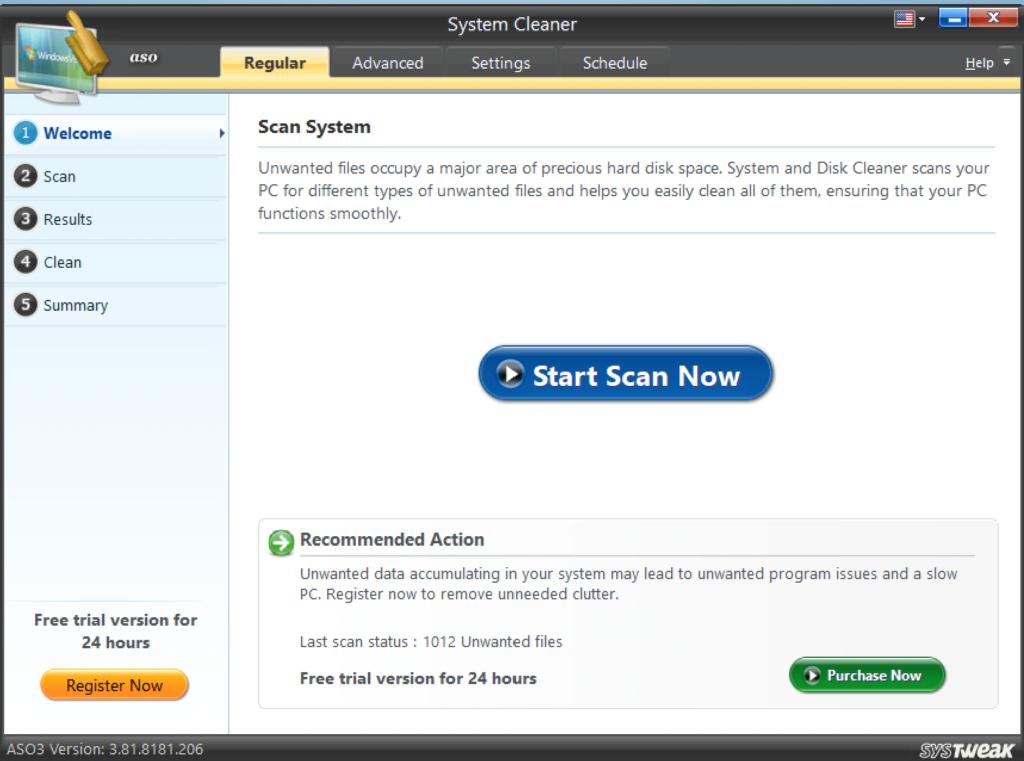
4. You will get two options Regular and Advanced.
5. When clicked on Regular, it will scan the temp and obsolete files on your system, wherein, if you choose Advanced, it will scan your system in depth and look for uninstallers, defrags and more.
6. Choose what type of scan you like run and click on Start Scan, it will scan your computer and display the results.
7. Once you are okay with the scanned results, click Clean System to remove the junk.
8. If you want to scrutinize the area of the scan, you can go to Settings.
9. You will get three tabs, Regular, Advanced and Cleanup Options. All these options will give you a list of things that you exclude or include while scanning.
10. You can also schedule the scan on the daily and weekly basis.
Conclusion:
Removing junk and temporary files is a simple but important maintenance task for any Windows computer. By taking a few minutes to clear out these unnecessary files, you can reclaim valuable storage space and optimize your system’s performance. The built-in Windows tools make this process quick and painless, so it’s something every Windows user should get in the habit of doing on a regular basis.