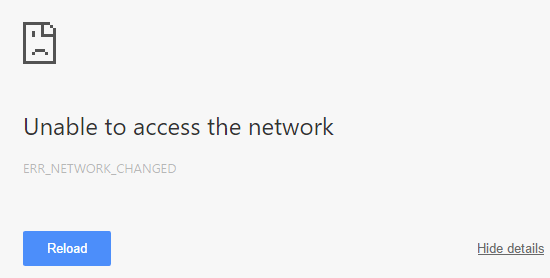
One of the common issues faced by Windows 10 users is the ERR_NETWORK_CHANGED Chrome Error. As the message clearly says, this error occurs when the internet connection or the browser is not allowing a page to load. This means you cannot access any page when using Chrome.
In addition to this, you might get, “unable to access the network ERR_NETWORK_CHANGED”, or Your connection was interrupted when you check a URL.
Now, if you are facing any of these error messages on Windows 10 sadly, you won’t be able to access anything on Chrome unless you fix it. So, without wasting any time further let’s learn how to fix ERR_NETWORK_CHANGED in Chrome.
To troubleshoot these error messages, follow the step by step guide listed below.
Note: If you are using any VPN to please disable it or to simplify things, we suggest uninstalling it from your PC for the meantime.
Top 6 Ways to Fix ERR_NETWORK_CHANGED in Chrome Error Message on Windows 10
2. Change the DNS Server Addresses in Windows Network Settings
3. Clear Chrome’s Cache, Cookies and browsing data
4. Reset TCP/IP and DNS to Troubleshoot Chrome ERR_NETWORK_CHANGED
5. Update Network Adapter Drivers
6. Uncheck Proxy and solve ERR_NETWORK_CHANGED error
1. Restart Modem
A simple on and off helps fix various error messages. In this case, to fix ERR_NETWORK_CHANGED in Chrome, we need to restart the modem. This helps overcome technical issues that might be leading to the error message.
2. Change the DNS Server Addresses in Windows Network Settings
The error message “A network change was detected. ERR_NETWORK_CHANGED.” can be fixed if we change default server addresses to Google public DNS. To do so, follow the steps below:
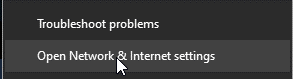
1. Right-click the network icon on the Windows 10 taskbar.
2. Click Open Network & Internet settings.
3. In the new window that opens, click Change adapter options.
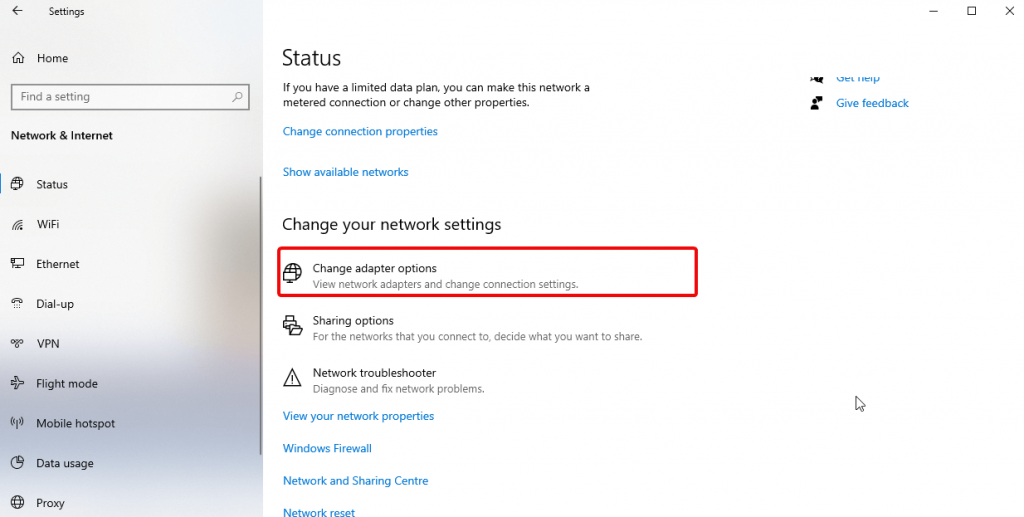
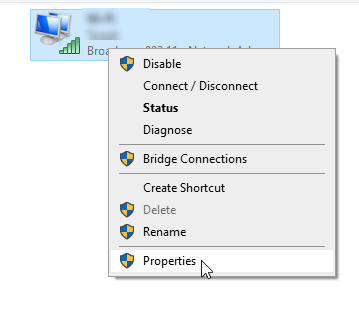
4. Right-click the network adapter you are using and select Properties from the context menu.
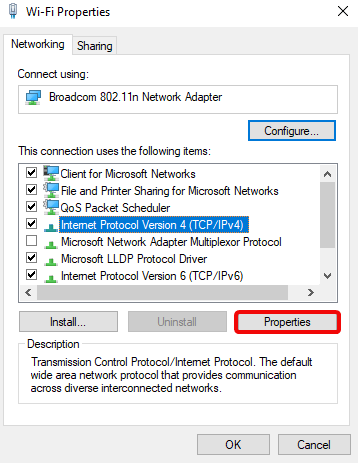
5. Look for Internet Protocol Version 4 (TCP/IPv4). Select it > Properties.
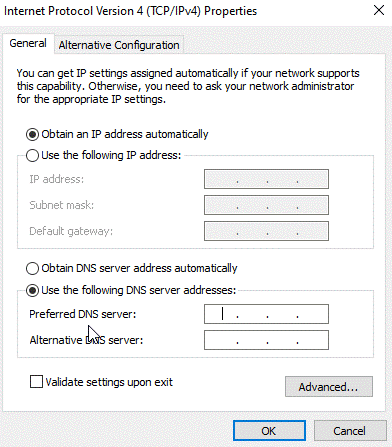
6. Here, select the radio button next to Use the following IP addresses.
7. Type 8.8.8.8 Under Preferred DNS server and 8.8.4..4 in Alternate DNS server field.
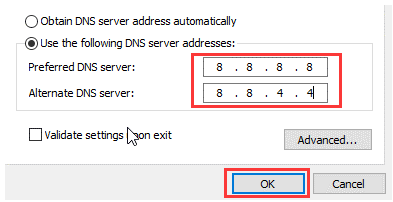
8. Hit OK.
Once done, restart the system and try using Chrome network connection error must be fixed. If not, move to the next step.
3. Clear Chrome’s Cache, Cookies and browsing data
1. Launch Google Chrome
2. Click the three dots at the top right corner
3. Select Settings > Privacy and security
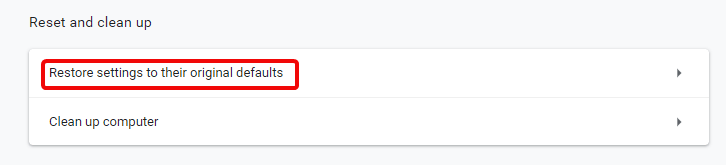
4. Click Advanced > Reset and clean up
5. Hit Restore settings to their original defaults
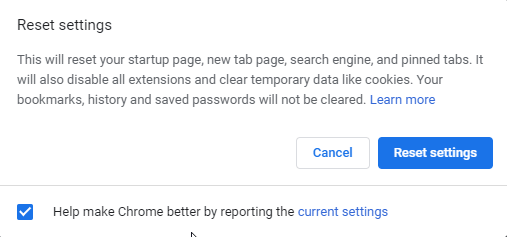
6. Click Reset Settings in the pop-up window that opens.
7. Exit Google Chrome and restart the system.
Now try to use Google Chrome and see if the error is fixed or not.
4. Reset TCP/IP and DNS to Troubleshoot Chrome ERR_NETWORK_CHANGED
To reset TCP/IP, follow the steps below:
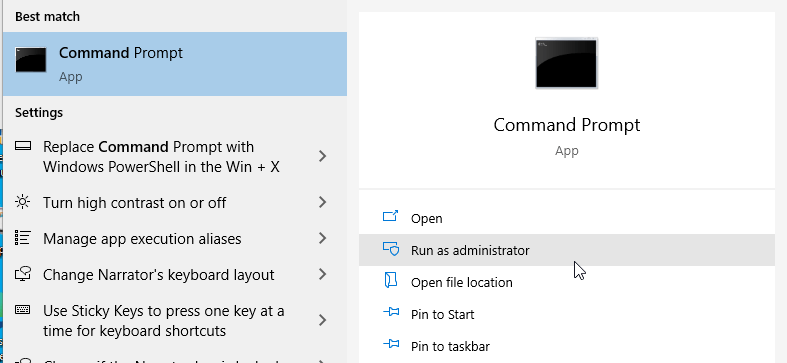
1. In the Windows search bar, type Command Prompt
2. Now from the right pane click Run as administrator.
3. Here, type the following commands. Remember to press Enter key after each command.
(a) ipconfig /release
(b) ipconfig /flushdns
(c) ipconfig /renew
4. Once done, open Command Prompt again as administrator and enter the following commands. Remember to press Enter key after each command.
ipconfig /flushdns
nbtstat –r
netsh int ip reset
netsh winsock reset
5. Restart the system to apply changes. This will Flush the DNS and will help fix ERR_NETWORK_CJANGED in Chrome.
5. Update Network Adapter Drivers to Fix ERR_NETWORK_CHANGED
Outdated, corrupt, incompatible system drivers also lead to Err Network Changed error messages on Windows 10. Not only this, network issues like Wi-Fi “No Internet, Secured” problem, Ethernet, not working issues and other Wi-Fi related issues are also a result of it. To get this fixed, you need to install the right network drivers for your Windows 10 desktop or laptop.
Smart Driver Care is a professional driver updating tool for Windows 10. In just two clicks, you can fix any driver-related problems. In this case, it is the network driver. To know more about this driver updating tool, you can click here.
Smart Driver Care is an advanced well-designed driver updating utility. You can use both free and paid versions. The only difference in both is, when using the trial version, you have to update each driver individually. While when you use the paid version, you can update all drivers in just a click. To use this extraordinary tool, follow the steps below:
1. Download and install Smart Driver Care.

2. Click Scan Now to run the scan.
3. Wait for it to finish.
4. Once you have the scan results, update the network drivers.
5. If you are using the free version, you need to click Update Driver next to network drivers. However, if you are using a paid version of the product, you can click Update All, and this will fix all outdated drivers in just a click.
6. Once all drivers are updated, restart the system and bring changes into effect.
6. Uncheck Proxy and solve ERR_NETWORK_CHANGED error
1. Press Window + R keys
2. Type inetcpl.cpl and hit enter to open Internet Properties
3. Click Connections tab > LAN settings
4. Here, uncheck Use a Proxy Server for your LAN and make sure Automatically detect settings is checked
5. Click Apply > Ok
Restart the system and see the error message will be gone.
This is all. You have successfully fixed ERR_NETWORK_CHANGES in Chrome. We would love to know which step worked for you and helped fix the problem. In case you have any questions or queries regarding ERR_NETWORK_CHANGES in Chrome, do leave us a comment in the box.