
Some of you might have experienced that when you attach a USB drive to a computer at your school or office, the computer doesn’t respond? It is because the administrator has disabled the USB ports and therefore, USB drives are not recognized.
Disabling access to USB ports is a great way to stop unauthorized users from transferring or stealing data from your computer. Some might feel it is a cumbersome process, but do not worry as we have you covered.
If You are Windows 10 users then check How To Enable/ Disable USB Ports On Windows 10?
In this article, we have listed a few ways to enable/disable USB ports in Windows 7.
Method 1. Steps to Disable or Enable USB Ports From Regedit–
You can make changes in your Registry files to enable or disable the USB ports in Windows 7. Follow these steps:
Step 1: Go to Start Menu, type “Regedit” in the Search box to open Registry Editor.

Now, make sure you take a backup before proceeding with further steps. It only takes up to a couple of minutes and saves you from any harm to your computer. To take a backup, go to File and click on Export and now save the file to a location which is easily accessible on your computer. Making changes to the Registry Editor can cause permanent changes in your system settings; hence it is advised to be changed with technical help.
Step 2: Navigate to this key –
KEY_LOCAL_MACHINE\SYSTEM\CurrentControlSet\Services\USBSTOR

Step 3: In the right-hand panel, look for Start and right-click on it.

Step 4: A sub-menu will appear, choose Modify.
Step 5: A small pop-up window will open; check if the value is 3.
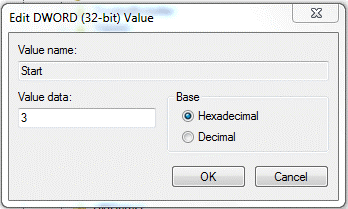
Step 6: If yes, then the port is already enabled. Change the value to 4 to disable the port.
Step 7: Click OK to apply changes.
Also read: Five uses of USB you probably don’t know.
How To BackUp And Restore Windows Registry
Method 2. Uninstall/Reinstall USB Mass Storage Drivers to Unblock or Block USB Ports
Another way to enable/disable the USB ports is, to install/uninstall the USB drivers. If you wish to use your USB device on your work computer or stop anyone from using your computer to transfer data, then follow these steps to uninstall USB drivers:
Step 1: Go to Start Menu, type “devmgmt.msc” in the Search box to open Device Manager.

Step 2: Click on the Universal Serial Bus Controllers.
Step 3: You will get the list of USB ports
Step 4: Right Click on the USB port and uninstall the driver to disable the port.

Note: If you wish to install the USB driver in future, plug-in your USB drive and Windows will check for drivers. If not found, Windows will prompt you to install the driver.
Also Read: How to protect your USB pen drive with password.
Method 3. Disable USB Ports from Device Manager
You can disable/enable or disable the USB ports through Device Manager. If you wish to use your USB device on your work computer or stop anyone from using your computer to transfer data, then follow these steps to disable USB drivers:
Step 1: Go to Start Menu, type “devmgmt.msc” in the Search box to open Device Manager
Step 2: Click on the Universal Serial Bus Controllers.
Step 3: You will get the list of USB ports.
Step 4: Right-click on the USB port and disable/enable the port.

Method 4. Using Group Policy Editor-
Step 1: Click on the desktop, and press Windows key + R.
Step 2: This will open the Local Group Policy Editor for your system.
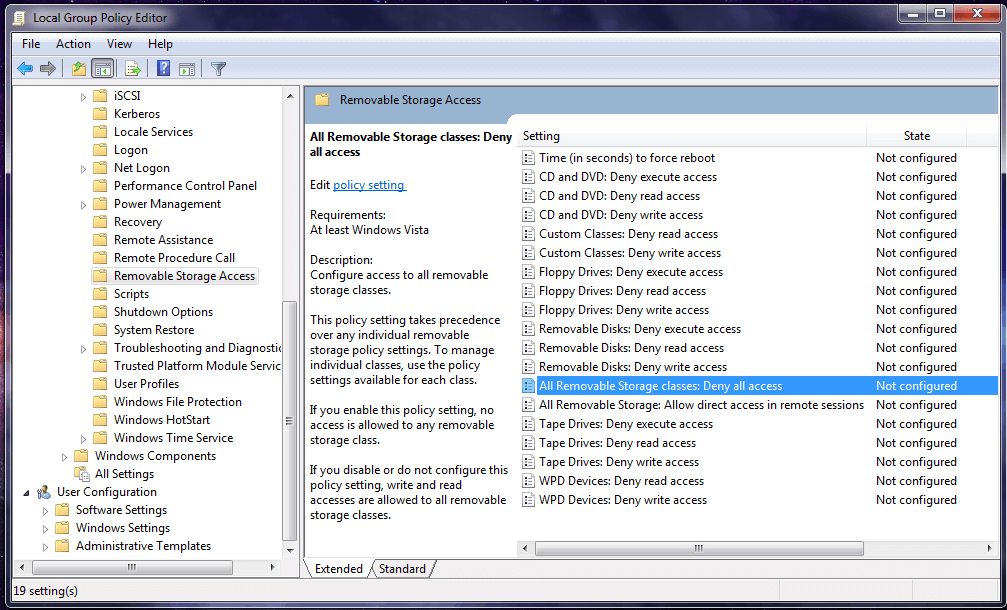
Step 3: Here go to the Computer Configuration> Administrative Templates> System> Removable Storage Access.
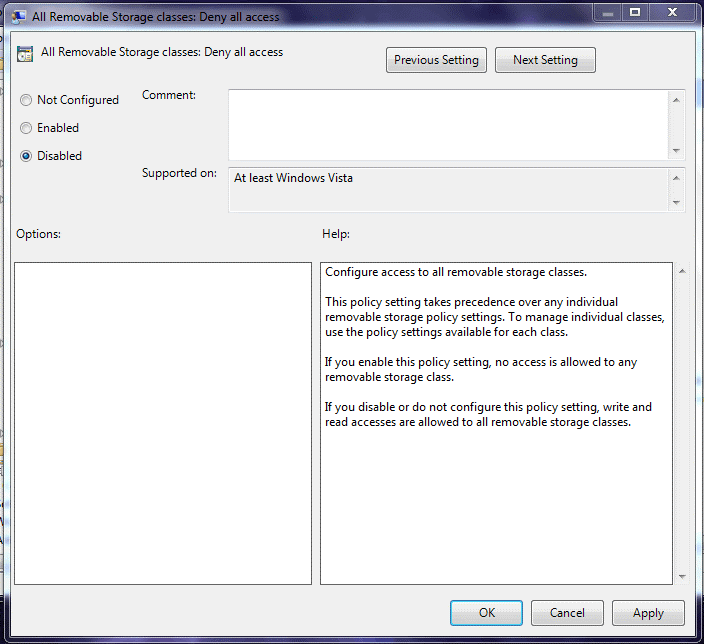
Step 4: On the right-side panel, locate All Removable Storage classes: Deny all access. Double click on it to open a tab for changing its settings.
Step 5: In the tab for the All Removable Storage classes: Deny all access, select the Disabled option. Now, click on Apply to save changes in the settings.
Method 5. Disconnect USB
It is not possible to disconnect all the USB ports from a motherboard, but you can disconnect those which are on the top and front of the computer by plugging out the cable from the USB header. Disconnecting these ports can prevent people from easily misusing them for their benefit.
Method 6. Enable/Disable USB Ports Using Third-Party Software –
You can also enable or disable the USB ports by using a third-party tool. There are many tools available for USB port blocking. We have found two such software and you can choose of them mentioned below:
1. SysTools USB Blocker
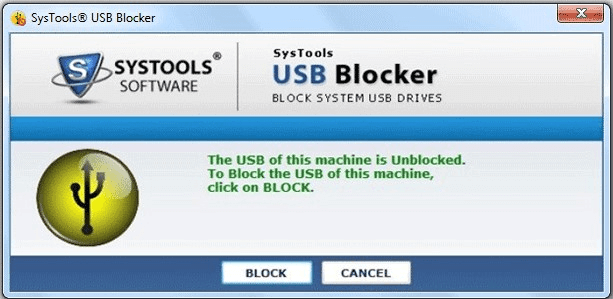
One of the easy ways to disable USB on a computer is to use SysTools USB Blocker. It is a third party software which allows you to block all USB ports from any machine. All you need is your login credentials for the machine to block or unblock ports. It also provides an option to recover lost user passwords through your email address. The tool can block or unblock unlimited USB ports of various laptops and computers. The software comes with a rich and intuitive interface that is suitable for the users. Get it now from the download button given below.
Features-
- User-friendly interface.
- Password protected disable/enable for USB ports.
- Works for all Windows versions.
- Recovery of password with the email address.

2. USB Block
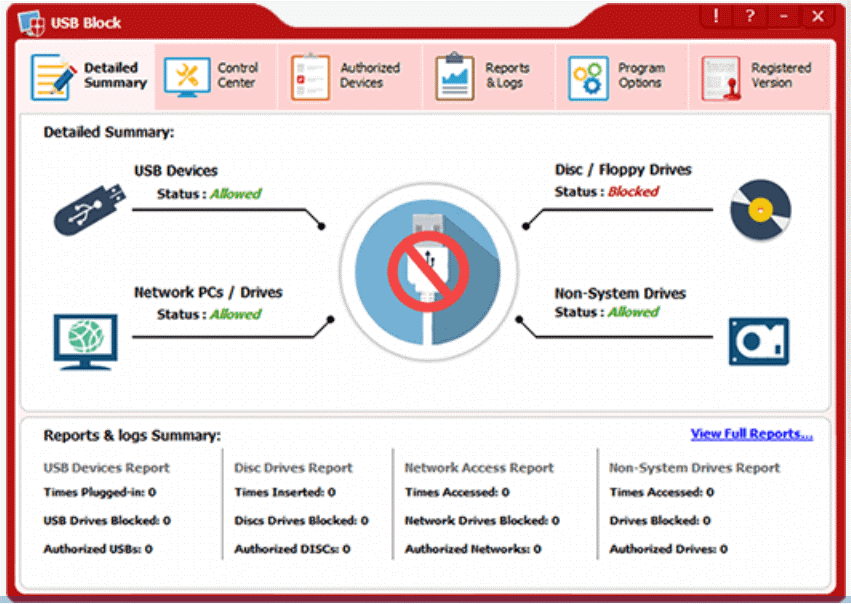
Another software to be used for USB disable on Windows 7 is the USB Block. This software can easily block and unblock USB ports. It prevents data leakage from your devices like USB drives, network computers. You can put your USB device as an exception in Whitelist, and access it on your computer. It also checks the log of any illegal activity to keep your computer secure.
Features –
- Comes with data leak prevention.
- No theft with its use.
- Will help in authorizing trusted USBs.
- Saves Login activity.
Also Read:
These are the few ways to disable/enable the USB ports and let us know what worked for you.
Other USB Related Topics-
How to fix USB port not working on your computer.
How to install pfsense using a bootable USB.
thakare sy
good articleOlax
Love this article but the regedit way didnt work for me neither the device manager alsoMridula Nimawat
Thank you for your feedback.