
There are various ways to protect your data on Windows 10 computer. One of them is to disable or enable USB ports on your computer. If you are wondering how to block USB drives to control which devices are connected to your PC, then you have come to the right place.
You can disable or enable USB drives with various methods such as using Device Manager, BIOS, Registry or third-party applications on Windows 10.
Let’s check out the methods to disable or enable USB ports in Windows 10.
1. Disable Or Enable USB Ports On Windows 10 Through Registry Editor (regedit)
Using Registry Editor is a critical way to disable or enable USB drives port on Windows 10. So, if you find using Registry Editor comfortable, go on!
Step 1: To open Registry Editor, type regedit.exe in search bar beside Start menu and press Enter.

Note: Press Windows and R and type regedit.exe to open Registry Editor.
Step 2: You will get a user account control prompt, click Yes.
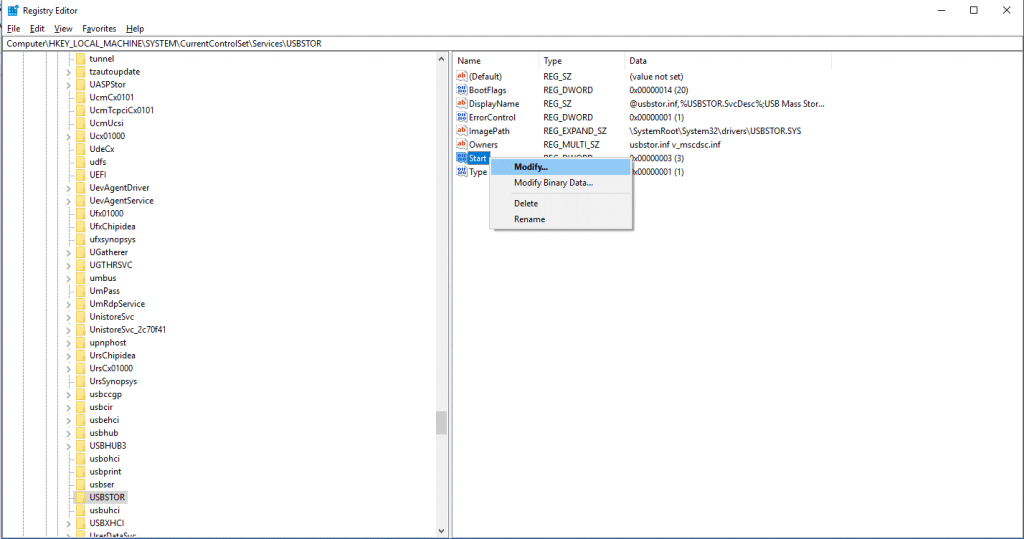
Step 3: Now you will get Registry Editor window and follow this path:
HKEY_LOCAL_MACHINE\SYSTEM\CurrentControlSet\ Services\USBSTOR

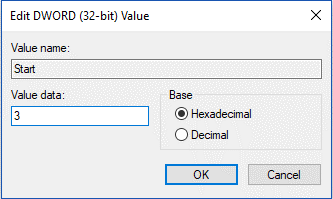
Step 4: Once you get to the key, locate Start DWORD the right hand side of the window. If you want to disable USB ports, change the value from 3 to 4 and if you want to enable it, change the value to 3.
Read Also: How To Change User Account Type In Windows 10
2. Disable Or Enable USB Ports On Windows 10 Through Use Device Manager
If you don’t want to make changes to registry editor, use device manager. Upon disabling USB ports, computer will not respond to any of the devices connected to it. To get them working, you have to enable the USB ports.
Note: It is recommended to create a system restore point before making any major changes to your system.
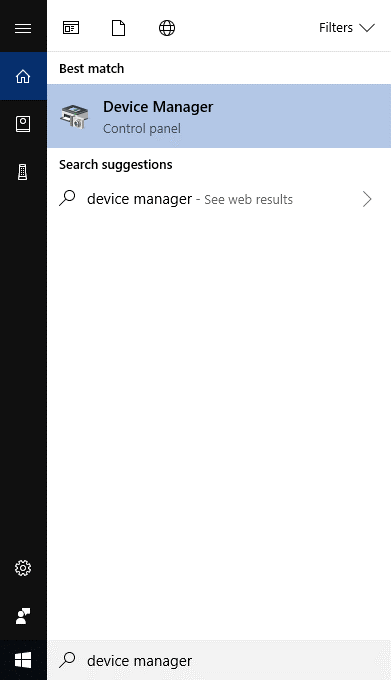
Step 1: Go to Start button and right click on it to get a context menu. Now select Device Manager to launch it.
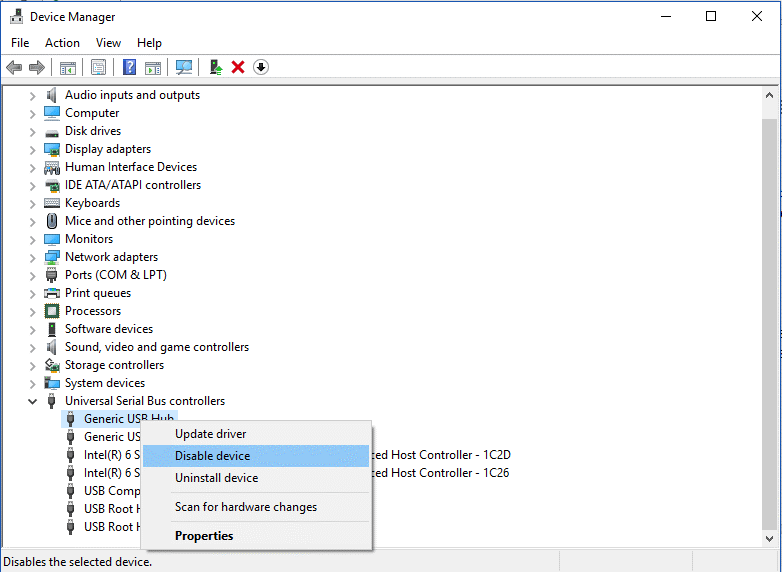
Step 2: Navigate USB Controllers (Universal Serial Bus Controllers). You will get list of USB options list. Right click each of the entries to Disable USB devices. Click Yes, to confirm the change.
3. Enable Or Disable USB Ports On Windows 10 Through Use BIOS
Some of the computer manufacturers provide you with an option to disable or enable USB ports in BIOS. Go to BIOS mode to check out the options available to enable USB ports. If you get confused and don’t know where to locate the option, check the user manual of your computer.
4. Use Third Party Apps
- SysTools USB Blocker
If you want to use the Registry Editor or any other methods, using a third-party application is a wise option. One of the convenient options is SysTools USB Blocker. It offers to block/unblock USB ports whenever it is required. The utility restrains unwanted users from using USB devices such as flash drives on your device. To block /unblock USB ports, the tool needs to have your login credentials. The tool is simple to use and comes with an intuitive interface.


- USB Block
Another one is USB Block, which helps in quickly disabling the USB ports on your computer. USB Block helps you prevent theft and data leakage from devices such as network computers, USB Drives, and CD/DVD. If you want to create an exception for your personal USB device, then you can put that device in the Whitelist. It also monitors hack attempts & incorrect passwords. It also keeps an eye on the log of any illegal activity.

We have discussed how to disable or enable USB ports in Windows 10 using registry, device manager, bios and thrid-party apps. Try them and let us know what worked for you!