
Be it any version of Windows, to use Windows OS, you need to create a user account. First account created on Windows is Administrator by default. Administrator account enables a user to perform actions that are otherwise restricted to another type of user account. If you are an individual user on your computer then there is no harm in having an admin account, but if you share it with your family or friends, then creating a Standard User is the best option.
Earlier Windows used to have admin, standard, and guest account but with Windows 10, there are only two types of accounts: Administrator and Standard.
With Admin account, a user can perform all sorts of actions whether it is installing a program or get through UAC when elevation is needed to perform a task whereas Standard account is an account in which users are allowed to use the computer but can’t install programs and will not be able to use UAC without admin account and password.
Usually, you create a Standard account for your kids as you don’t want them to access computer settings and worst change them. What if your kids are growing up and you won’t give them privileges to make changes and more? For that, you need to change user account type. In this post, we will guide you with ways in which you can change account type on Windows 10.
- Use Settings
- Change The Account Type With User Accounts
- Use Command Prompt
1. Use Settings To Change User Account Type:
You can change the user account type in Windows 10 via Settings app. To do that, follow these steps:
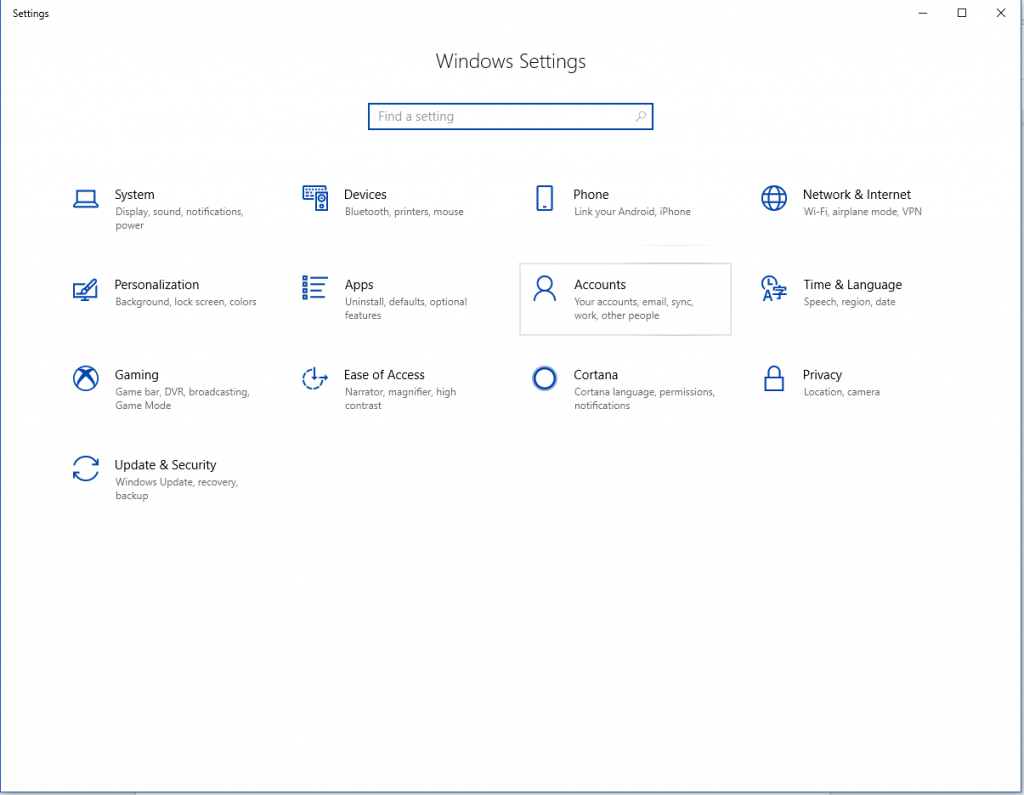
- Press Windows and I key together to open the Settings.
- You will get the list of Settings, look for Accounts and click on it.

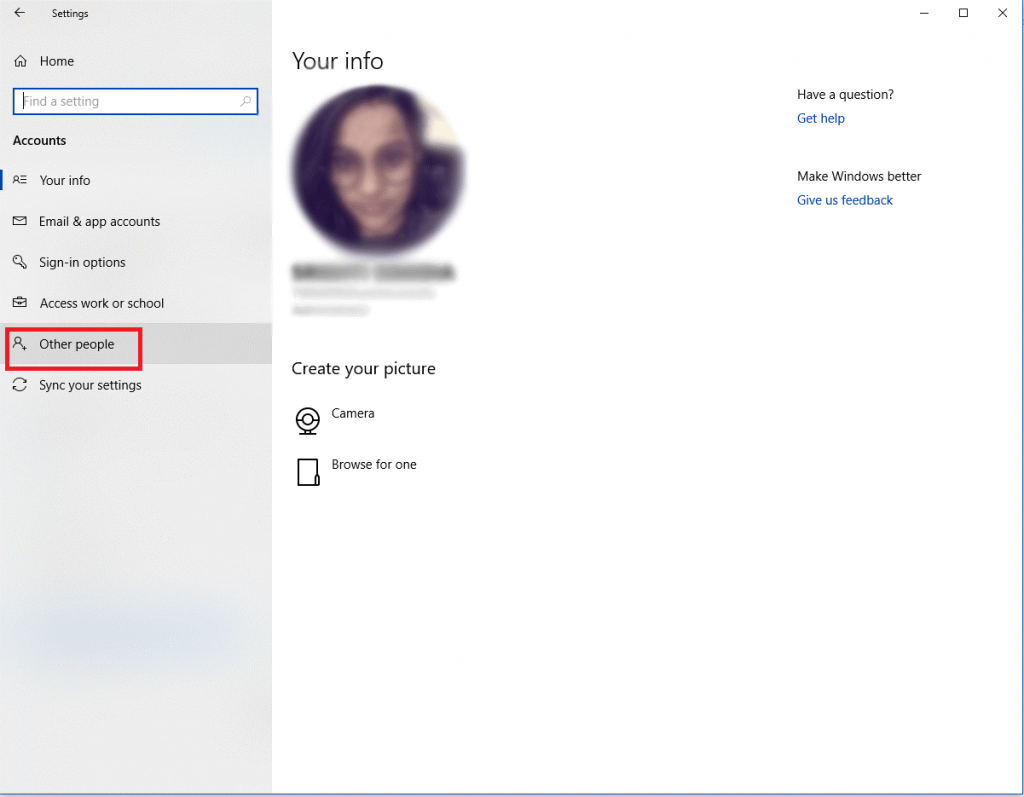
- From the left side pane, select Other People/ Family & Other People
- Under Other People, you will get the list of accounts on your computer. Click on the account of which you want to change the type.
- Under the user account, click Change account.
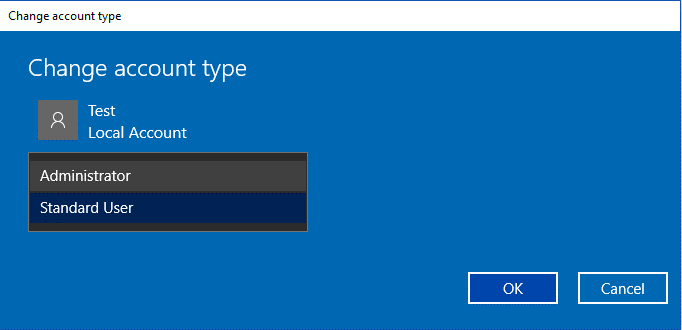
- You will be directed to a new window, Change account type, select Administrator from the drop-down menu.
- Click OK, once done.

Note: You can use the same steps to change the Administrator user account type to Standard one.
2. Change The Account Type on Windows 10 With User Accounts:
You can change the account type on Windows 10 by using Control Panel. Follow the steps to do so:
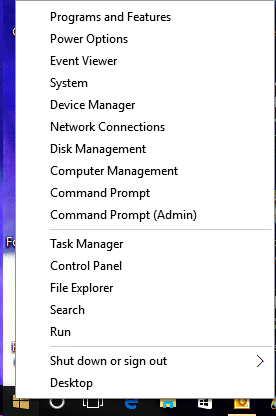
- Press Windows and X key together to get Power User Menu. From the list, click Control Panel.
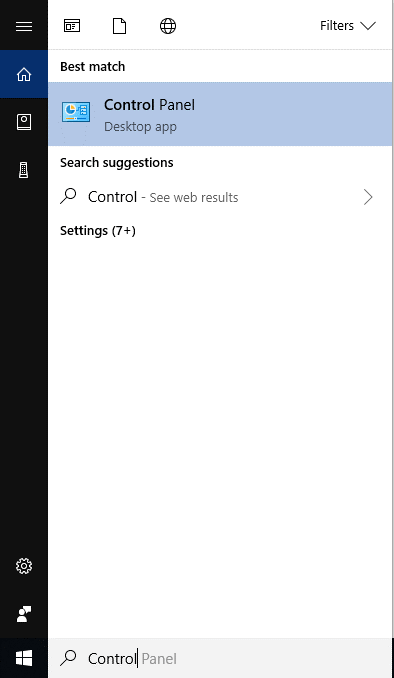
- Note: You can also get to Control Panel: Go to search bar beside Windows Start menu and type Control Panel and press Enter.
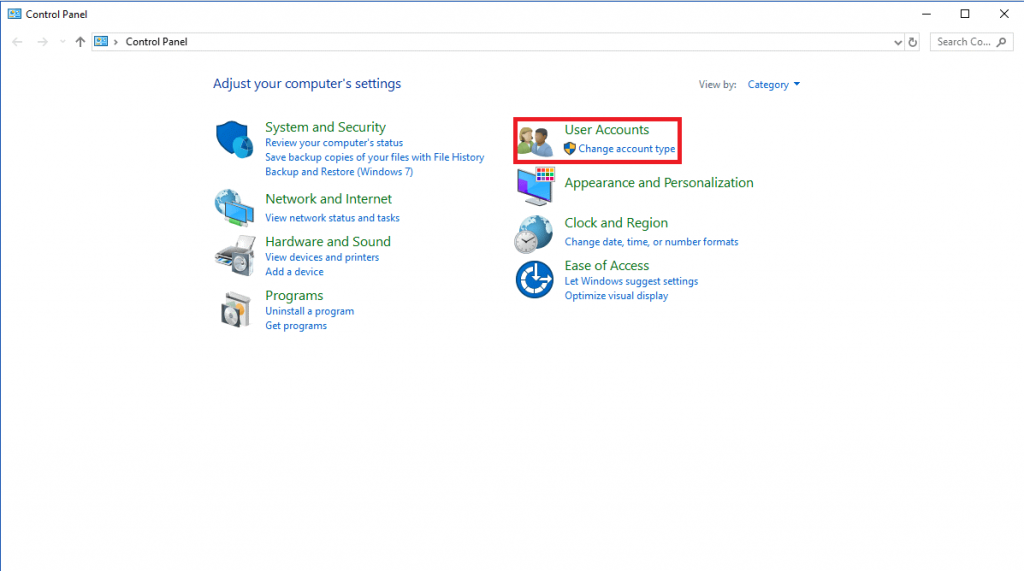
- Under User Accounts, click Change account type.
- You will get to the User Accounts window. You will get the list of Users. Click on the user account for which you want to change the account type.
Note: You can also get to User Accounts window: Press Windows and R to get Run window. Type netplwiz and press Enter.
- Click Properties and then go to Group Membership
- Change the account type from the window. Select Admin or Standard according to your preference. Click Apply and then OK to make the changes.
3. Use Command Prompt To Change User Account Type On Windows 10:
If you are tech savvy and love to use Command Prompt, then you can use this method to change the account type on Windows 10.
- Press Windows and X key together to get to open the Power User menu and select Command Prompt (Admin).
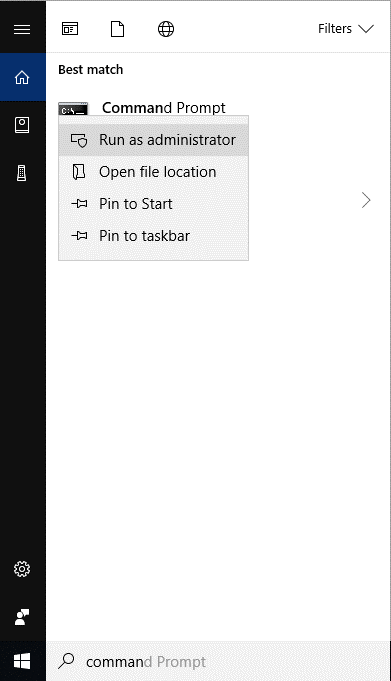
Note: Go to search bar beside Windows Start menu and type CMD to get Command Prompt. Right click on Command Prompt and select Run as Administrator.
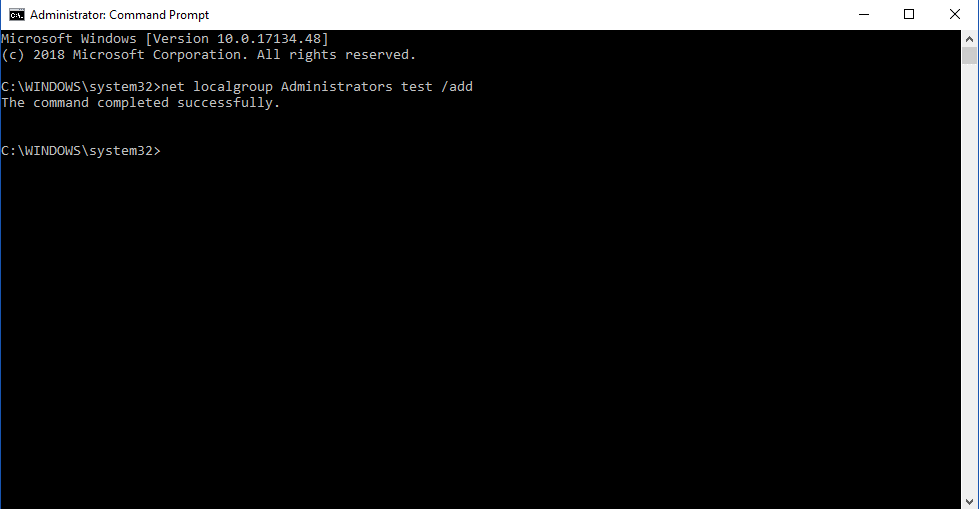
- You will get Command Prompt window, type net localgroup Administrators “account-name” /add and press Enter to add an account to Admin.
- Now type the below command to change the account type to Standard user net localgroup Administrators “account-name” /delete and press Enter to execute.

Note: Admin account is part of Admin and User group both by default. So to make it a Standard User Account, you just need to delete it from Admin group.
- The User Account is now a Standard user, to check the same type: “net localgroup Users” in Command Prompt window.
- If the account comes under the list shown, that means no further action is required. However if not, then use the following command:
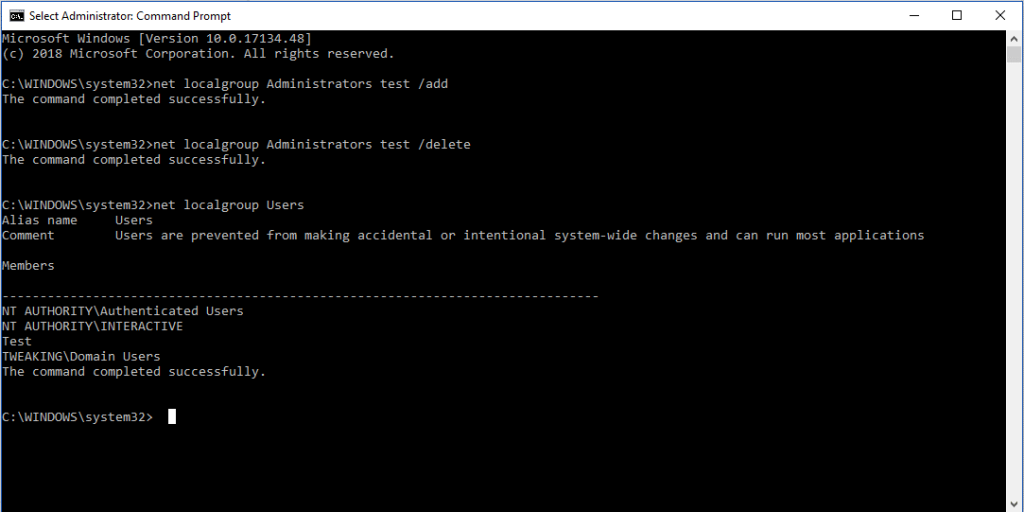
net localgroup Users test /add
So, these are ways to change the account type from Standard to Administrator and vice versa. Try them and allow or deny permission to certain users on your computer to always stay in control.