
Ever spent hours editing the perfect video in Filmora, only to have it disappear in a blink? It happens to the best of us! Filmora streamlines the import process by enabling the direct importing of video, audio, and photo files from various devices such as cameras and smartphones. Lately, numerous Filmora users have voiced concerns over losing their videos due to sudden system or application crashes, accidental deletion, and other unforeseen circumstances.
If you find yourself in a similar situation and are seeking a solution to recover deleted or unsaved Filmora videos, fret not – we’ve got you covered. This guide will walk you through various methods, from Filmora’s built-in backup features to data recovery software, all explained in a way that’s easy to understand. So, take a deep breath, and let’s get started on recovering your lost masterpiece.
Understanding What We’re Dealing With: Deleted vs. Unsaved Filmora Videos
Before diving into recovery methods, let’s differentiate between two situations:
Deleted Videos: These were Filmora projects you saved but later trashed from your computer.
Unsaved Videos: These are projects you worked on in Filmora but never saved before closing the program.
The recovery methods will differ slightly depending on which scenario you face.
Top 3 Methods to Recover Unsaved Filmora Videos on PC
Method 1: Check Filmora’s Backup Folder
Filmora, thankfully, has a built-in safety net for forgetful editors. It automatically creates backups of your unsaved projects at regular intervals. This means even if you close the program without hitting “Save,” there’s a chance you can retrieve it.
Here’s how to find the backup folder:
Step 1: Open Filmora on your PC.
Step 2: Click on “File” in the top menu bar.
Step 3: Select “Preferences” > “Folders.”
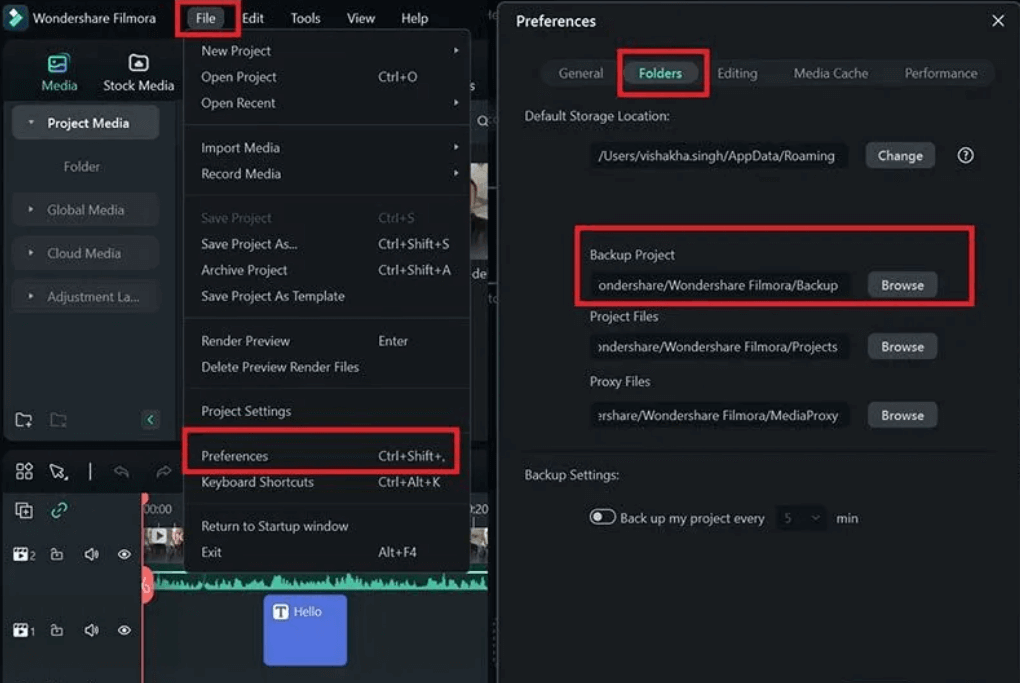
Step 4: Then, select the Browse option that is adjacent to the Backup Project option.
This “Backup” folder will house your unsaved project files. Look for files with timestamps that might correspond to when you were working on the lost video. Double-click the file to open it in Filmora and resume editing.
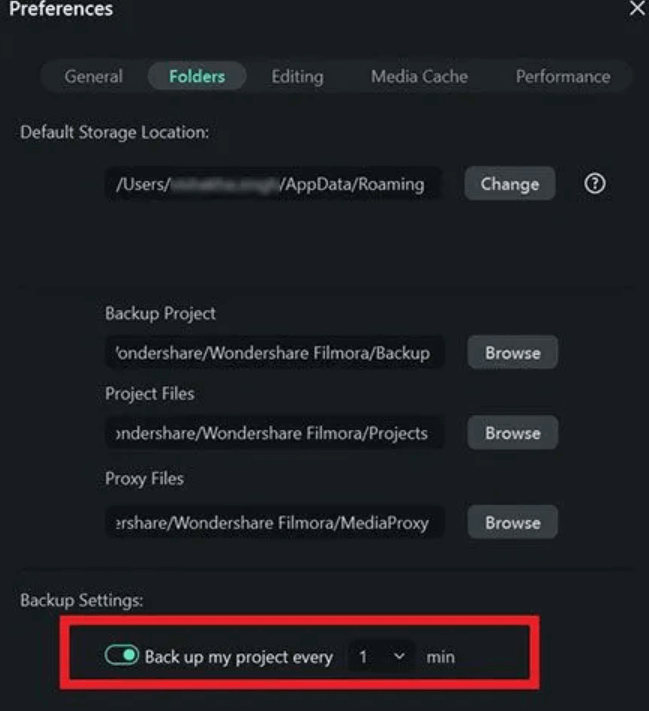
Writer’s Tip: For this method to be effective, you must have enabled the “Backup my project” option in the Settings. To verify this setting, follow these steps: Navigate to Files > Preferences > Folder > Backup Settings. Make a habit of checking the “Backup” folder regularly, especially if you tend to forget to save frequently.
Read Also: 7 Best Wondershare Filmora Alternative To Try
Method 2: Check Recycle Bin
If you accidentally deleted your saved Filmora project, don’t despair! It might still be residing in the Recycle Bin. Here’s how to check:
Open the Recycle Bin on your desktop. Look for the deleted Filmora project file (usually a .wondershare file) and right-click on it. Select “Restore.” This will move the file back to its original location.
Read Also: How To Fix The “Recycle Bin Grayed Out” Issue In Windows 11?
Method 3: Utilize Recent Files (For Both Deleted and Unsaved Projects)
This method works for both deleted and unsaved projects, depending on your operating system. Utilize the “Open Recent” option in Filmora to effortlessly recover unsaved video files. In the event of an unexpected system crash or if you simply forgot to save your latest project, chances are it will be conveniently stored in the list of recent files, allowing for easy retrieval.
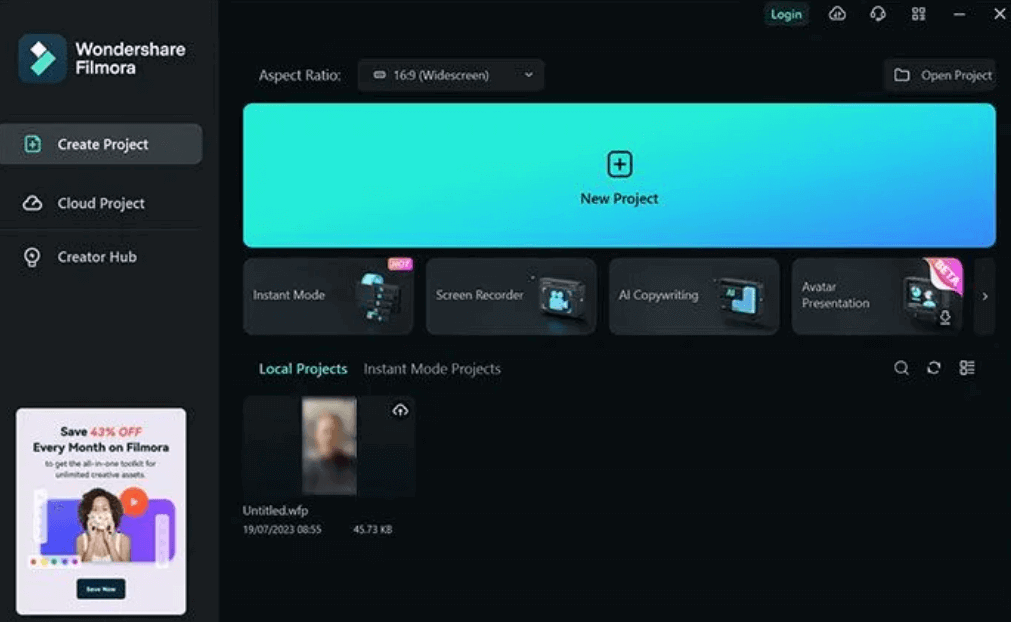
Step 1: Right-click on the Filmora icon on your desktop or taskbar. You might see a list of recently opened projects.
Step 2: Click on the one you want to recover.
Method 4: Use Data Recovery Software to Restore Deleted Videos
If you’ve emptied the Recycle Bin or cannot locate your deleted video file through Filmora’s built-in features, don’t worry. There are third-party data recovery tools available that can help you retrieve lost or deleted files. One such software is Advanced File Recovery.
This user-friendly yet powerful recovery tool efficiently restores lost Filmora videos while preserving their original quality. Capable of recovering images, videos, and audio files in various formats like 3GP, MP4, WAV, JPG/JPEG, and more. This software excels at retrieving data lost due to file corruption, accidental deletion, drive formatting, and other scenarios. Rest assured, your Filmora videos are securely recovered with this reliable software.
Step 1: Simply download and install the Advanced File Recovery.

Step 2: Once installed, open it and allow it all the necessary permissions.
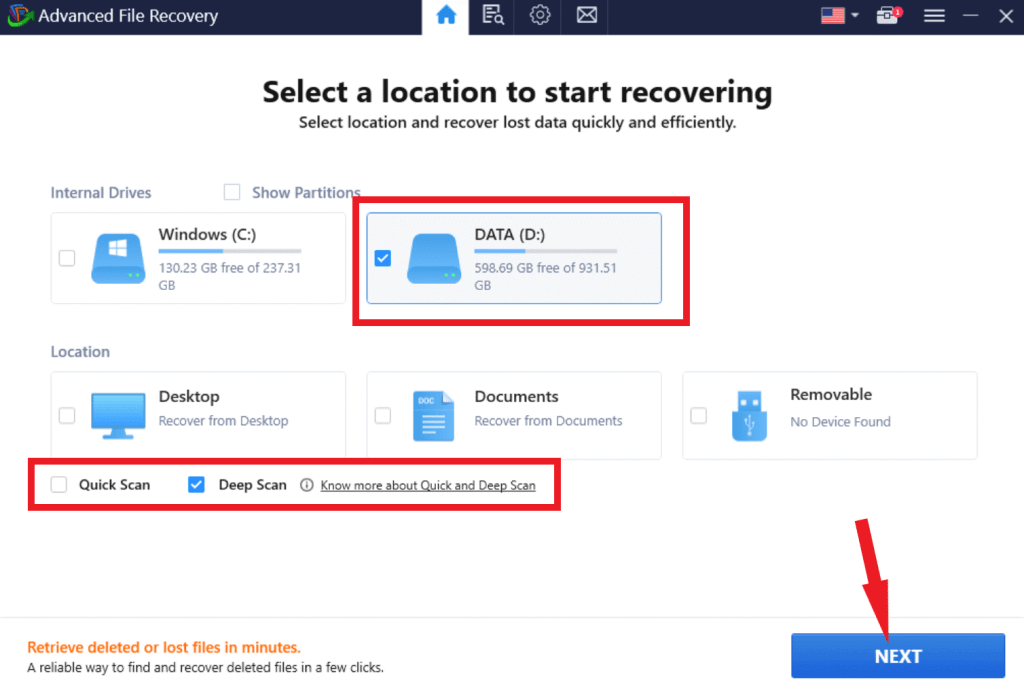
Step 3: From the dashboard, select a drive or location. Choose the Scan type. Click on the Next button.
We recommend selecting Deep Scan for thorough search for the lost files.
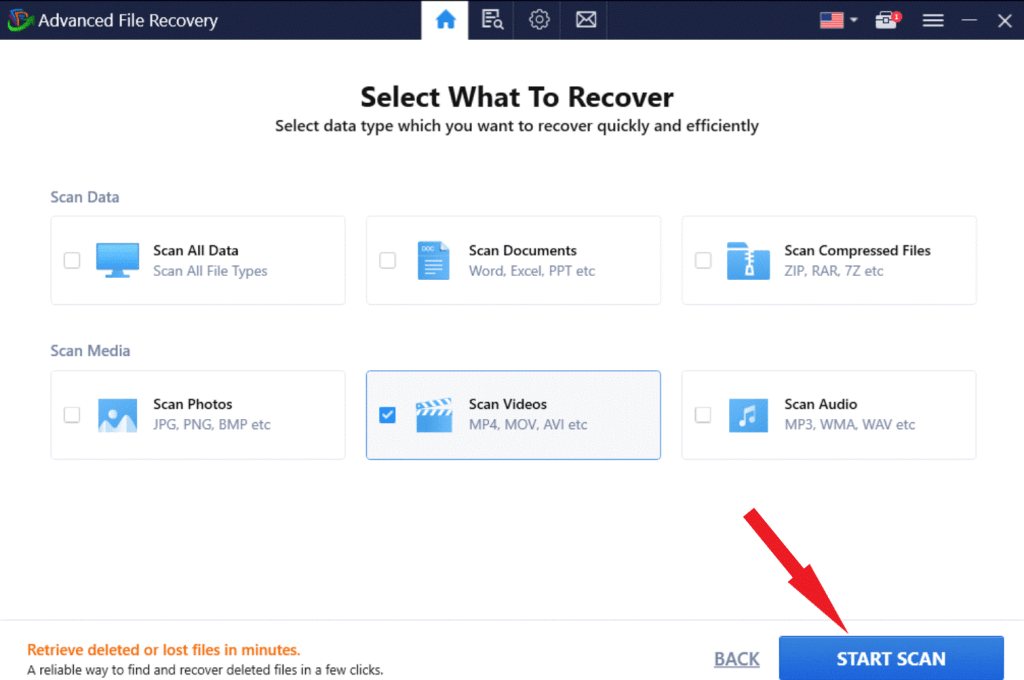
Step 4: Under the Scan Media option, choose the Scan Videos option and tap on the Start Scan button.
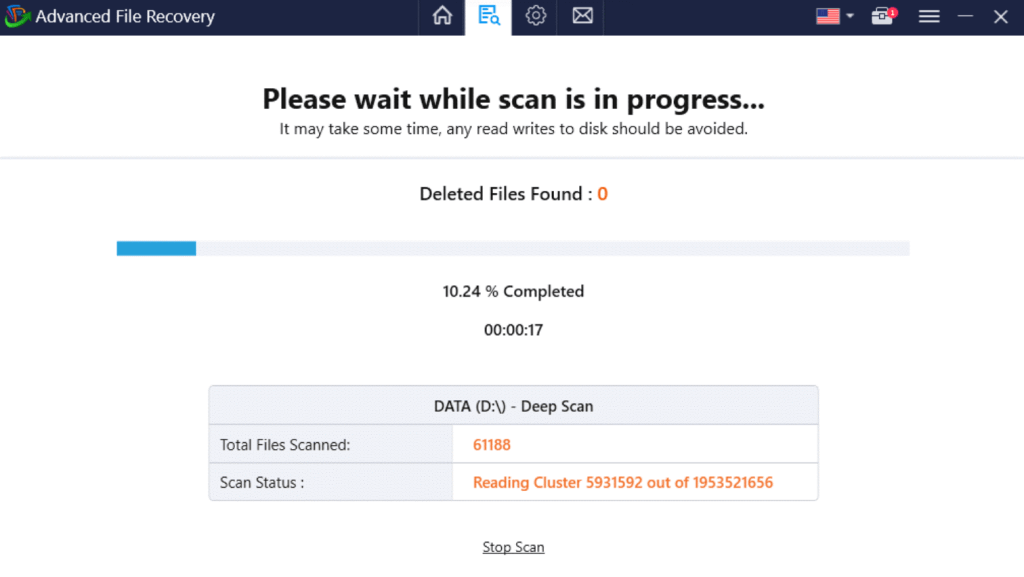
Step 5: Allow the program to scan your computer for deleted files.
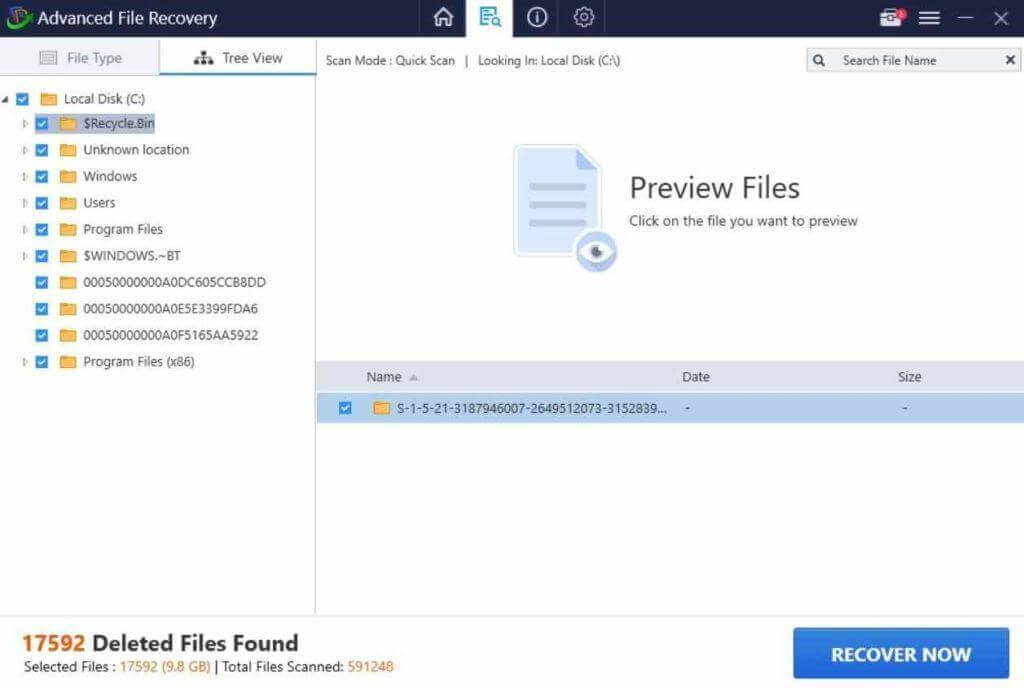
Step 6: Once the scan is complete, you can preview the recovered files and select the ones you wish to restore. Click on Restore Now button and select a location different from the previously saved location to avoid overwriting.
Read Also: 12 Best Video Recovery Software For Windows 10, 8, and 7 PC
Last Words on Recover Deleted or Lost Filmora Videos
Losing precious video files can be a stressful experience, but with the right tools and techniques, you can recover deleted or unsaved Filmora videos on your PC. By acting quickly, checking the Recycle Bin, utilizing Filmora’s auto-save feature, and employing third-party data recovery software, when necessary, you can increase your chances of successfully retrieving your lost footage. Remember to always back up your important files regularly to avoid future data loss incidents.
For more such troubleshooting guides, listicles, and tips & tricks related to Windows, Android, iOS, and macOS, follow us on Facebook, Twitter, YouTube, Instagram, Flipboard, and Pinterest.