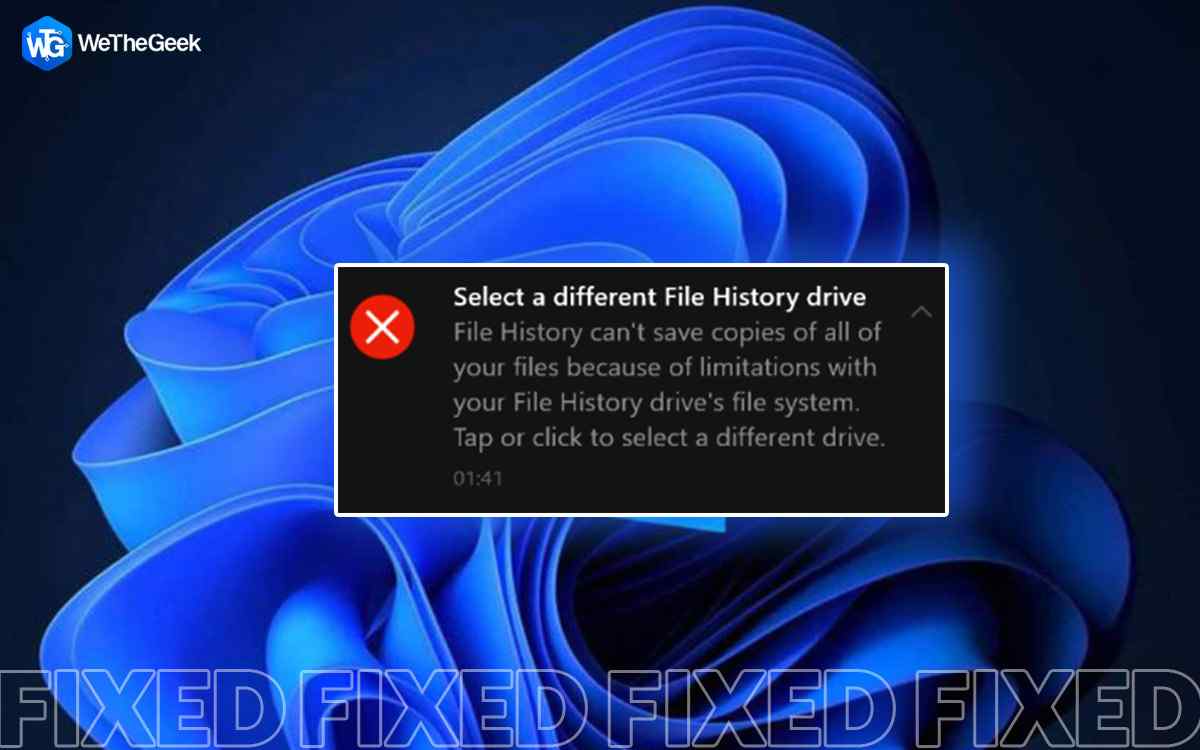
We have been ardent supporters of backing up data, for the simple reason that in times of an emergency, you can restore crucial data. Now, one of the best ways to back up files and folders is using File History. However, many users have come across the error “Reconnect your drive. Your File History drive was disconnected for too long” or related errors. If you are in that situation, we’ll help you fix it.
Getting The Basics Down – What is File History
Windows File History is an amazing feature that can help you back up and restore data on an external hard drive or network.
Here’s how you can save and restore data using File History on Windows.
Why Am I Getting The “Your File History Drive Was Disconnected For Too Long” Error?
Let’s quickly have a look at the probable reasons why this error might have taken place-
- Corrupted external drive
- The external drive’s file system is different/ incompatible with Windows
- The backed-up files or folders are corrupted
- You recently made changes to your backup drive and hence, the File History is unable to recognize the drive anymore
How To Fix – Your File History Drive Was Disconnected For Too Long On Windows 11/10
1. Reconnect The External Hard Drive Once Again
In case, the external hard drive that you use for backup is disconnected for a longer period, you may receive the “your file history drive was disconnected for too long” error.
In such an event, you can try disconnecting and then reconnecting your external drive first and then restarting the backup process again. Follow the steps mentioned below to start the backup
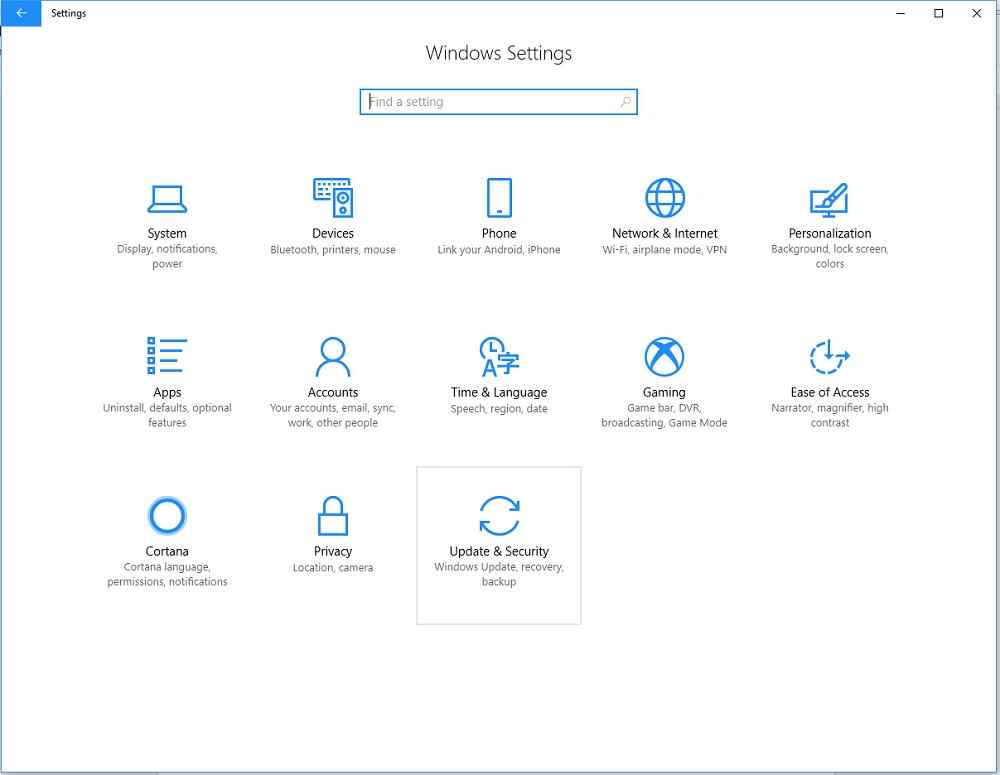
1. Open Settings by pressing the Windows + I key combination.
2. Click on Update & Security.
3. Click on Backup.
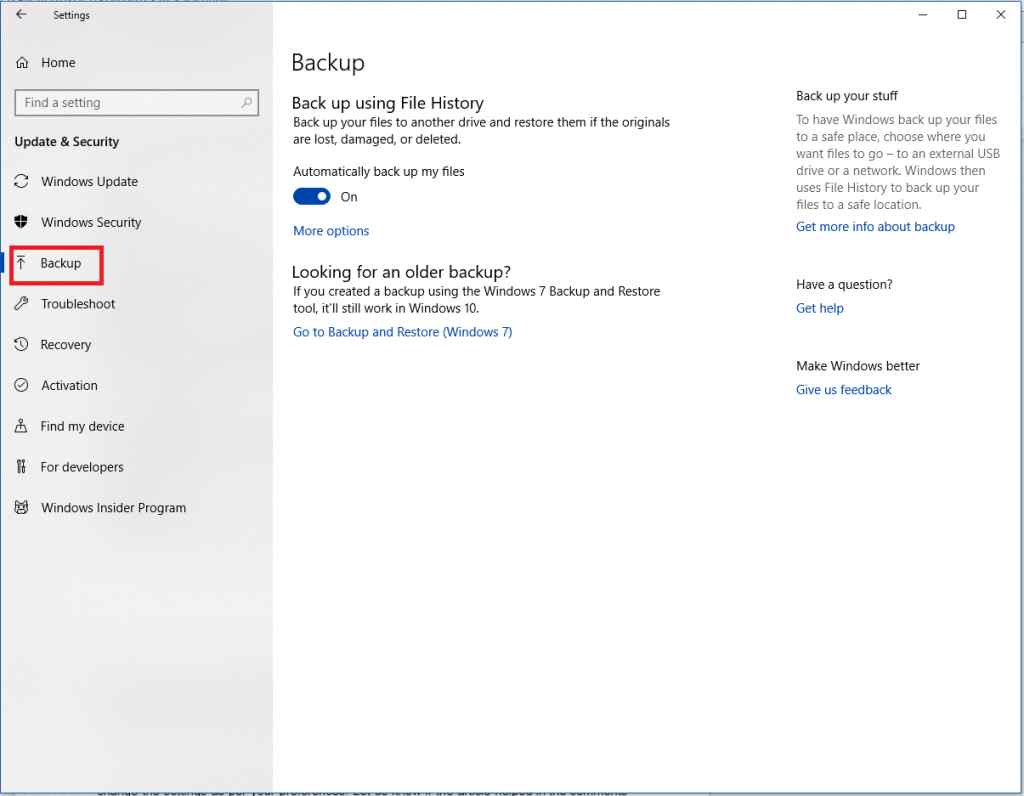
4. From the right-hand side, click on + Add a drive to reselect your external hard drive or network drive.

2. Repair External Hard Drive or The Network Drive
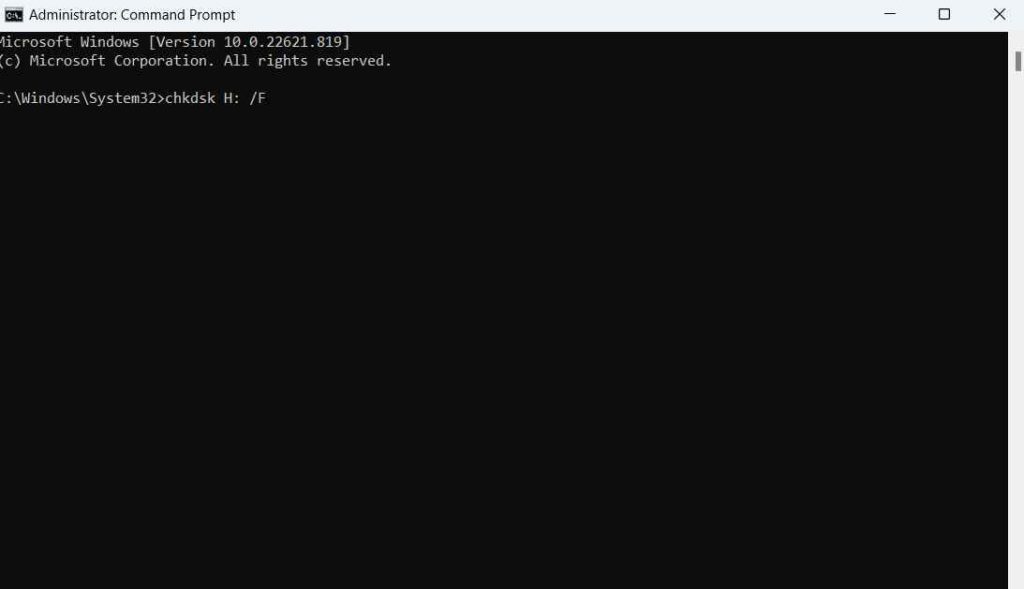
If you are still getting the error “your file history drive was disconnected for too long”, then you can repair the drive using the Command Prompt. Here are the steps to do that –
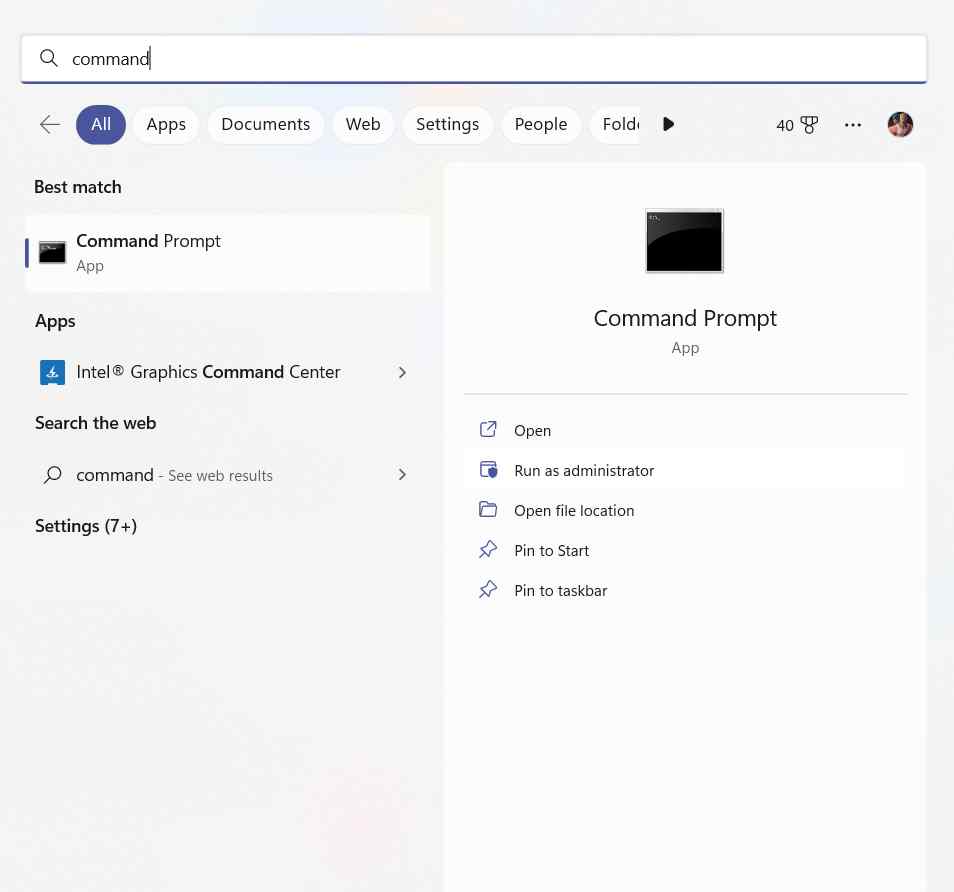
1. In the Windows search bar type cmd and select Run as administrator.
2. When the Command Prompt opens, type chkdsk X: /F
In the command mentioned above, replace the letter X with the drive letter of your drive that you use for File History backup. So, if the drive letter is H, then the command will be chkdsk H: /F
3. Delete AppData
Deleting File History’s AppData has proven to be useful for many users. But, before you do that ensure that you can see hidden folders and files. To delete app data –
1. Open File Explorer
2. Click on the View tab that you can see at the top-left corner of the screen.
3. Click on Options and then select Change folder and search options.
4. In the Folder Options window, click on the checkbox that says Show hidden files, folders, and drives.
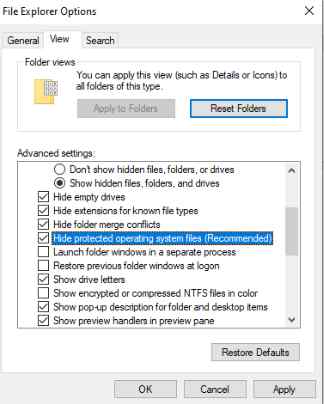
5. Click on Apply and then click on OK.
Now, we’ll proceed to delete File History’s AppData, and here are the steps –
1. Open File Explorer.
2. In the address bar type C:\Users\Admin\AppData\Local\Microsoft\Windows and press Enter.
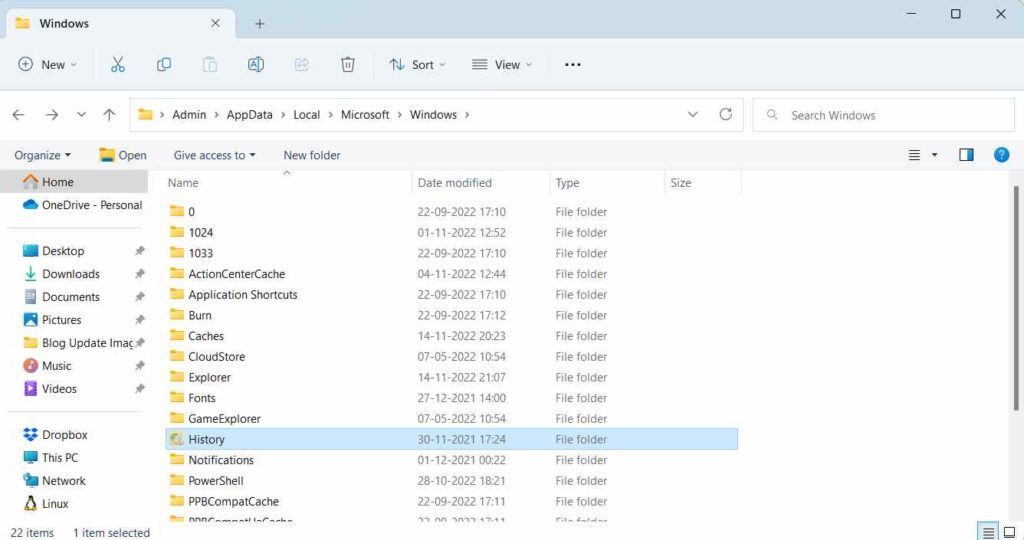
3. Select File History and click on Delete.
4. Backup Using A Third-Party Utility
While you are resolving the issue, it is still important that you keep your data backed up. So, here we have a great backup utility called Advanced System Optimizer which primarily is an optimization tool for Windows 10. It doubles up as a great backup utility as well.
In fact, if we talk of the features of this wonderful tool and how they can help you improve your Windows performance, you can have a look at this post.
Here’s how you can back up and restore crucial data using Advanced System Optimizer –
1. Download, run, and install Advanced System Optimizer.
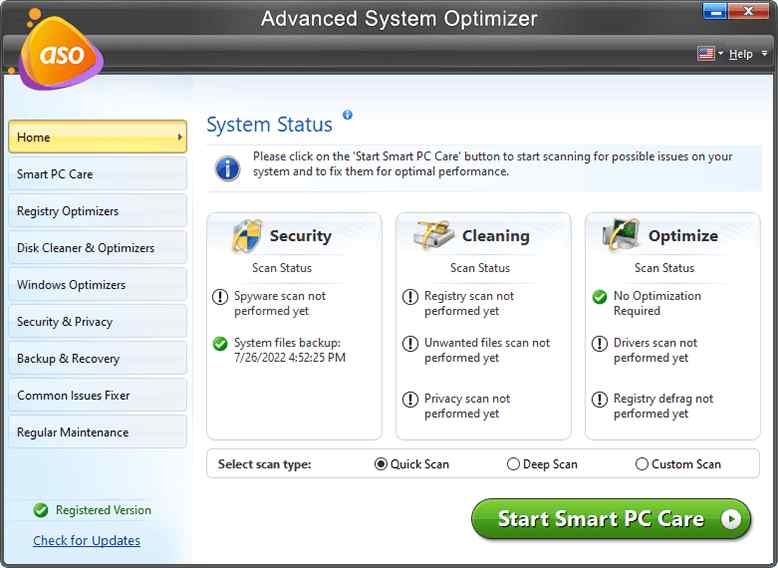

2. From the left-hand pane, click on Backup & Recovery.
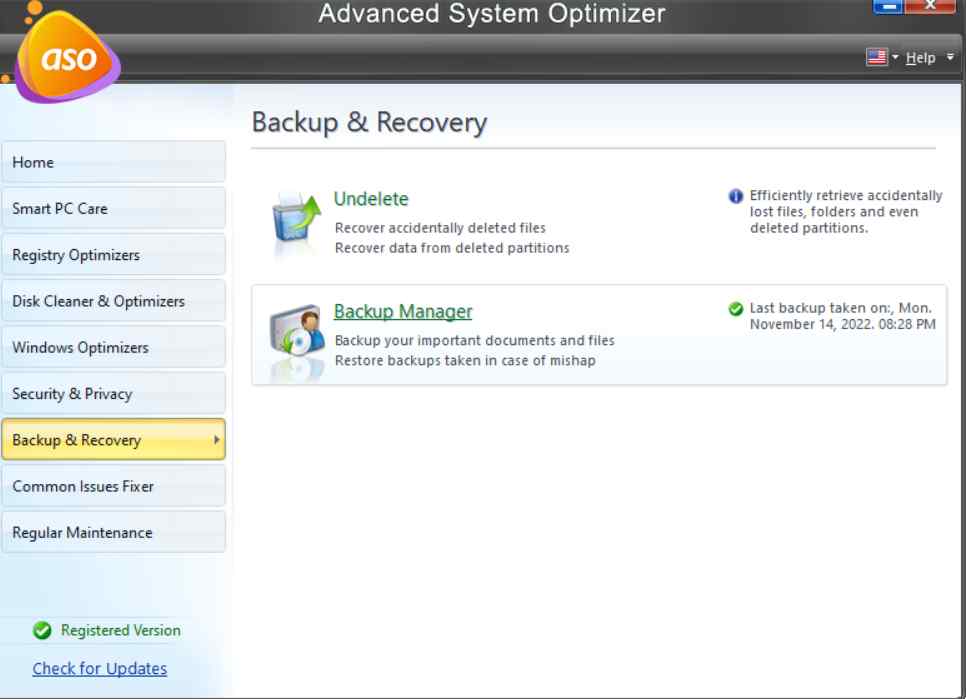
3. Click on Backup Manager.
4. When the Backup Manager window opens, click on Start Backup.

5. Under Create Job fill in the appropriate fields as per the backup job you want to create and click on Next.
6. Select Backup Settings where you can encrypt your backup and even select Compression Ratio.
7. Choose a backup location.
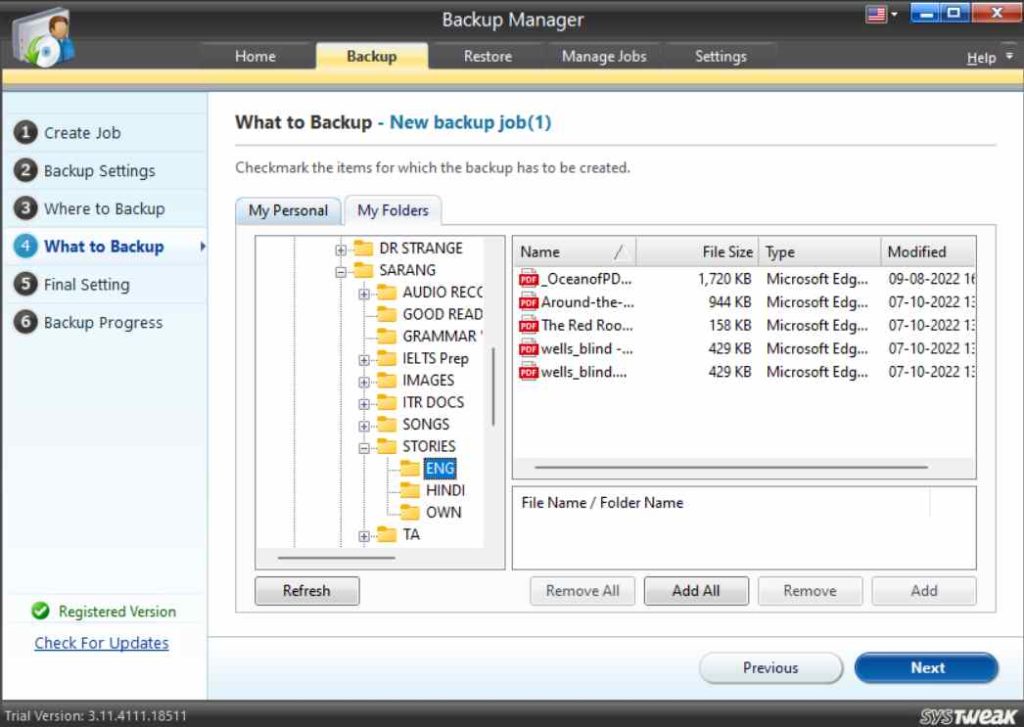
8. Select what you want to back up and click on Next. You can click on Add All or Add depending on the number of files and folders you want to add.
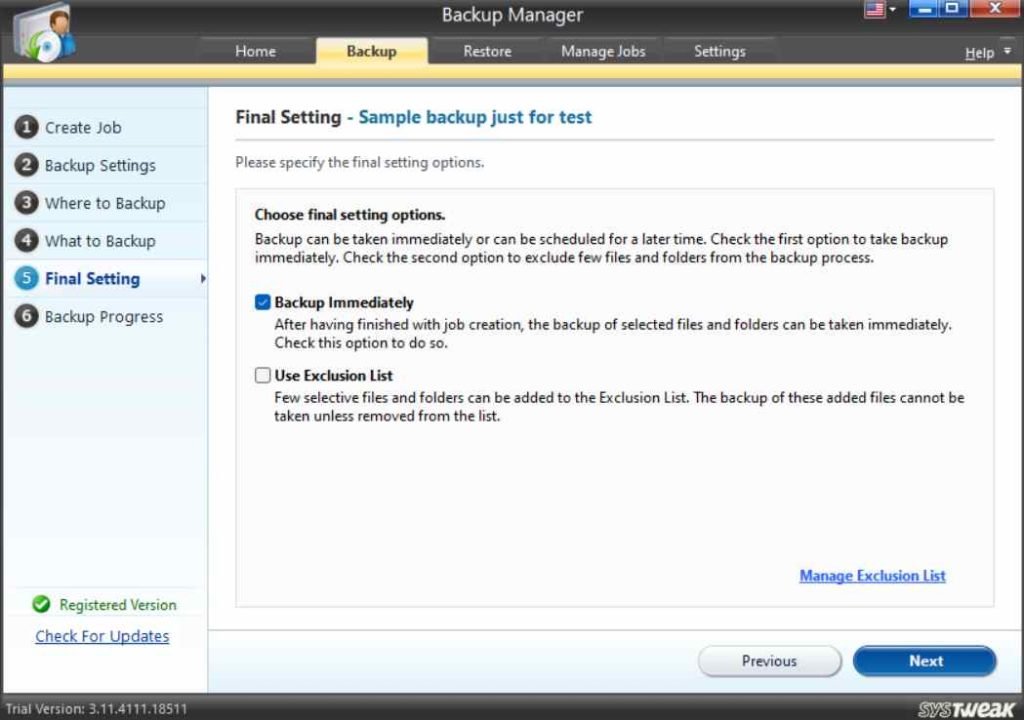
9. Finally, you can choose to back up data immediately or exclude items from the list. Click on Next.
10. Click on Save.
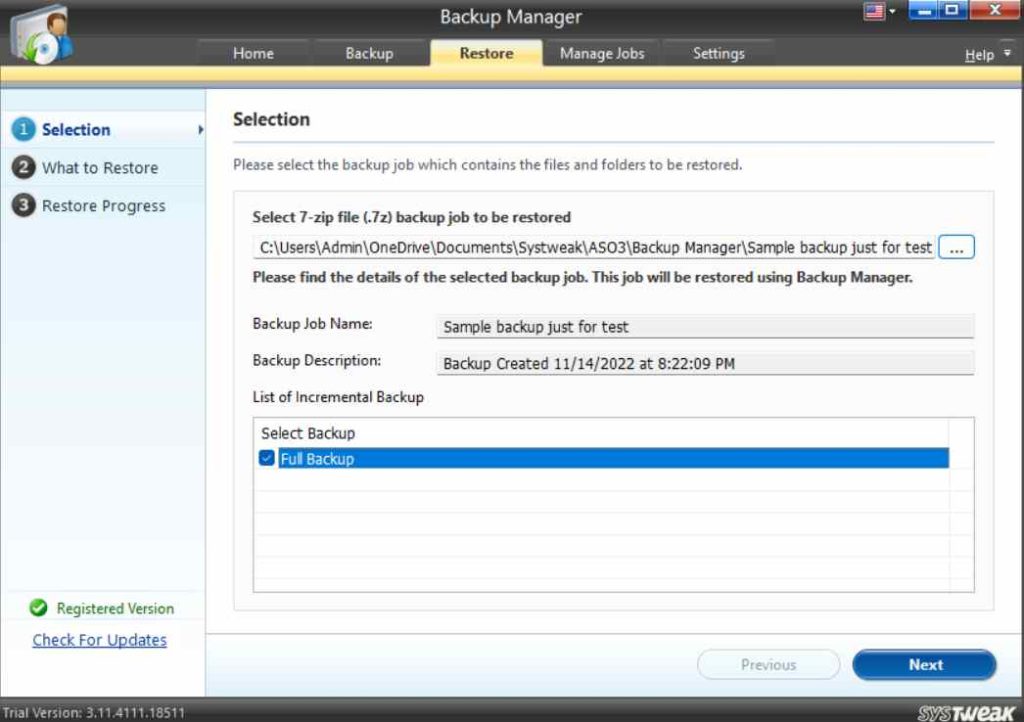
How Do I Restore My Backed Up Files Using Advanced System Optimizer?
1. Repeat steps from step no. 1 to step no. 3 as shown above.
2. Click on Restore Backup.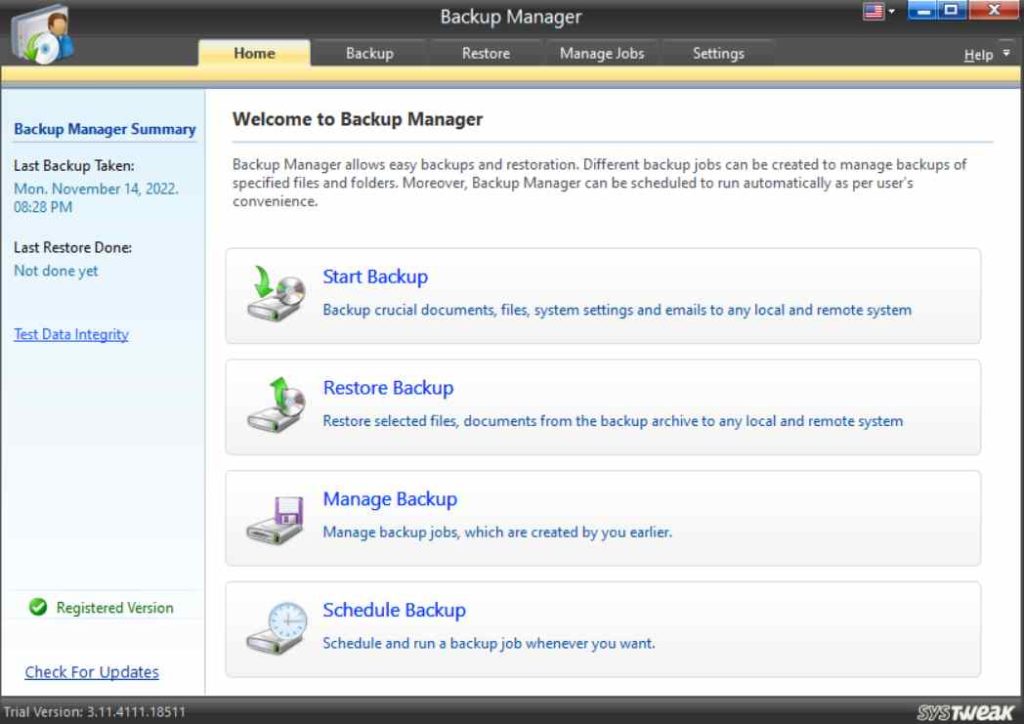
3. Choose the location where you had saved the backup and click on Open.
4. Select the backup and click on Next.
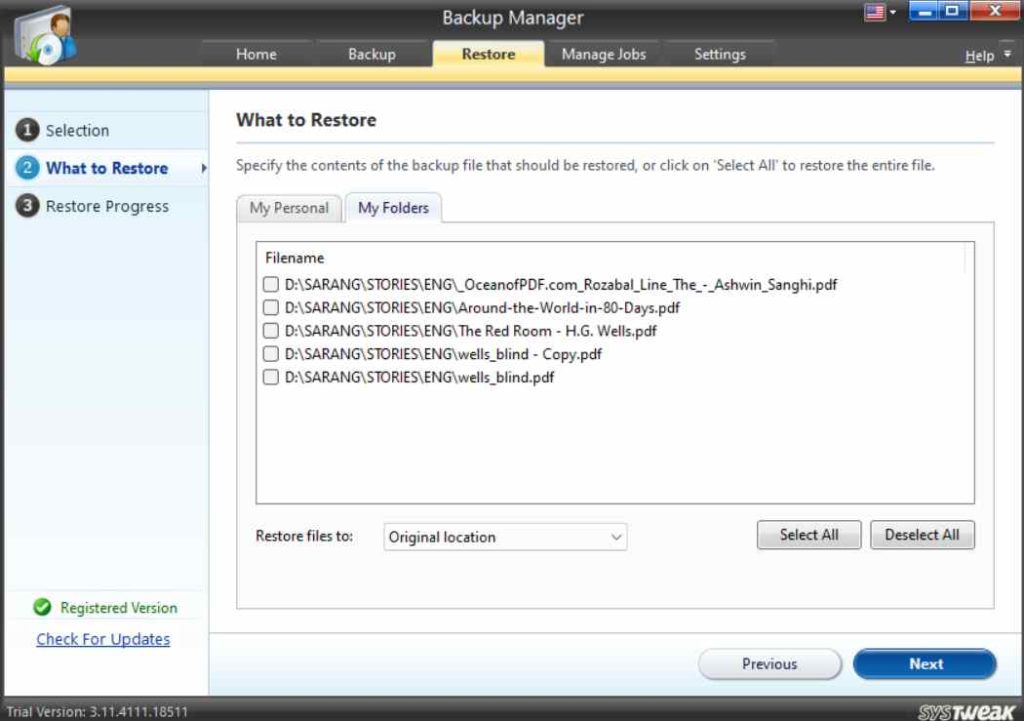
5. Select the items that you want to restore and click on Next.
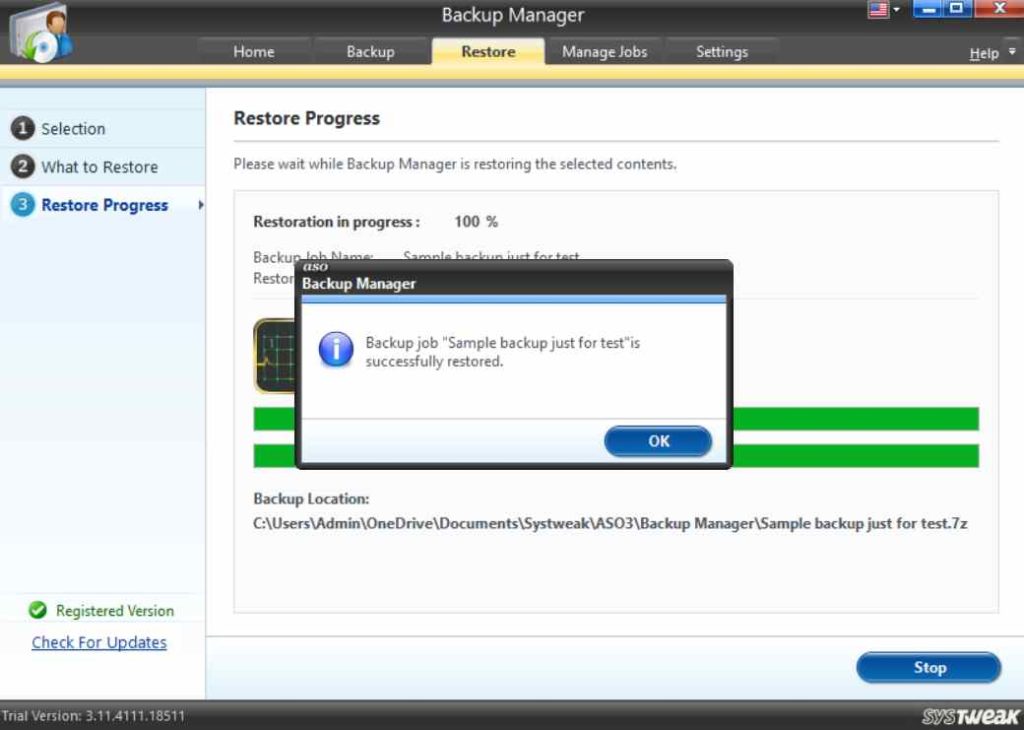
6. That’s it! You have just restored your backup.
Wrapping Up
We hope that after having applied the methods discussed in this post, you have been able to fix the error “Your File History drive is disconnected. Reconnect it and try again” or any other similar issue. If you have, do let us know in the comments section which of the above methods proved to be helpful. For more such content, keep reading WeTheGeek. Don’t forget to follow us on Facebook, Twitter, Flipboard, YouTube, Instagram.