Many Windows users will find Snipping Tool a useful tool for capturing and customizing screenshots. I, Although it occasionally stops functioning effectively,it’s a lightweight native Windows tool that’s helpful for taking screenshots. After the system is updated, users may experience issues such as a blank or black screen, a pop-out error notice, photos failing to save, or the program not responding. If you’re having trouble with either of these Snipping Tool issues, you’ve come to the correct spot! We will walk you through numerous approaches in this article that may be useful to you. Now let’s look at how to do it:
How To Fix Snipping Tool Not Working On Windows 10?
Method #1: Restart the Snipping Tool
Quitting and restarting the Snipping Tool may solve the problem. You can utilize the built-in Task Manager to close any non-responsive or freezing program and reload the Snipping Tool to check if your problem is resolved.
Step 1: To open the Task Manager, use Ctrl + Shift + Esc.
Step 2: Right-click the Snipping Tool shown on the left under the Processes tab and select End task from the context menu.
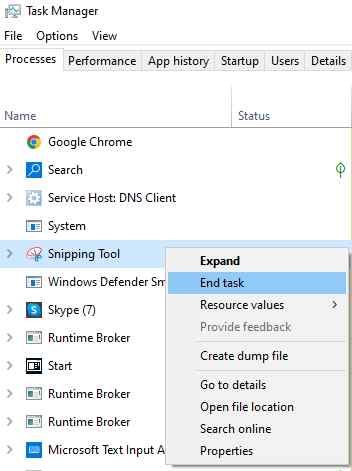
Step 3: Reboot your Snipping Tool and expect it to work properly.
If this solution fails, try the next one below.
Method # 2: Allow Snipping Tool to run in the background
Snipping Tool is an app that “stays behind the screen” and waits to be woken up most of the time. However, if your PC does not allow it to operate in the background, the Snipping Tool will not be able to work when you are not in the app’s window. Thus you need to allow or grant permission to the Snipping Tool.
Step 1: Press Windows + I to open the Settings window.
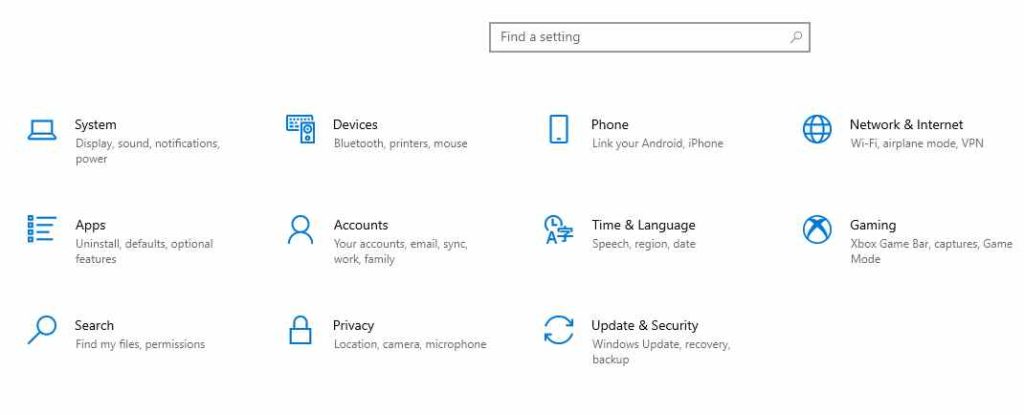
Step 2: Click Privacy in the Settings menu.
Step 3: Scroll down to the Background programs section on the left panel.
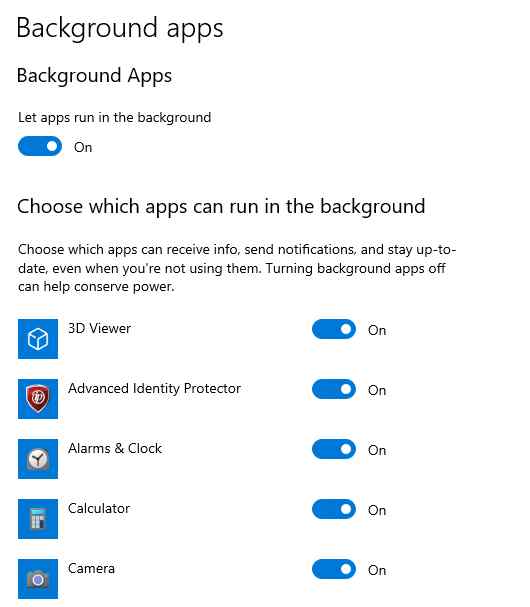
Step 4: Check if the Snipping Tool is enabled. If not, turn the toggle button On.
Method # 3: Update Windows
Microsoft makes it a point to release Updates every Tuesday(That is why it is called Patch Tuesday). These updates contain patches, security updates, and bug fixes. It is recommended to update your Windows OS regularly as this will keep your computer safe and fix many minor issues. Here are the steps to initiate Windows Update:
Step 1: Press Windows + I to launch the Settings options.
Step 2: Select Update & Security from the various options.
Step 3: Now click on Check For Updates button to initiate the process.
Step 4: After all the updates have been completed, reboot your PC.
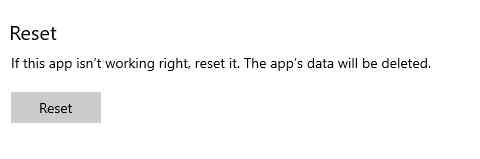
Method # 4: Snipping Tool Repair Or Reset
Whenever an app is not functioning properly or specific features of an app are not working correcty, you can use the built-in function in Apps & features to repair and reset it. If your Snipping Tool isn’t working, follow the steps below:
Step 1: To open Windows Settings, press Windows + I and click Apps.

Step 2: To expand the Snipping Tool, scroll down to the right list and click it.
Step 3: Select the Advanced tab.
Step 4: Select Repair and Reset to fix this issue.
Method # 5: Clean Unwanted Files
There are many unwanted files on your PC like Temp files, Junk files, Cookies, and cache. These files get created to speed up the process of the running apps but are never deleted. When these files accumulate over time or get corrupted, they can start conflict while running the apps. It is recommended to optimize your PC regularly, and this can be only done through PC optimization software.
Advanced PC Cleanup

Advanced PC Cleanup is an all-in-one PC cleanup tool that helps users optimize and clean their PC. This helps improve the performance of your PC and ensures swift and smooth operations. Here are the features of this app:
Junk Remover
Users create Cache files, and the system cache might take up a lot of space on your computer. Junk Cleaner ensures that your computer is clean of such files.
Cleaner for Temporary & Trash Files
This feature deletes all temporary files and free up space on your computer. Advanced PC Cleanup will quickly remove files from the Recycle Bin.
Registry Cleaner
Remove incorrect Windows Registry entries to ensure that your PC runs smoothly. Delete Registry entries is a simple procedure.
Startup Manager
Except for a few programs necessary for your PC to boot, you can eliminate all undesirable Startup items.
Uninstall Redundant Apps
All of these unneeded apps take up storage space, which you can free up with Advanced PC Cleanup.
Old Downloads
Advanced PC Cleanup will provide a list of all the idle files on your computer.
Malware Protection
Advanced PC Cleanup eliminates all dangerous files from your computer, protecting your data from being infected or corrupted.
Delete your online footprints
Personal information stored in your browser is not secure since thieves can access it. Advanced PC Cleanup examines and keeps track of all passwords and other information stored on your computer, allowing you to erase them completely.
Method # 6: Use the DISM tool
The Deployment Image Servicing and Management (DISM) command-line utility manages and deploys Windows images. When image-related problems arise, one of its numerous functions is to repair system images. If your Snipping Tool isn’t working, try running the DISM command with the RestoreHealth option to check if the issue is related to the system image.
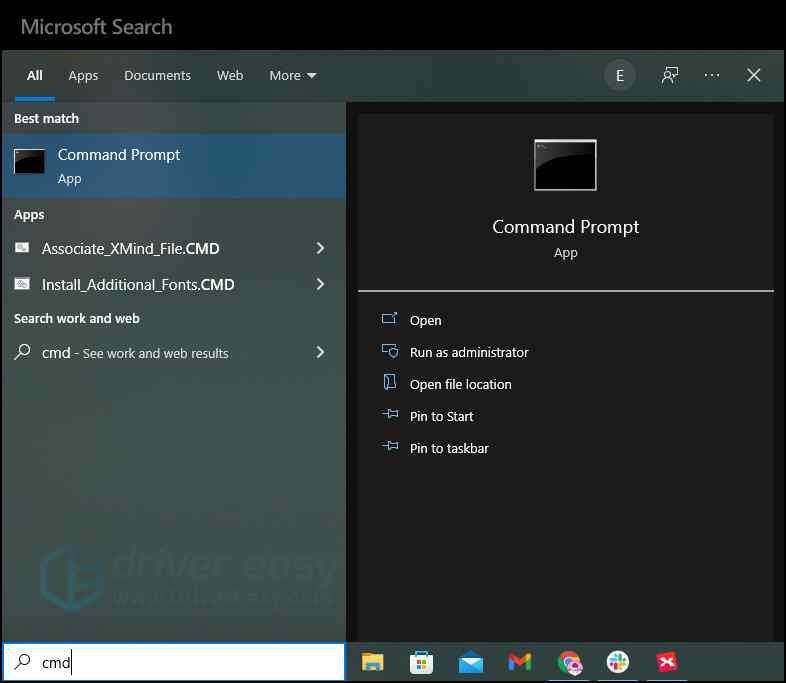
Step 1: To open the Command Prompt, type cmd into the search box and choose Run as administrator.
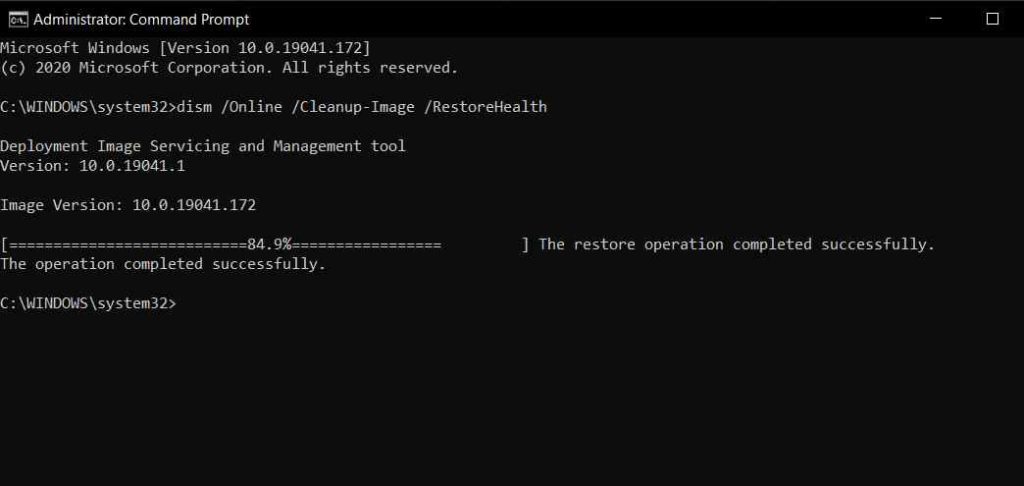
Step 2: Press Enter after copying the following command to the Command Prompt.
DISM /Online /Cleanup-Image /RestoreHealth
Step 3: Wait for the restoration process to finish.
Step 4: Check if the Snipping Tool works after restarting your computer.
If this procedure fails, try the last one listed below.
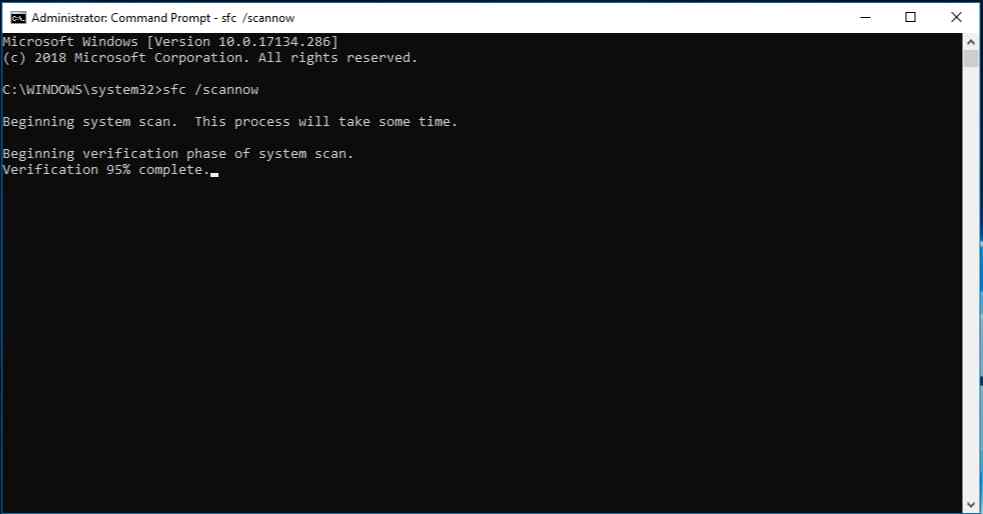
Method # 7: Run System File Checker
When you have corrupted or broken system files, they can cause the Snipping Tool to malfunction. In this scenario, you should conduct a system scan to see if your PC has any broken system files.
Step 1: Open Command Prompt in Admin Mode.
Step 2: Type the following command filled by the Enter Key.
sfc /scannow
Step 3: Wait for the process to complete and restart your PC.
The Final Word On How To Fix Snipping Tool Not Working On Windows 10?
The above methods are exper recommended solutions compiled from various troubleshooting forums and will help you resolve your issue. It is important that you bookmark this page because for those who adore Snipping Tool, the issue of the Snipping tool not working in Windows 10 can be very frustrating.
Follow us on social media – Facebook, Instagram, and YouTube. Please let us know of any queries or suggestions in the comments section below. We would love to get back to you with a solution. We regularly post tips and tricks, and answers to common issues related to technology.