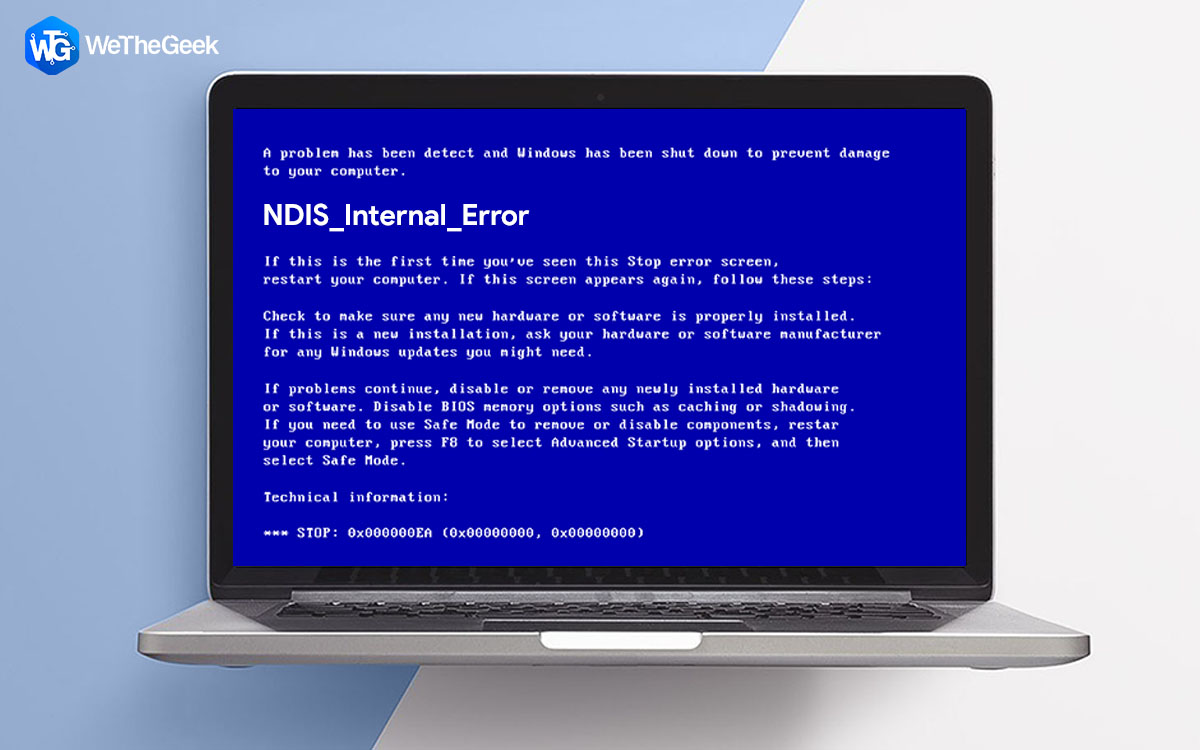
Stuck with the NDIS_Internal_Error at the time of startup? Well, don’t worry! It’s a common BSOD (Blue Screen of Death) error that is caused due to outdated drivers or corrupt system settings. Another possible reason why you may encounter this issue on your device indicates the presence of a virus or malware.
So, before this Blue screen error creates any further havoc, let’s work on a few ways that will help you resolve this issue. In this post, we have listed a bunch of troubleshooting solutions that will allow you to fix the NDIS Internal error on Windows 10.
Also read: PFN LIST CORRUPT Blue Screen Error In Windows 10
Let’s get started.
How to Fix the NDIS_Internal_Error on Windows 10?
#1 Download and Install Smart Driver Care

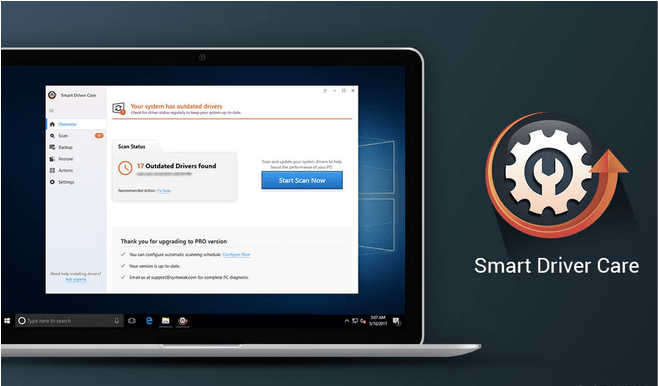
Blue screen errors commonly occur on your device due to outdated or corrupt drivers. Manually updating every installed driver can be quite tedious. Hence, to save you from all the hassle, we recommend you download and install the Smart Driver Care utility tool on your device. Smart Driver Care is one of the best driver updater tools for Windows that automatically scans your entire device to look for outdated/corrupt drivers, fetches their latest update, and allows you to install the latest drivers in just one click. Here’s what you need to do.
Install the Smart Driver Care tool on your Windows PC. Launch the software once the installation is completed.
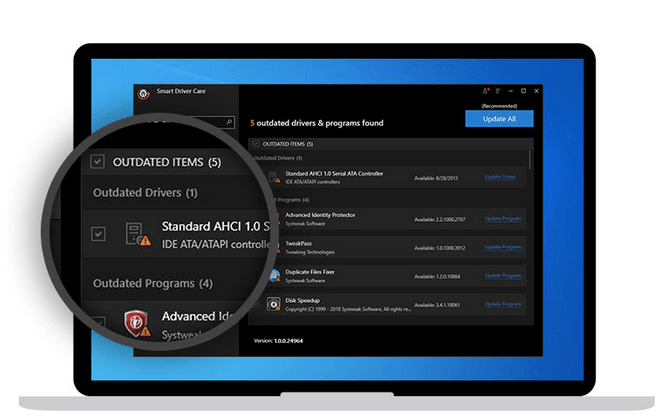
Tap the “Scan now” button. Within a few seconds, all the outdated drivers and software will be listed on the window. Check on all the items that you need to update, hit the “Update All” button placed on the top-right corner of the screen.
After updating all the outdated drivers, reboot your machine to check if the NDIS_Internal_Error persists.
Also read: Smart Driver Care vs Driver Finder vs Avast Driver Updater
#2 Run the BSOD Troubleshooter
Windows 10 comprises various built-in security functions that are deep within Windows settings. Heard of the Blue Screen troubleshooter? Let’s see how to use the BSOD troubleshooter on Windows to fix the NDIS Internal error.
- Press the Windows icon, tap the gear-shaped icon to open Settings.
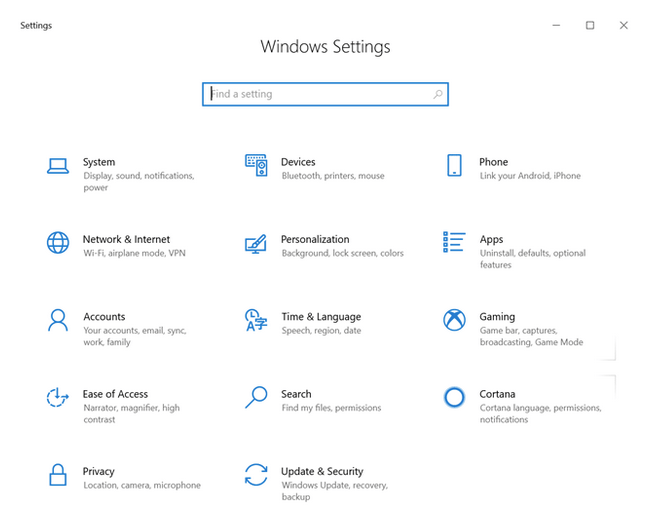
- In the Settings window, tap on “Update and Security”. Switch to the “Troubleshoot” section from the left menu pane.
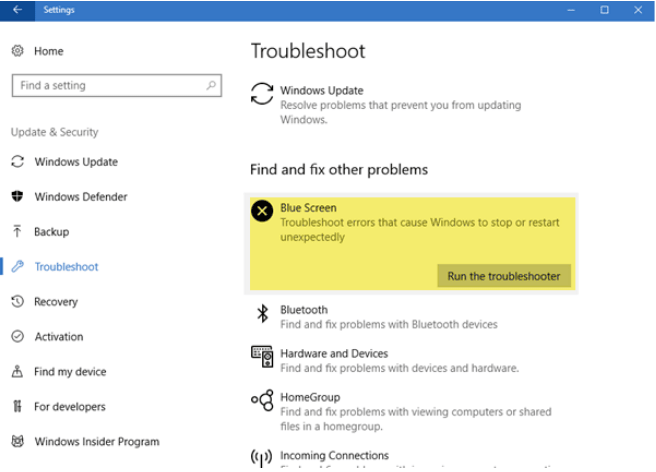
- On the right side of the window, look for the “Blue Screen” option. Tap the “Run the Troubleshooter” button.
Follow the on-screen instructions and run the BSOD troubleshooter so that Windows can automatically scan and fix the NDIS internal error issue.
Also read: Ways to Fix Stop 0x000000f4 Blue Screen Error on Windows 10
#3 Run an SFC Scan
SFC (System File checker) is an in-built Windows utility that scans and restores corruptions or discrepancies found in system files. You can run the SFC scan via the Command Line terminal and easily fix common Windows errors through this useful tool.
- Launch the Start menu search, type “Command Prompt”, right-click on it, and select “Run as Administrator”.
- In the Command Line terminal, type the following command and hit Enter.
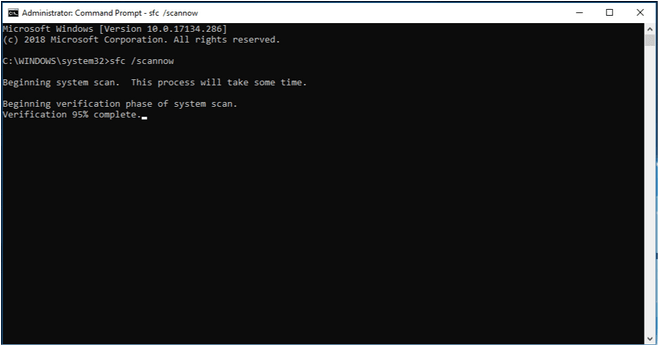
sfc/scannow
Wait for a few minutes until the scan is completed. You will see all the results listed on the screen as soon as Windows is done fixing all the underlying issues.
Also read: SFC Scan Stops Working on Windows 10? Here’s the Fix!
#4 Scan Your Device for Virus or Malware
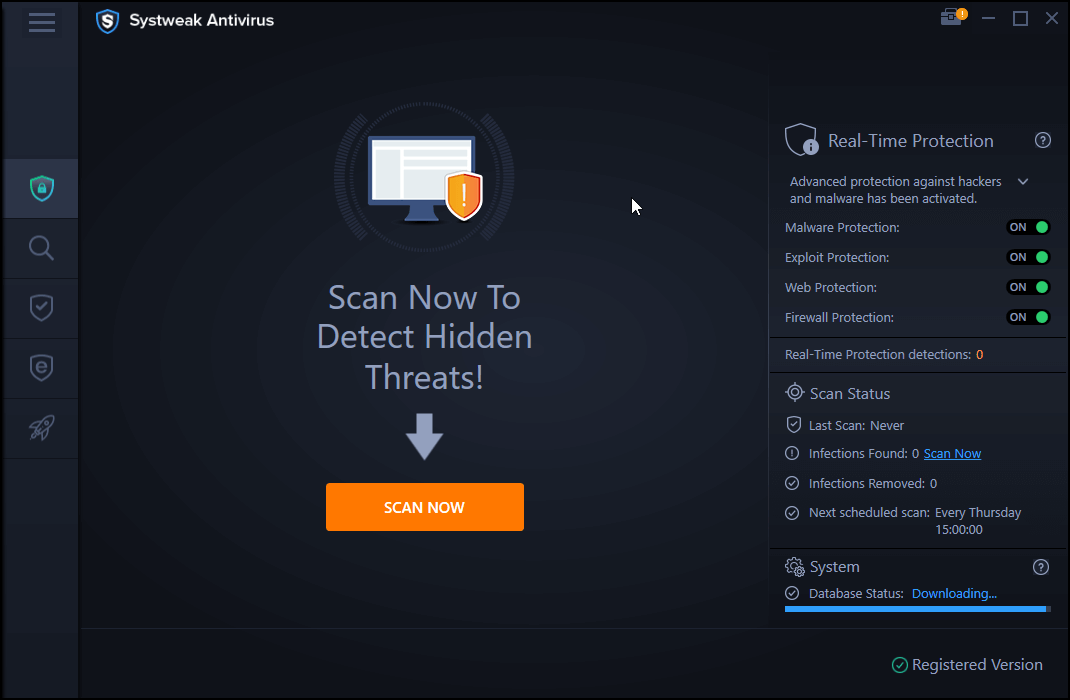
Is your PC installed with any antivirus software? If not, then download and install Systweak Antivirus right away to never leave your device exposed to malicious threats. Systweak Antivirus is one of the best antivirus tools for Windows that offers real-time protection against viruses, malware, trojans, spyware, adware, and ransomware attacks. Systweak Antivirus provides all-around protection, secures your device and data, enhances the speed and performance of your machine.
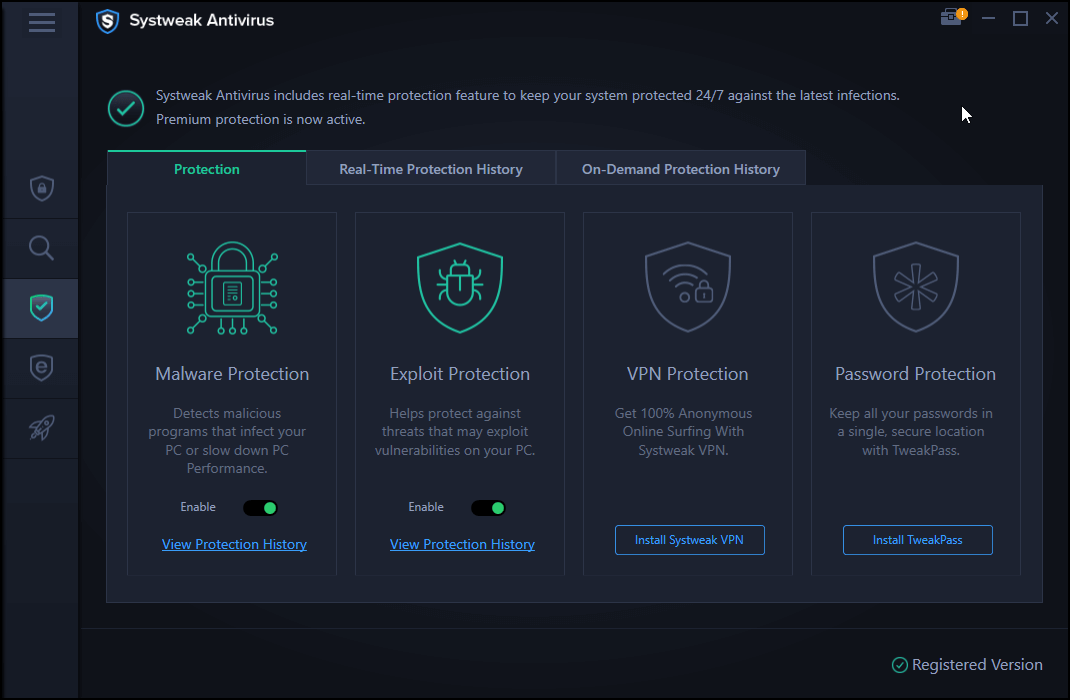
Download and install the Systweak Antivirus for Windows. Launch the tool on your device.
It offers you three different types of scanning modes that you can choose based on your need and requirement: Quick Scan, Deep Scan, and Custom Scan. pick a scanning mode and get started.
#5 Unplug and Plug Hardware Peripherals
Tried the above-mentioned solutions and still no luck? Well, this strongly indicates that the NDIS internal error is occurring due to a faulty hardware device that is connected to your system.
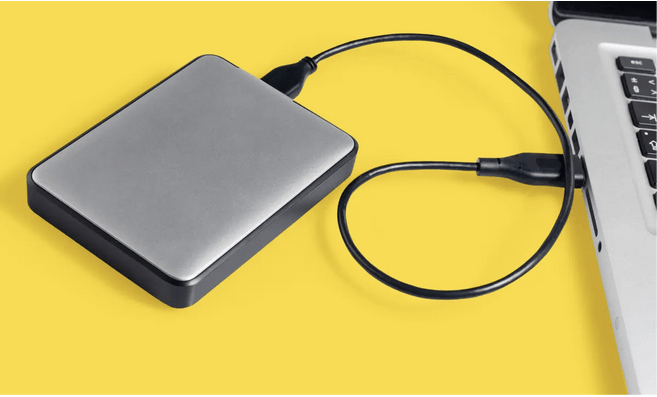
To fix this, we recommend you unplug and plug each hardware device one by one to find the culprit. This will help the Windows OS to successfully re-install the device drivers. Keep performing this unplug and reconnect operation until you find the fault with any peripheral. Try this hack with every connected device, including external drives, speakers, USB sticks, keyboards, and mice, etc.
Conclusion
Here were a few troubleshooting solutions that will help you resolve the “NDIS Internal Error” issue on Windows 10. You can use any of these methods to get past the Blue Screen and make your Windows OS functional again!