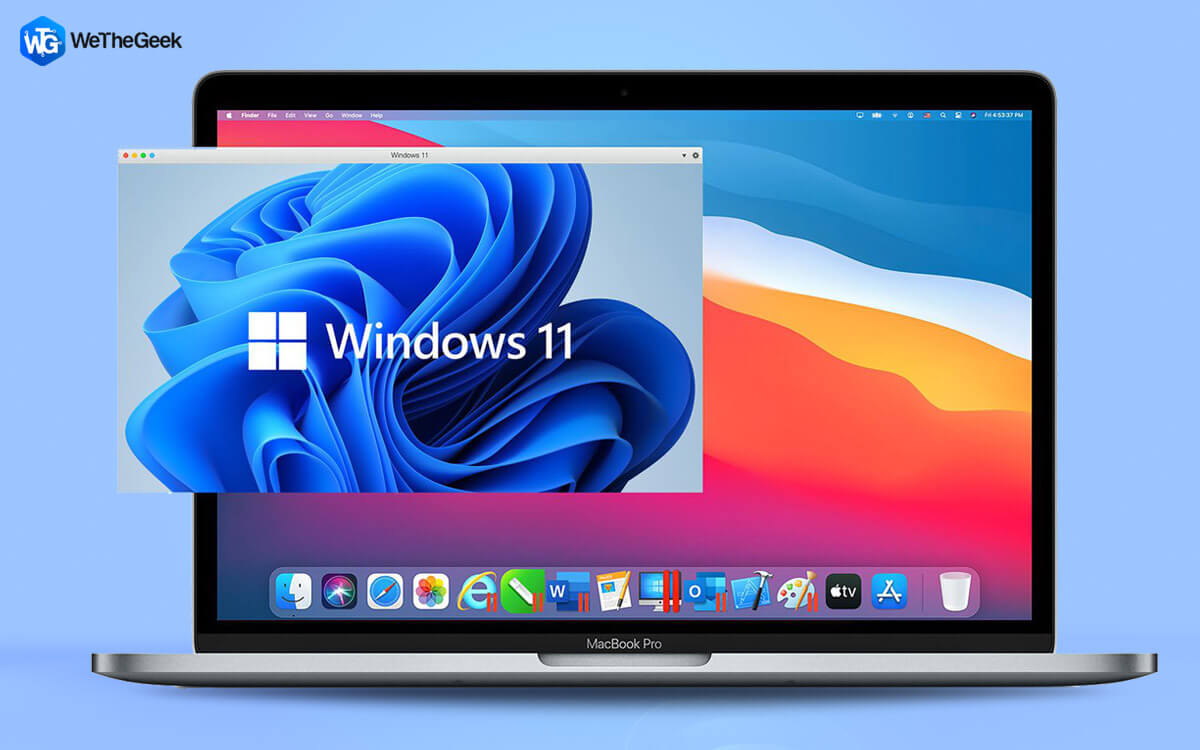
In the late 2020s, Apple introduced its ARM-based Apple Silicon Chip, which came embedded with all the 2021 MacBook Pro models, upgraded versions of iPhone, iPad, iPod, Apple TV, and other products. Better performance, longer battery life, and good system-work efficiency is the primary goal of Apple Silicon. Despite all the generous benefits, it doesn’t support installing and running other Operating Systems like Windows on Apple Silicon Mac. Earlier, users rely on the most efficient technique of Boot Camp to run and install Windows on Mac with Intel chips. But with Apple’s custom chips, the process is a little tricky!
Since then, Apple users are searching for different ways to install and run Windows on a Mac with Apple Silicon chip. In this blog, we’ll discuss why Apple denied installation of Windows on Mac using Boot Camp and you will also learn how to install Windows on an Apple Silicon Mac using virtualization software

Why Can’t You Directly Install Windows Using Boot Camp On Apple Silicon Mac?
After years of hard work, Apple successfully transitioned from Intel chips to custom ARM-based chips similar to the A-series chips used in the iPhone/iPad. The new Apple silicon chips- M1/ M1 Pro/ M1 Max/ M1 Ultra chips, are designed to provide advanced performance, better power management, longer battery life, and optimum energy system functioning.
But, installing Windows using a boot camp is certainly not possible in Apple’s Silicon Mac, as Microsoft has not yet released the version of Windows that can run on ARM-based chips. According to the tech giant, virtualization is the only route to installing and running Windows on an Apple Silicon Mac until Microsoft decides to release a new ARM-based Windows version that supports Apple silicon chips.
With the Boot Camp option being unavailable on certain Mac machines, several software engineers and professional coders took the opportunity to create a bootable Windows installation using Homebrew (an open-source software package management system that simplifies the installation of software on macOS) and Terminal on Mac. Since the process is extremely lengthy and challenging and has glitches, several users considered ditching some workarounds of potential solutions to install Windows on Apple silicon Mac. Therefore, we suggest users to go with the following hassle-free way to get the job done.
Must Read: “The macOS installation couldn’t be completed” error & How to fix it
How To Install Windows On An Apple Silicon Mac?
The most effective solution for installing Windows on Apple Silicon Mac is to use virtualization apps like Parallels and UTM.
Installing Windows on Apple Silicon Mac using Parallels:
Parallels is the ultimate virtualization software that allows users to run Windows on Mac or vice-versa. The VM software is used by millions of users worldwide, and when Windows 11 was introduced, Parallels was the only virtualization software that could run it.
To install Windows on an Apple Silicon Mac using Parallels:
1. Install Parallels software from its official website.
2. Proceed to download the Windows 11 file from the Microsoft website.
Once the Parallels software is downloaded, Open the Installation Assistant.
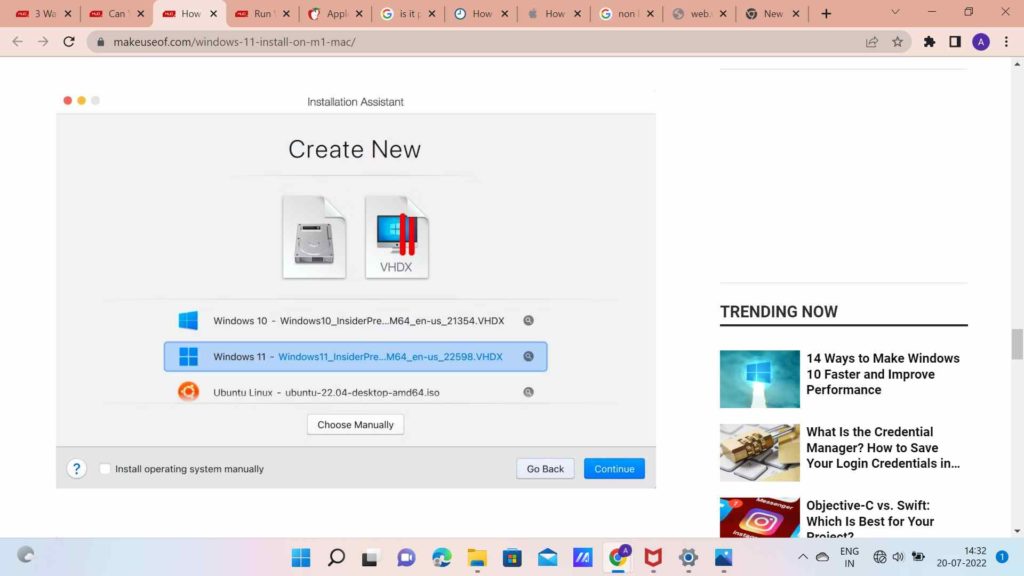
3. Installation Assistant > Select the Windows you downloaded earlier.
4. Click on Continue to proceed further.
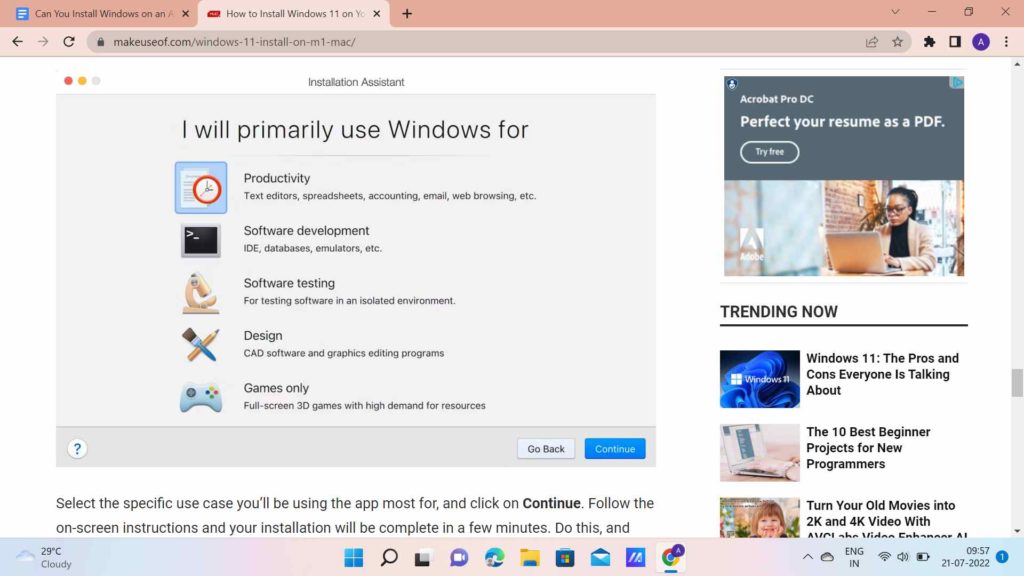
5. To start using Windows 11 on your Apple silicon Mac, complete the Windows 11 setup and installation process.
Installing Windows on an Apple Silicon Mac using UTM software:
UTM is another great virtualization software that allows users to run various operating systems on Mac. Since UTM is an open-source VM software, it is preferred by the majority of the macOS users as compared to other available options.
To install Windows on an Apple Silicon Mac using UTM software:
1. Install UTM software from its official website.
2. Proceed to download the Windows 11 file from the Microsoft website.
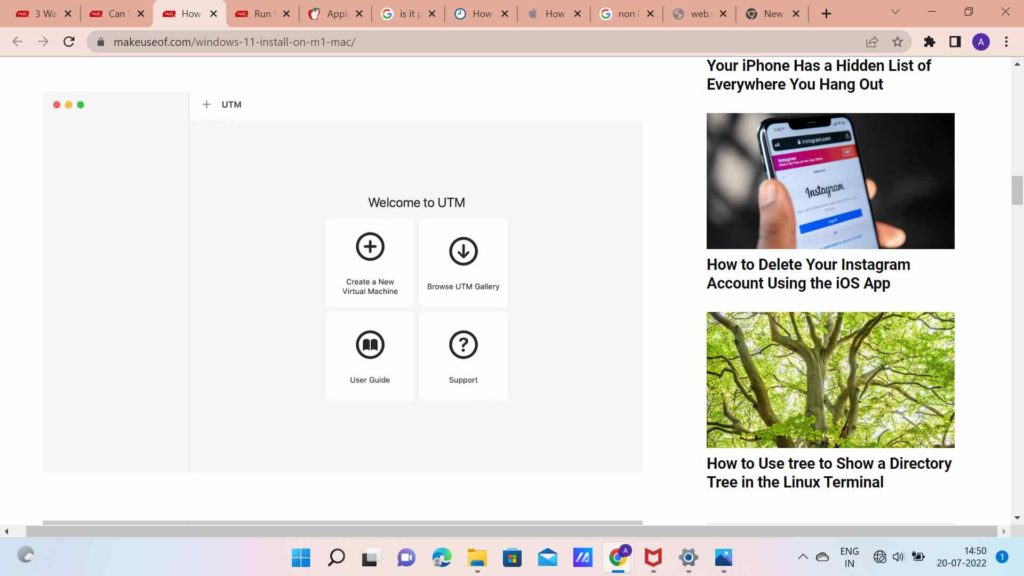
Once the UTM software is downloaded, open the Main menu.
3. Click on + Create a new virtual machine > Select Virtualize Option.
4. Click on the Windows option from the Operating Systems.
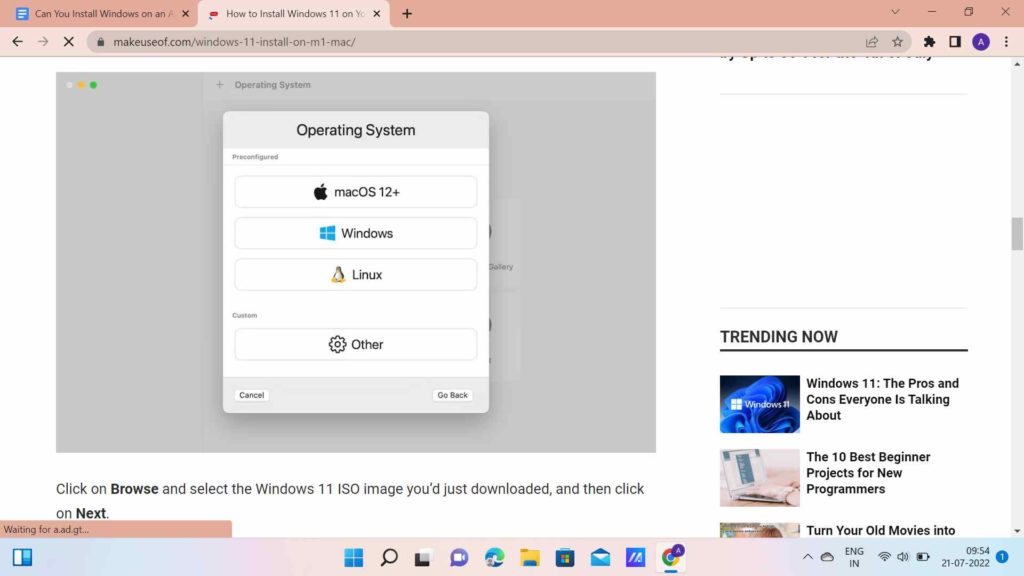
5. Click on Browse to select your downloaded Windows 11 ISO
6. Click Next to allocate RAM and CPU cores to run Windows 11.
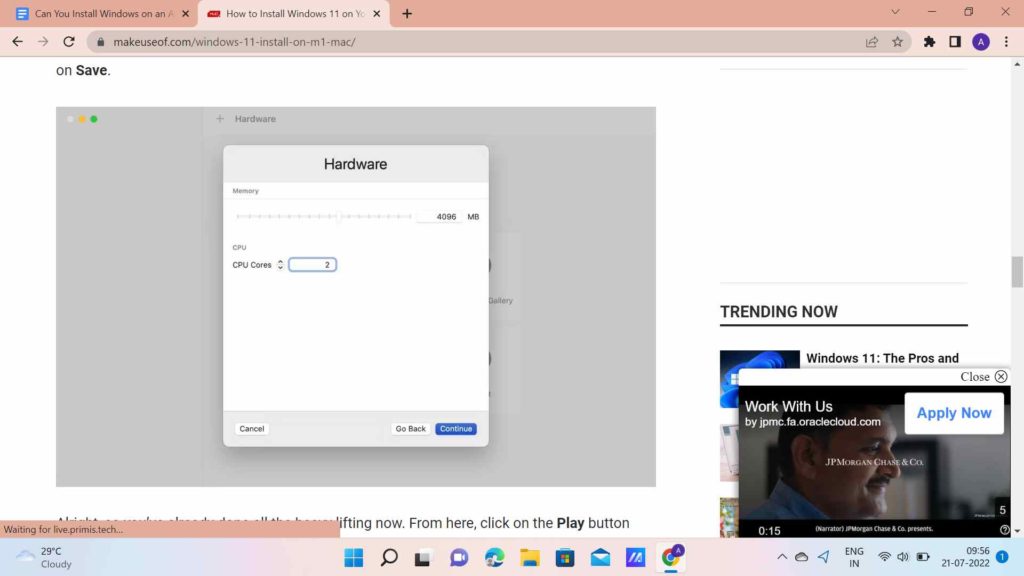
(Recommended allocations suggest choosing 4GB of RAM and a minimum of 2 cores)
7. Save and proceed to boot your device.

8. To start using Windows 11 on your Apple silicon Mac, complete the Windows 11 setup and installation process.
Conclusion
Since, Apple users have made their peace with being different and hold patience for all the new software and additional gadgets to get upgraded for their Mac; we hope this trick would make their journey little effortless. Virtualization software like UTM and Parallels will help install Windows on Apple silicon Mac in a couple of clicks.
If you have any doubts or feedback, feel free to share them in the comments section below, and if you know any other workaround to install and run Windows on Apple Silicon Mac, write to us at [email protected] or drop a line at our Facebook channel!
NEXT READ:
- How to check your Mac’s CPU usage
- How Stage Manager on macOS Ventura Can Make Your Life Easy
- 6 Mac Finder Settings That Can Improve Your Mac
- How to Access your Mac Remotely from Any Device
- How To Fix The Most Common macOS 11 Big Sur Issues
- How to Adjust or Disable Universal Control on Mac
- 6 Best SSD Health Check Software (Windows/Mac) 2022
- How to Map a Network Drive on Mac