Running short on time? Well, let’s get straight to the point. To optimize your Mac’s performance, download the Disk Clean Pro utility tool on your device. Disk Clean Pro is the one-stop cleaning solution for your Mac that removes junk files, redundant files, and obsolete data to make sure that your disk drive is well-utilized.

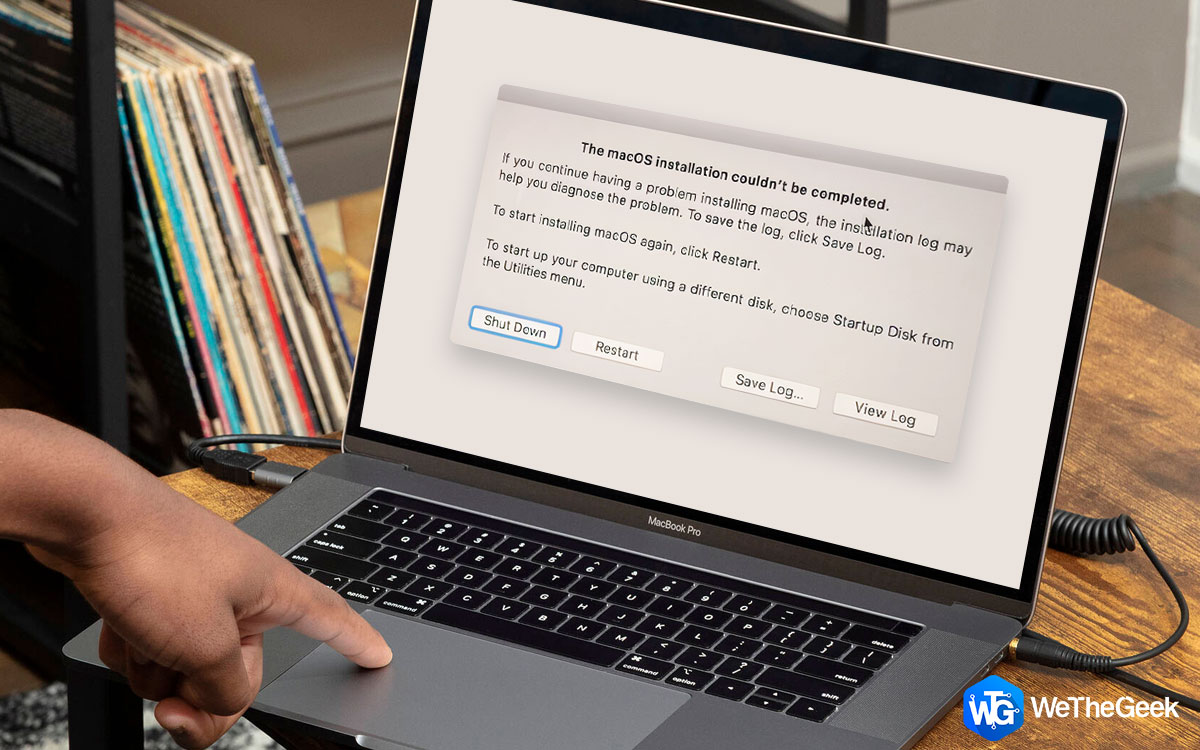
Moving on to our subject. Stuck with the macOS installation couldn’t be completed error? Unable to install the latest update of macOS on your device. You’ve come to the right place. This post lists the best solutions to fix the “macOS installation could not be completed” error by following a few quick workarounds.
No matter which device you use, a smartphone, tablet, or a PC, updating the OS regularly is crucial. Updating your device to its latest version makes your system secure, enhances its performance, and also offers bug fixes for an improved overall experience. And if that’s the case, not being able to update the OS can get extremely annoying and stressful.
How To Fix “The macOS installation couldn’t be completed” error
So, if you’re unable to upgrade the macOS, you shall instantly fix the error and get going. Let’s discuss a few possible solutions to fix the “The macOS installation couldn’t be completed” issue.
Also read: Stuck With ‘Not Enough Space To Install macOS Big Sur’ Error: What To Do
1. Switch to Safe Mode
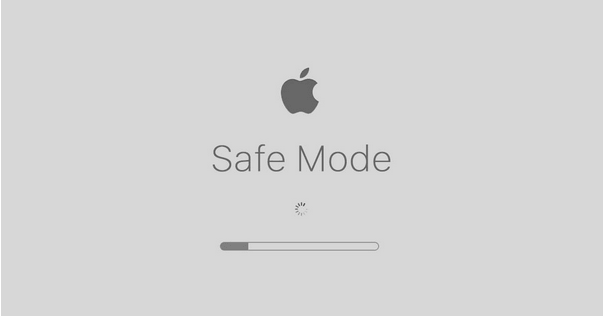
Is there a safe mode on Mac? Well, yes! You can boot your Mac into Safe Mode that will load your device with only an essential set of services and apps. Safe Mode has constantly been considered one of the best and most efficient hacks to fix common errors and bugs. So, if you’re unable to upgrade your macOS, switching to Safe Mode can surely help. Here’s what you need to do.
Intel-based Macs:
If you own an Intel-processor-based Mac, follow these steps to enable Safe Mode:
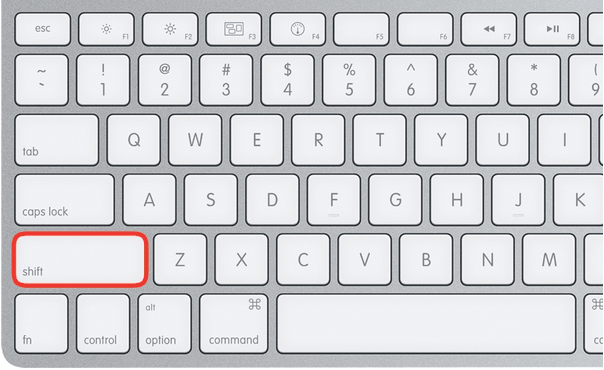
- Turn OFF your Mac. Wait for about 10-12 seconds.
- Restart your device while holding the Shift Key. You can release the Shift key as soon as the Apple logo appears on the screen.
- Tap the “Safe Mode” option placed on the top-right corner of the window.
- Once the Safe Mode is enabled, try upgrading the macOS again.
Apple Silicon Macs:
MacBook devices with Apple Silicon processors can follow the below-mentioned steps to switch to Safe Mode.
- Shut down your device.
- Press and hold the Power button until you see the “Startup options” listed on the screen.
- Select the Startup disk, press the Shift key.
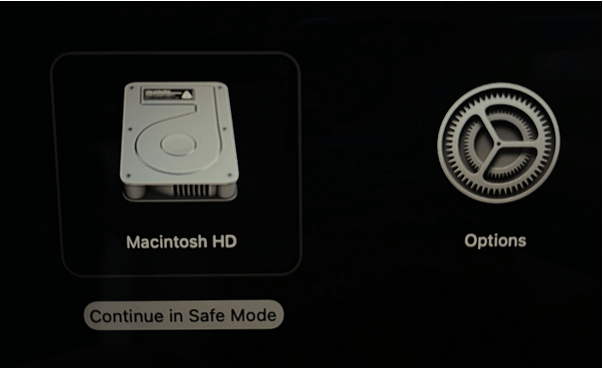
- Hit the “Continue in Safe Mode” option and then release the Shift key.
Also read: Boot Mac In Safe Mode: When, How And Why?
2. Use the Recovery Mode
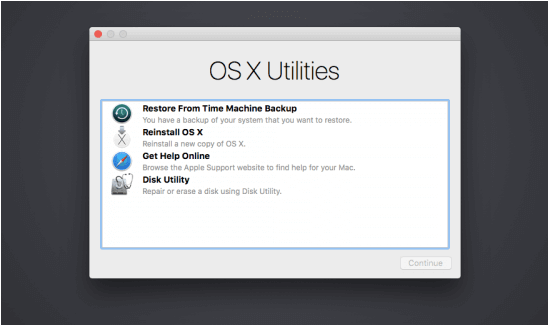
No luck switching to the Safe Mode? Well, to fix the “The macOS installation couldn’t be completed” error we will now use Mac’s Recovery Mode. We will be using Mac’s First Aid Disk Utility feature to fix the installation error. Here’s what you need to do.
- Shut down your Mac.
- Reboot your Mac while pressing the Command + R key combination.
- Tap the “Disk Utility” option from macOS Utilities to proceed.
- Select the “First Aid” option.
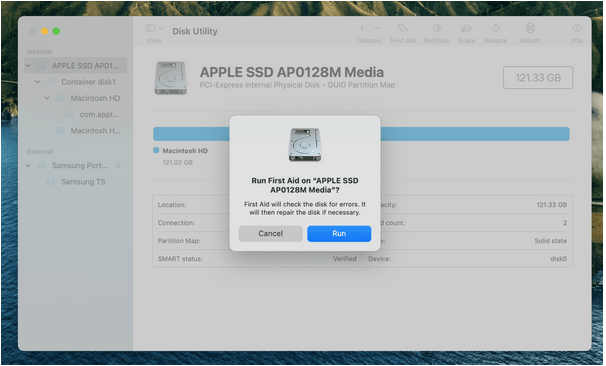
- Mac’s First Aid option will begin the scanning process and will repair the corrupt storage disk and fix disk errors.
- Once your Mac’s disk is fully recovered from errors, try reinstalling the macOS update to see if the issue persists.
Also read: How To Use macOS Recovery Mode Efficiently
3. Download Disk Clean Pro
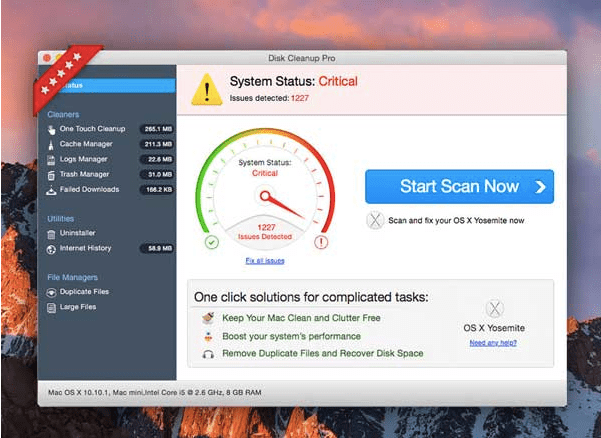
Last but not least! Disk Clean Pro is a must-have utility tool for your Mac that allows you to remove junk files, cache files, user log files, duplicate files, and other obsolete data in just one click. Disk Clean Pro can optimize your Mac’s storage disk by getting rid of unused files.
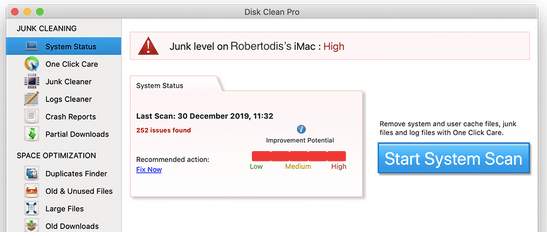
Disk Clean Pro can quickly resolve common errors, bugs, and other issues to enhance your device’s performance. It also helps you find and delete partial download files that occupy unnecessary storage space on your Mac’s Disk Drive. Disk Clean Pro is the ultimate solution to optimize the storage disk and to keep your Mac’s performance super tuned throughout.
Also read: Step-By-Step Guide: Factory Reset MacBook Pro/MacBook Air (2021)
Conclusion
This wraps up our quick guide on the “The macOS installation couldn’t be completed” error. Updating your device regularly is quite important! We hope you use the above-mentioned methods to get rid of the “Mac installation can not be completed” issue and upgrade your device without any hindrance.