
The System Restore feature on Windows has always proved out to be super useful, especially when it comes to troubleshooting common errors and bugs. System Restore allows you to roll back your device to a previous state and undo all the recent changes that have been made ahead of that checkpoint. It is one of the best utility features that restore our devices immediately and helps us as a savior whenever anything goes wrong with your PC.
Whether you need to troubleshoot common errors and bugs, customize misconfigured settings, or simply fix a malfunctioned device, System Restore works like wonders in every situation. As Windows 11 is expected to roll out later this year, let’s learn how to use System Restore on Windows 11 beforehand so that you never run into any trouble.
Also read: Things to Do After Restoring Windows Settings Using System Restore
What is System Restore? How Does it Work?
System Restore is a recovery tool developed by Microsoft that allows users to restore their device to a previous state and undo all the recent changes. System Restore repairs the Windows environment by reverting all the settings and files that were saved in the restore point. Whenever a new restore point is created, the System Restore tool takes a snapshot of all the settings, files and registries, and saves all this information as a “Restore Point”. Hence, whenever anything goes wrong with your device, you can use the System Restore feature to return to a previous restore point and resume to a normal working state.
Also read: How To Use System Restore In Windows 10
How to use System Restore on Windows 11
The System Restore feature on Windows 11 comes disabled by default. Hence, you’ll have to manually enable the System Restore feature before you can use it on your device. Follow these quick steps:
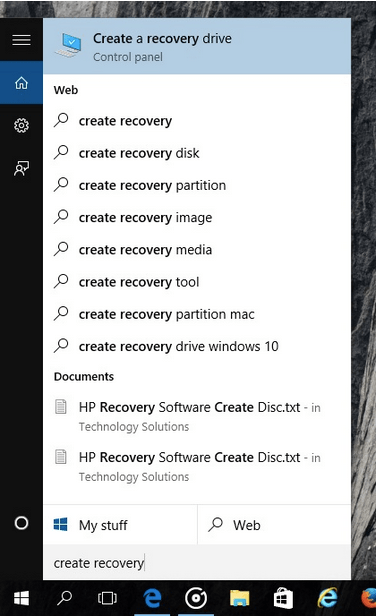
Launch the Start menu search box and type “Create a Recovery Drive”. Hit Enter.
In the System Properties window, switch to the “System Protection” tab.
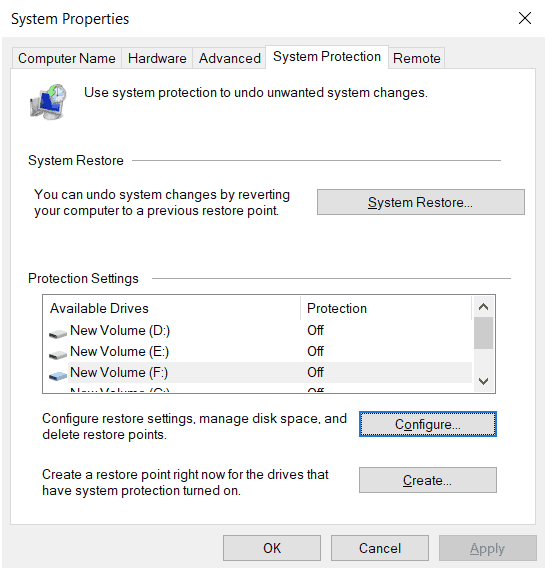
Now pick the drive that you need to restore in the “Protection Settings” section and then hit the “Configure” button to proceed.
Enable the “Turn ON System Protection” option. Hit the Apply button.
Once you’ve made the above-mentioned changes, the System Restore feature will be automatically enabled for the respective drive.
Also read: How To Solve System Restore Greyed Out Problem In Windows 10?
How to Manually Create a new Restore Point
To manually create a restore point on the System Restore window, follow these quick steps:
Launch the Start menu search box, type “Create a Recovery Drive” and hit Enter.
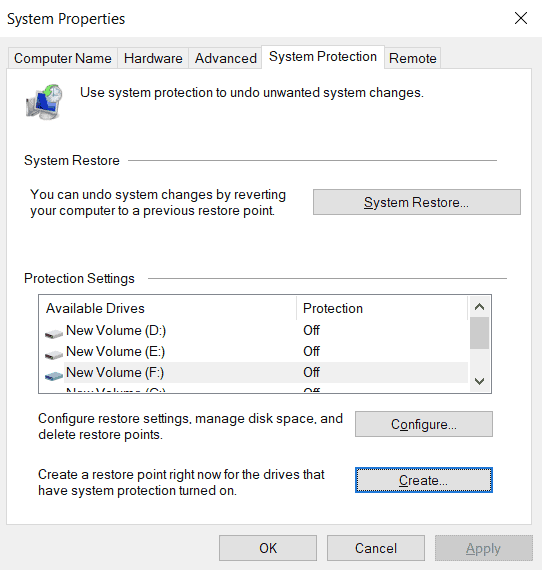
Switch to the “System Protection” tab. Tap on the “Create” button to create a new restore point right now.
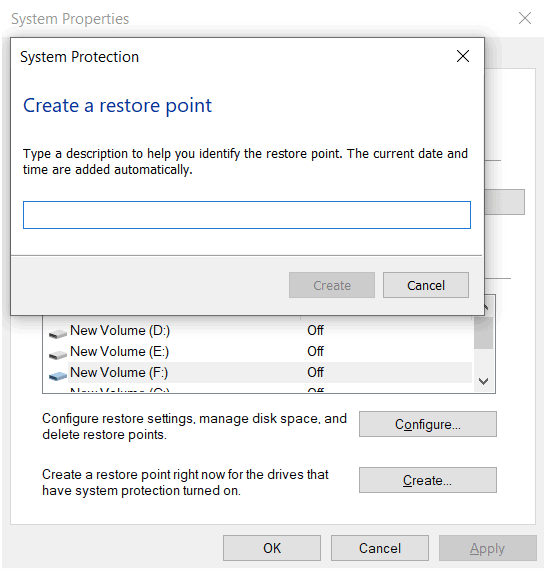
Enter a description or title for the new restore point. Tap on “Create”.
And that’s it!
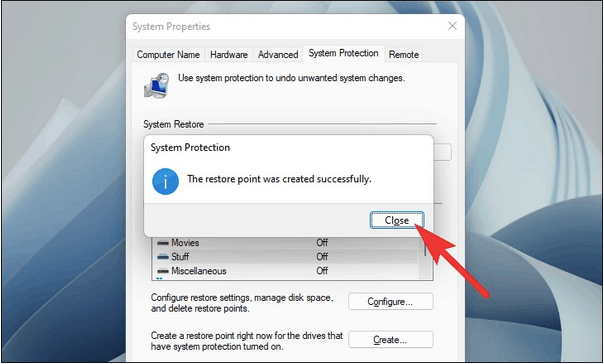
This is how you can manually create a new restore point using the System Restore feature on Windows 11. Whenever you are planning on making new changes on your device, you can create a restore point beforehand to revert to the latest checkpoint.
Also read: Fixed: Windows Cannot Restore A System Image To A Computer With Different Firmware
How to Restore From a Previously Created Checkpoint?
To use System Restore on Windows 11, you might also learn how to restore from a previously created checkpoint to revert to an earlier state. Here’s what you need to do.
Launch the Start menu search box, type “Create a Recovery Drive” and hit Enter. Switch to the “System Protection” tab.
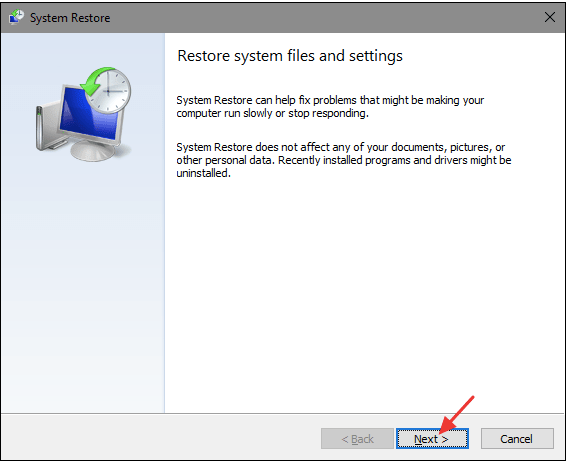
Tap the “System Restore” button to proceed.
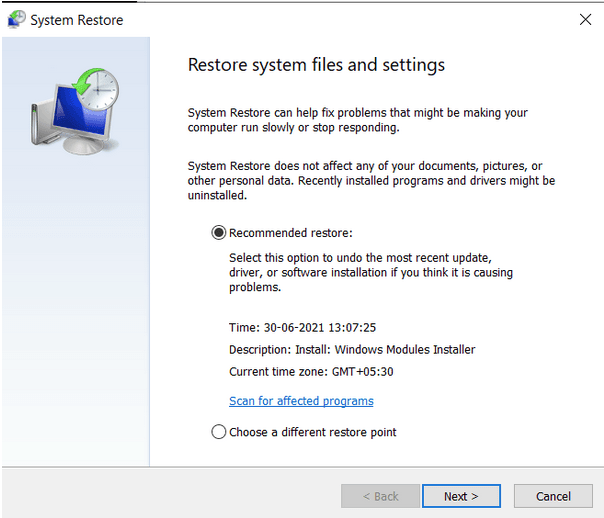
Tap the “Recommended Restore” option to roll back your device to the most recent state. Verify the time, date, and other details, and then hit the Next button. You can also pick the “Choose a Different Restore point” if you want to manually pick the restore point from the previously created checkpoints.
Follow the on-screen instructions and then restore your device by using the System Restore feature on Windows 11.
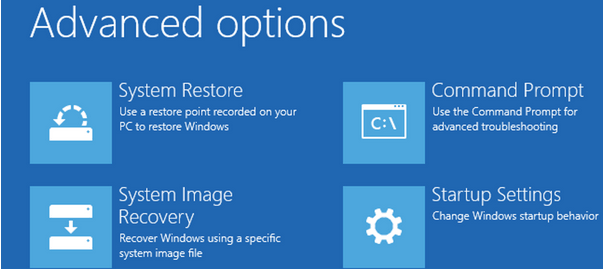
How to Use System Restore Via Advanced Startup Options
If your system has crashed or if you’re unable to move ahead of the startup screen, you can still use the System Restore tool to fix your device. Here’s what you need to do.
Turn OFF your device and then Restart it. As soon as you see the Windows logo on the screen, turn off your machine and then repeat the same set of steps until you see the “Advanced Startup” screen. Alternatively, you can also press the Shift key while rebooting to head on to the “Advanced Startup Options” window.
In the Advanced Startup options, tap on “System Restore”.
Enter your account details and hit the Continue button to proceed.
Pick a restore point from the list and then select “Scan for affected programs” so that you can view all the recent changes that have been made on your device.
Once done, tap the Finish button to restore your device to a previous state.
Conclusion
So, folks, this wraps up our guide on how to use System Restore on Windows 11. You can use any of the above-mentioned ways to open the System Restore window on your device. System Restore is a useful tool that preserves your machine in the best possible state.
For any other queries or assistance, feel free to use the comments space!