Search is one of the most important features of any operating system as it helps to find out files on the computer and webpages on the internet. Most of the people today use Google search as it is readily available and is known to produce the best search results to date. However, did you know that Microsoft has inculcated hidden Windows 10 Search Options in our computer? It is time to unravel the secrets and learn how to customize Windows 10 search options:

Also Read: How To Fix Windows 10 Search Issues By Rebuilding Index
What Is The Secret Windows 10 Search Options All About?
Before we learn on How to customize Windows 10 Search options, let us understand the current way of searching anything on Windows 10.
Current Windows 10 Search Options.
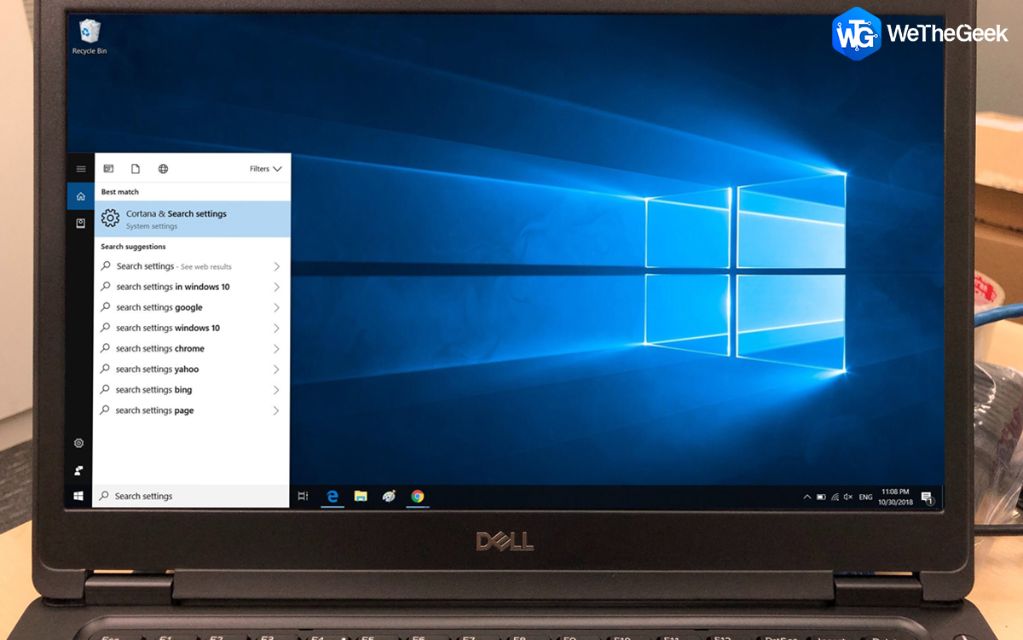
If you want to search for anything on your Windows 10 computer, you will have to locate the search box on the bottom right corner of the taskbar and then click on it. Type anything you are looking for, and a menu will open in the left corner. Now you have to turn your neck and focus in the left bottom corner of your monitor screen which I might say is rather uncomfortable and pretty annoying too.
Also Read: How To Fix Start Menu Search Not Working On Windows 10
The New Windows 10 Search Options or Immersive Search.
No idea why this option is hidden in the Windows operating system by default, but Immersive search revolutionizes the way search is too be carried out. The pop-up search box will appear in the centre of the screen instead of the left corner, and the search box is on the top of the window instead of somewhere near the bottom left corner. The immersive search box can be called upon by pressing Windows key + S from the keyboard.
Also Read: How To Index Files In Windows 10 To Get Faster Searches
How To Customize Windows 10 Search Options And Enable Immersive Search?
Another surprise for readers here is that Microsoft does not have a simple and direct way to enable the Immersive Search. The first one, by the way, was that such a feature does exist but is not set as default. The steps on how to customize Windows 10 search options are a bit more than easy, but you can follow them if you stick to the plan explained below:
Note: It is an important precaution to take a backup of the Windows 10 registry before proceeding further with any alterations of modifications. The steps mentioned to Customize Windows 10 Search Options will not in any way affect the registry, but there is no harm in being ready.
Step 1: On your keyboard, press the Windows+ R keys to open the Run box and type “Regedit” with a click on the OK button to open the Windows 10 Registry Editor.
Step 2: Navigate to the path mentioned below or you can simple copy it from here and paste it in the address bar located on the top of the Windows 10 Registry editor.
Computer\HKEY_CURRENT_USER\Software\Microsoft\Windows\CurrentVersion\Search
Step 3: Make a left click on the folder labelled as Search on the left side, and then a right-click on the right side to bring out the small contextual menu. Hover your mouse on New and then click on DWORD (32-bit) Value.
Step 4: Name this DWORD entry asImmersiveSearch. Then make a double click on the same entry and in the small new box opened, locate the Value Data box and change the value of zero to one.

Step 5: Now, look on the left side again and locate Flighting underneath the Search folder and right-click on it to create a new key in Flighting on the left hand itself.

Step 6. Label this newly created folder as Overide and press the Enter key on the keyboard.
Step 7. With the newly created key, Overide selected, right-click on the right side and choose a new DWORD (32-bit) and label it as ImmersiveSearchFull.

Step 8. Similar to step 4, double click this DWORD and change the value from zero to one under Value Data field.
Step 9. Create a second DWORD (32-bit) Value Key and rename it to CenterScreenRoundedCornerRadius. Make sure the spelling is correct and then double click to insert a value of 9 in the Value Data field. Click on the OK button to finalize the changes.
Step 10. Click on Exit from the file menu dropdown and quit the Registry Editor.
Step 11. Press the Windows + S button to see the new Immersive search option, and this was the final step in how to customize Windows 10 search options.
Note: If you don’t like the new immersive search and want to revert to the normal search on the left corner, then follow the above steps to navigate to the three entries you created and replace the Value Data to zero.
Also Read: Declutter Windows Search in Windows 10
Your Thoughts On How To Customize Windows 10 Search Options
Many options need to be explored when it comes on how to customize Windows 10 search options. The Immersive search option is amazing and works wonders, and it is still a great mystery on why did Microsoft include this option in the first place and then keep it a secret. There are many such options, especially Power Toys, which have been known to receive less limelight even though they work wonders.
Follow us on social media – Facebook and YouTube. For any queries or suggestions, please let us know in the comments section below. We would love to get back to you with a solution. We post regularly on the tips and tricks along with solutions to common issues related to technology.
Suggested Reading:
How To Run Old Programs With Compatibility Mode In Windows 10
What Are Microsoft Windows PowerToys?
Amara Smith
This Guide is really helpful for me. Thanks for sharing. Good Work, keep it up.Dheeraj Manghnani
Hi Amara, Thank you for your feedback, it matters a lot. I am glad to hear that you liked the article. To stay updated and get more articles like this do subscribe to our notifications and follow us on social media.Mridula Nimawat
Thanks for the information, have to try this interesting customization.Dheeraj Manghnani
Hi Mridula, Thank you for your feedback, it matters a lot. I am glad to hear that you liked the article. To stay updated and get more articles like this do subscribe to our notifications and follow us on social media.Aditi Singh
Thanks for this article and it well help with the Customization of windows 10 search option.Dheeraj Manghnani
Hi Aditi, Thank you for your feedback, it matters a lot. I am glad to hear that you liked the article. To stay updated and get more articles like this do subscribe to our notifications and follow us on social media.