Encountering errors and notification alerts on Windows is quite natural. Well, but the good thing is that one can easily fix a lot of common Windows errors through simple troubleshooting or by making a few changes in the system settings.
Did you just get stuck with the Dism.exe 1392 error code message on Windows 10? Whenever a system file or directory gets corrupted, this error may hit your device in the rarest circumstances. Wondering how to get rid of this error?
Before we proceed to the solutions highlighting how to fix Dism.exe 1392 error on Windows 10, let’s learn a little more about this error message and its occurrence.
Also read: How to use DISM to Repair Windows 10
What is Dism.exe?
DISM stands for Deployment Image Servicing and Management, is a software tool that runs on the Command-Line Prompt to mount and service Windows images or hard disk before deployment. The Dism.exe 1392 error is displayed as a warning message on your device. You may even experience a degradation in the device’s performance, system crashes, and several lagging issues once this error occurs on your Windows OS.
If you don’t take up any further action to remove this error, it may lead to severe conditions like hardware damage, and even data loss. Let’s discuss a few workarounds that will allow you to resolve the DISM error on Windows 10 PC.
How to Fix Dism.exe Error on Windows 10?
Solution #1: Run an SFC Scan
One of the simplest hacks that you can try for dealing with this DISM error message is by running an SFC scan on your device. SFC (System File Checker) is an in-built Windows utility tool that scans, fixes, and repairs hard disk errors and resolves any system discrepancies if found on your device. To run an SFC scan on your Windows machine, follow these steps:
Launch the Start menu search box, type “Command Prompt”. Right-click on the “Command Prompt” option and select “Run as Administrator”.
In the Command Prompt shell, type “SFC/scannow” and hit Enter to execute this command.

Wait for a few minutes until a complete scan is performed on your device. Windows will display the results on the screen shortly, sit back and relax meanwhile!
Solution #2: Disable Antivirus Software
There may be a rare possibility that the third-party antivirus software installed on your device might be interfering with any of the system settings to function properly. To check whether the presence of antivirus software is messing with the DISM, we can try disabling it temporarily.
Simply launch the Antivirus software on your device. Head on to Settings and disable it. Reboot your device to check whether you’re still facing the Dism.exe 1392 error after disabling the third-party antivirus suite.
Solution #3: Use the CHKDSK Command
CHKDSK (Check Disk) is another useful Windows utility command that verifies system integrity and scans your device to fix file system errors. To use the CHKDSK command, here’s what you need to do.
Open the Start menu search box, type “Command Prompt”, hit Enter.
In the Command Prompt shell, type “chkdsk C: /f” command and hit Enter.

In the above example, we have used the C: drive as a reference. You can replace the drive letter as well if you need to perform the scan on any other storage drive.
After the CHKDSK command has successfully executed, reboot your machine to check whether you’re still facing the DISM error.
Solution #4: Use System Restore
If any recent changes have been made on your device, you can use the System Restore feature to rollback to a previous checkpoint. To use the System Restore utility on Windows 10, follow these steps:
Launch the Start menu search box, type “Create a Restore Point” and hit Enter.

In the System Properties window, tap on the “System Restore” button.

Follow the on-screen instructions displayed on the System Restore wizard to create a new restore point. Tap on “Next” to proceed.

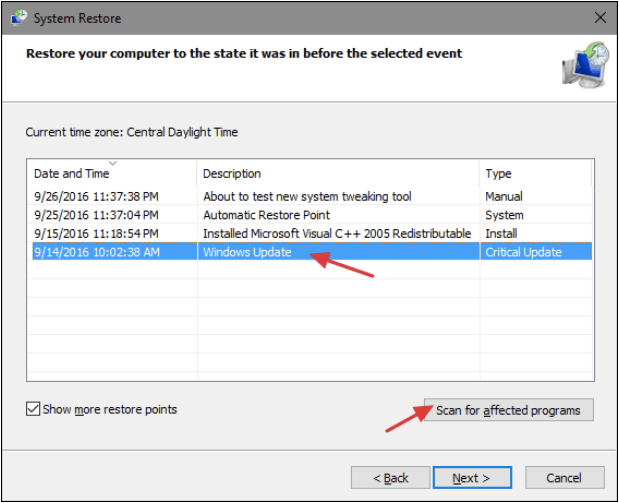
On the next page, you will see a list of previously created restore points, along with date and time information of when they were created. Pick any one restore point and then hit the “Next” button.
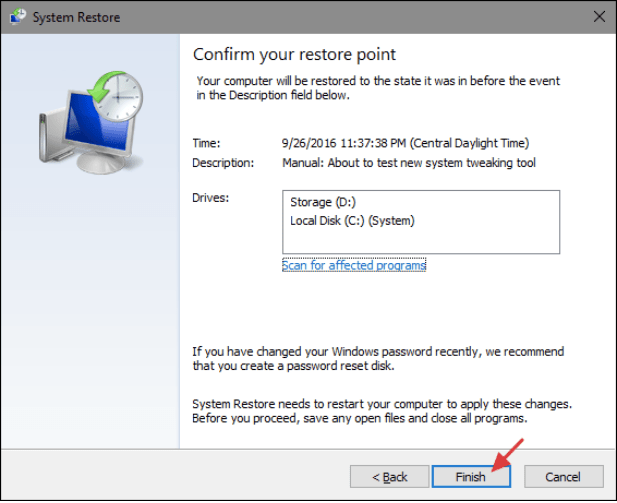
Tap on “Finish” to restore your device to a previous checkpoint and rollback any recent changes.
Solution #5: Download Systweak Antivirus
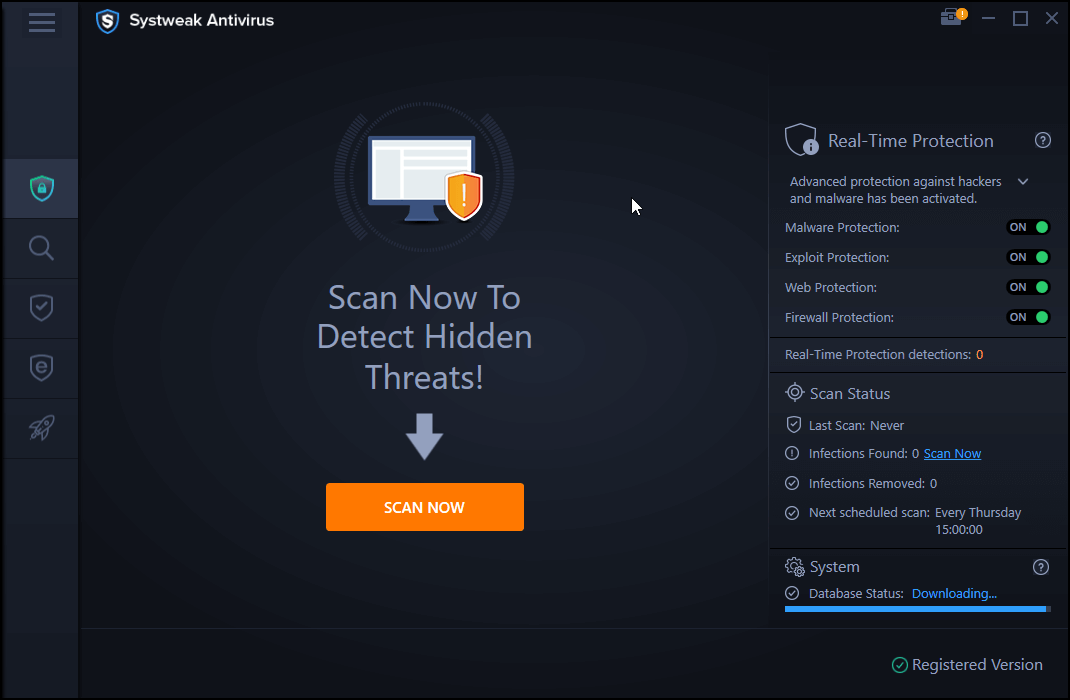

If the above-mentioned solutions didn’t bring any luck, then it indicates that your device is infected with a virus or malware. To scan your device for hidden malicious threats, download Systweak Antivirus for Windows PC that offers complete protection against any sort of viruses, malware, spyware, trojans, and ransomware attacks.
Also read: How to Fix DISM Host Servicing Process High CPU Usage
Here were a few workarounds that will help you fix the Dism.exe 1392 error on Windows 10 devices. Do let us know which solution worked out the best for you. Feel free to hit the comments space!
Forb
Despite an SFC and chkdsk scan, I was still getting the error. I then opted for Systweak Antivirus and was able to resolve the issue. I know for the fact that there was virus, but hope it wasnt a serious one.