Windows 11 start button not working? Is it stuck or frozen? Don’t worry! We’ve got you covered. It is merely a common bug that can be solved by making a few quick changes in the settings. You can easily get past this issue by following simple troubleshooting steps.
The start menu design in Windows 11 has been revamped. So, in case you’re having some troubles accessing the new Start menu after upgrading to Windows 11, here are a few ways to fix this issue.
Let’s get started.
How to Fix Windows 11 Start Button Not Working Issue?
1. Reboot your Device
Well, yes, rebooting your machine helps in getting rid of simple errors and bugs. As you’re stuck in a situation where the Start menu just won’t open on your device, here’s an alternate way to shut down your PC.
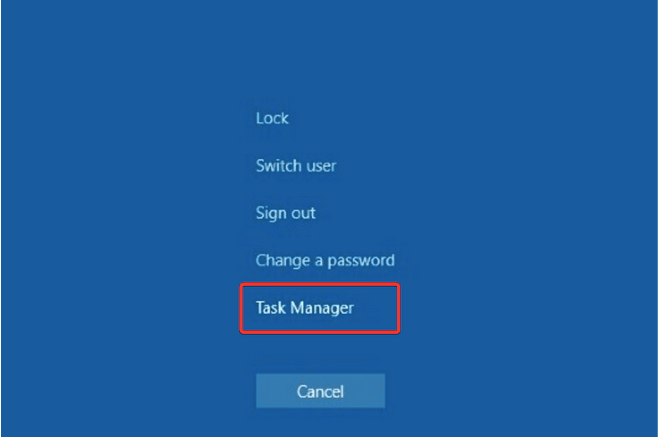
Press the Control + Alt + Del key combination on your keyboard.
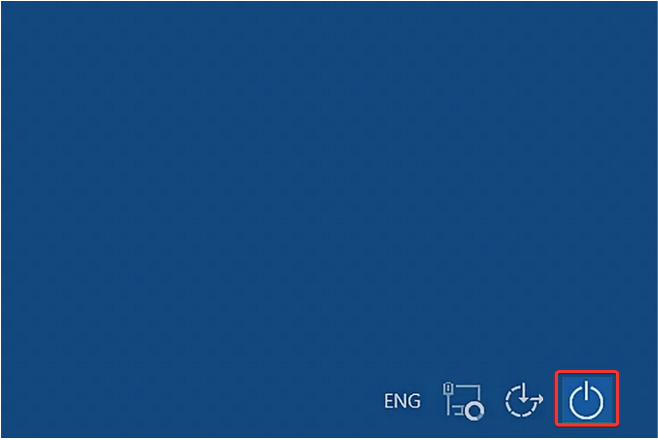
Now tap the Power button icon placed on the bottom-right corner of the screen.
Select “Restart” and reboot your device.
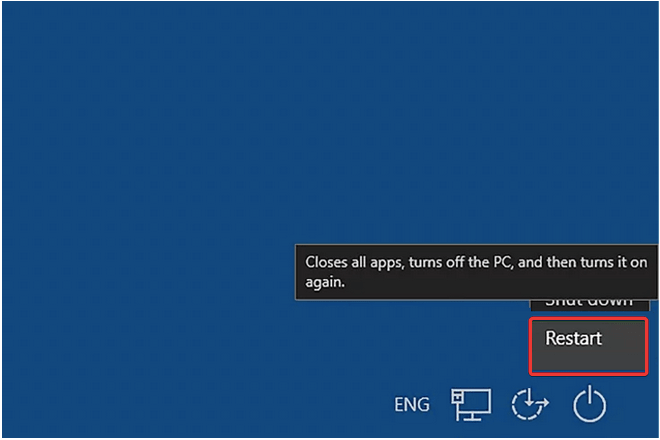
Restarting your PC will give you a fresh start as it closes all the apps and background services.
2. Close Windows Explorer
The next workaround to fix Windows 11 Start button not working issue is by relaunching the Windows Explorer app. Follow these quick steps to terminate the Windows Explorer app on your PC.
Press the Control + Alt + Del key combination. Select the “Task Manager” option from the list.
In the Task Manager window, switch to the “Processes” tab. Look for the “Windows Explorer” app in the list.
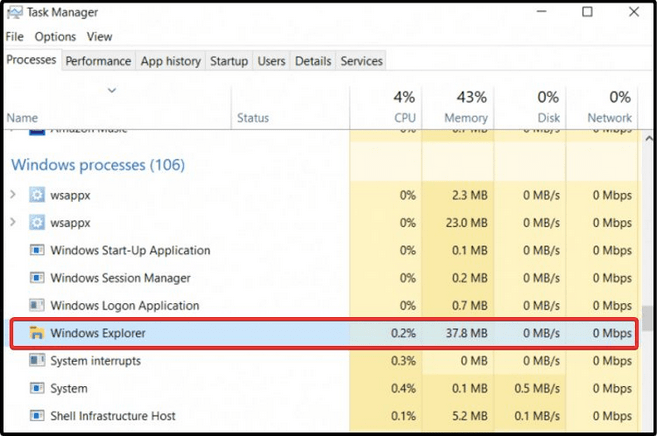
Right-click on it and then select the “Restart” option to relaunch this process.
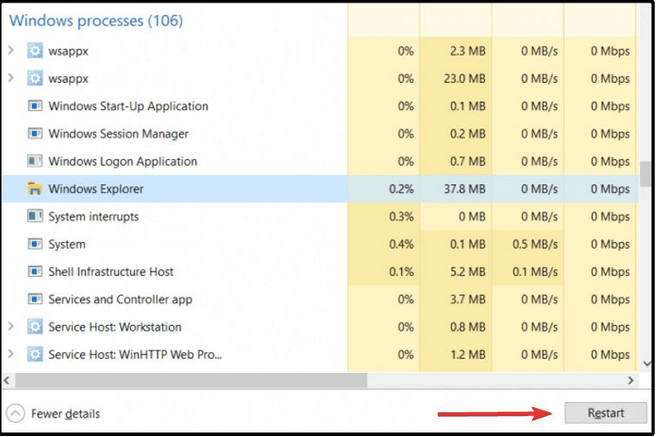
Exit all windows and try accessing the Start menu again to check if it resolved the issue.
Windows Explorer is a central app that controls various other tasks and functions, including the Start menu. Relaunching the File Explorer app via Task Manager can help you in fixing the Start menu.
Also read: 5 Ways To Take Screenshots On Windows 11
3. Sign in with your Local Account
The next hack to fix the Start menu on Windows 11 is by signing in to your device with your local account instead.
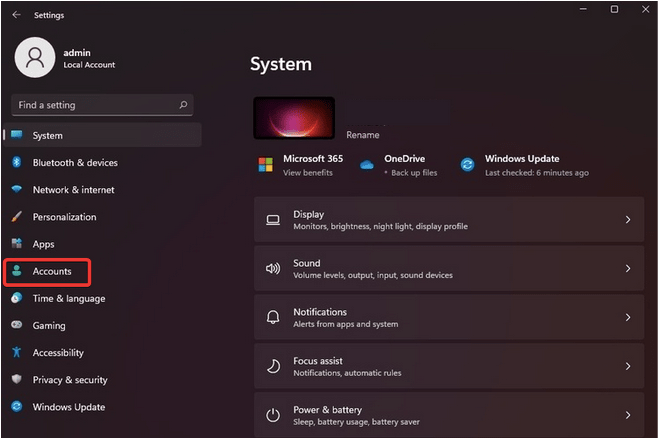
Press the Windows + I key combination to directly open Windows Settings. Select “Accounts”.
Head on to the “Your Info” section.

Scroll down and select “Manage my accounts”.
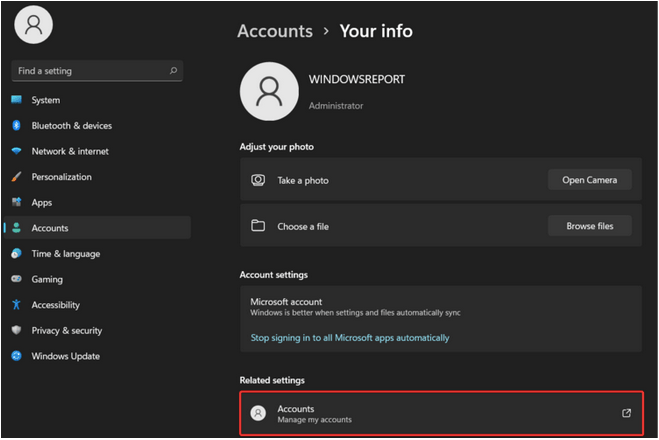
Tap on “Sign in with a local account instead”.
Once you’re signed with your local account, try accessing the Start menu again to see if it resolved the issue.
Also read: How to Use System Restore on Windows 11
4. Reset your PC
Tried the above-mentioned troubleshooting solutions and still no luck? Well, resetting your PC might help in fixing the Start menu issues. Here’s what you need to do.
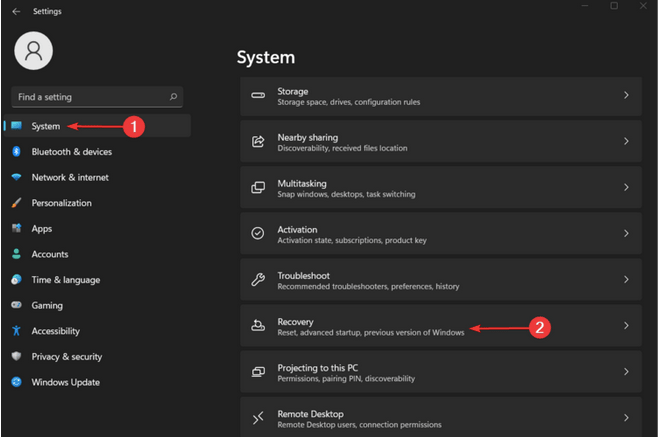
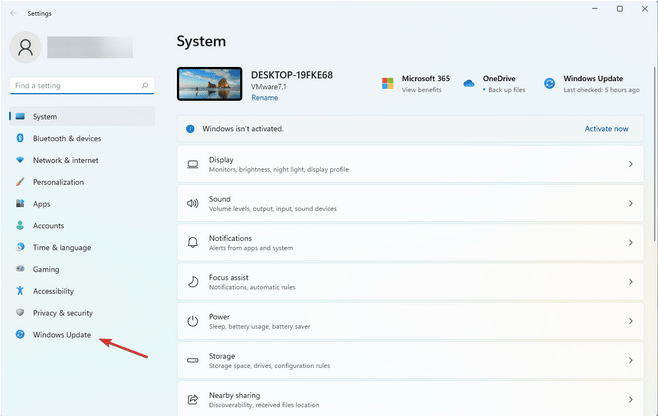
Press the Windows + I key combo to open Settings. Select “System” from the left menu pane.
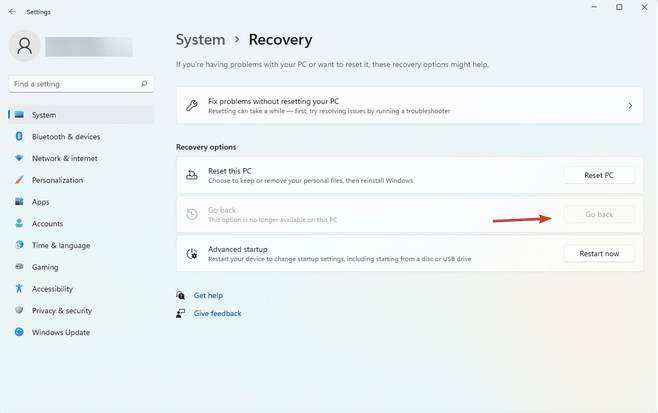
Tap on “Recovery”.
Tap on the “Reset this PC” button to reset your device. And don’t worry! Resetting your PC won’t erase any of your files or data.
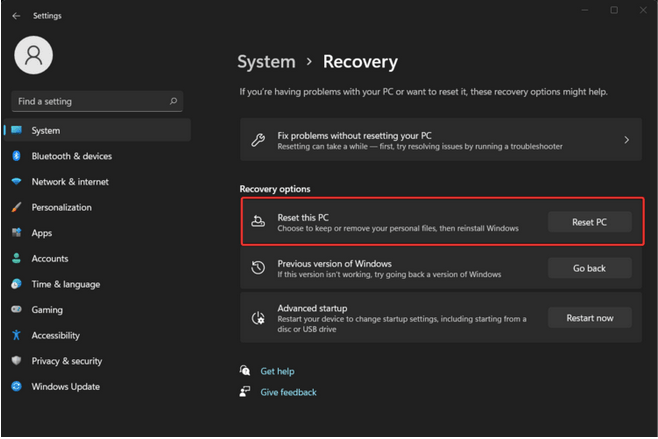
Follow the on-screen instructions to reset your device. Once the reset process is completed, reboot your device and check whether it fixed the “Windows 11 start button not working” issue.
5. Check for Latest Updates
To check for any latest Windows 11 update, follow these steps.
Press the Windows + I keys to open Settings.
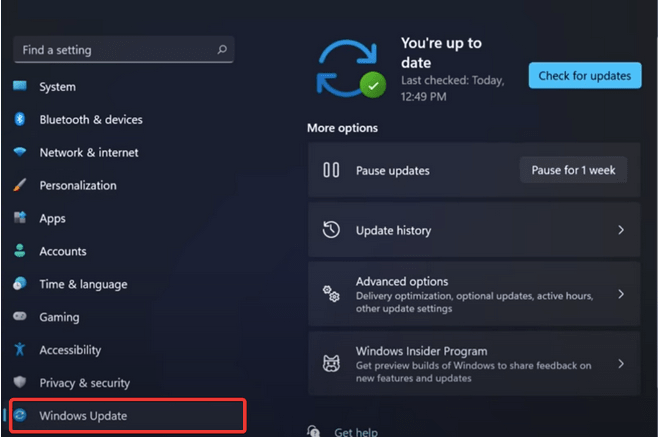
Switch to the Windows update section from the left menu pane.
Hit the “Check for Updates” button to check if any latest updates are available for your device. If any updates are available for your PC, upgrade your device right away.
Also read: How to Record Screen on Windows 11
6. Rollback to the Previous Update
If you’re still not able to open the Start menu on Windows 11, then you can try rolling back to a previous Windows update. Follow these quick steps:
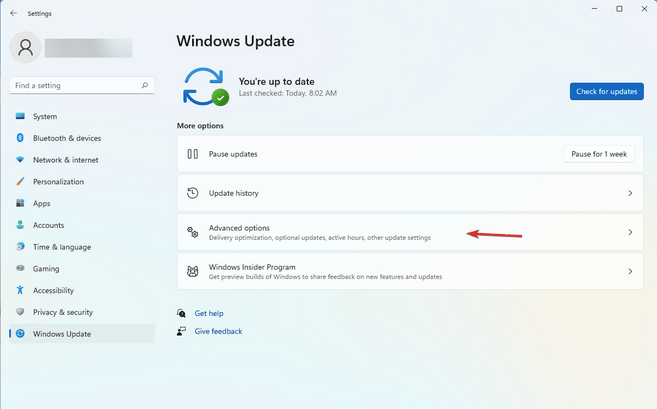
Press the Windows + I key combination to open Settings. Switch to the Windows update option from the left menu pane.
Select “Advanced Options”.
In the Advanced Options lists, select “Recovery”.

Tap on the “Go Back” button to roll back to an earlier version of Windows 11.
Tap on the “Go back to earlier build” button.
Follow the on-screen instructions and roll back your device to a previous update. Once you’re done, try accessing the Start button again to see whether it’s working or not.
Also read: How to Access the Startup Folder on Windows 11
Conclusion
Was this post helpful? Did the above-mentioned solutions helped you in fixing the “Windows 11 start button not working” issue? You can use any of these hacks to fix the Start button on Windows 11. For any other queries or assistance, feel free to share your thoughts in the comments space!