These are some of the most convenient solutions to record desktop screen on Windows 11 PC/Laptops.
Method 1: Use the Xbox Game Bar Application
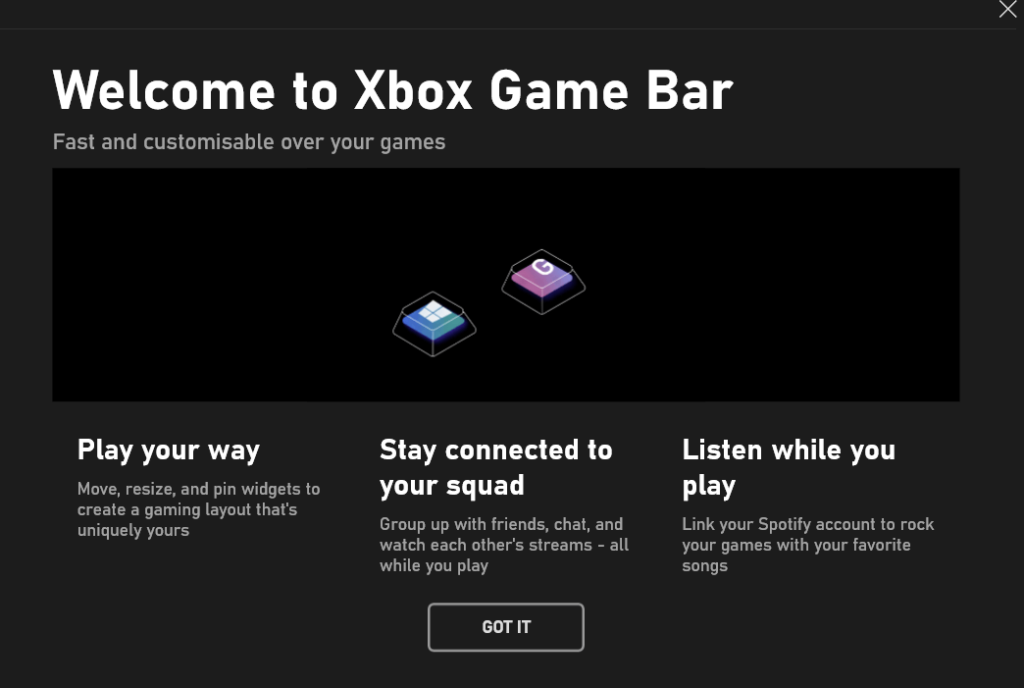
Step 1: Press the Windows key + G on your keyboard to open the game bar application.
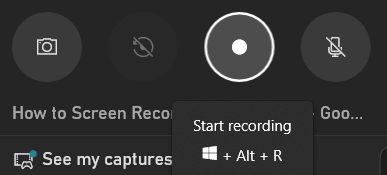
Step 2: Now hit the “Start Recording” option from the pop-up box at the top-left corner of the screen. You can even take screenshots on Windows with Xbox Game Bar.
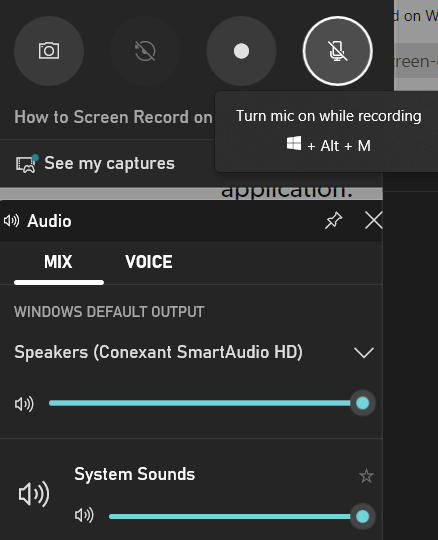
Step 3: To include any verbal clue or narration, you can press the mic button, present on the right-side of the Start recording option.
Step 4: Launch the application or navigate to the window you wish to capture on-screen activities for. Remember Gaming Features aren’t available for Windows desktop or File Explorer.
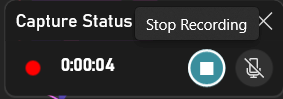
Step 5: As soon as the recording starts the capture pane and Xbox game bar will be minimized and you will only see the capture status on the right side.

Step 6: If you wish to toggle the recording, you can use Windows key + ALT + R. Alternatively, you can hit the Stop icon from the Capture Status panel.
Step 7: After the clip has been recorded, you will find a banner on the right side of the screen which you can click to see the list of all recordings.

Step 8: Press the Windows key + G to launch the Game bar application and navigate to the Widgets menu. From the drop-down menu, select the Gallery option where you can see all the screen-recorded videos.
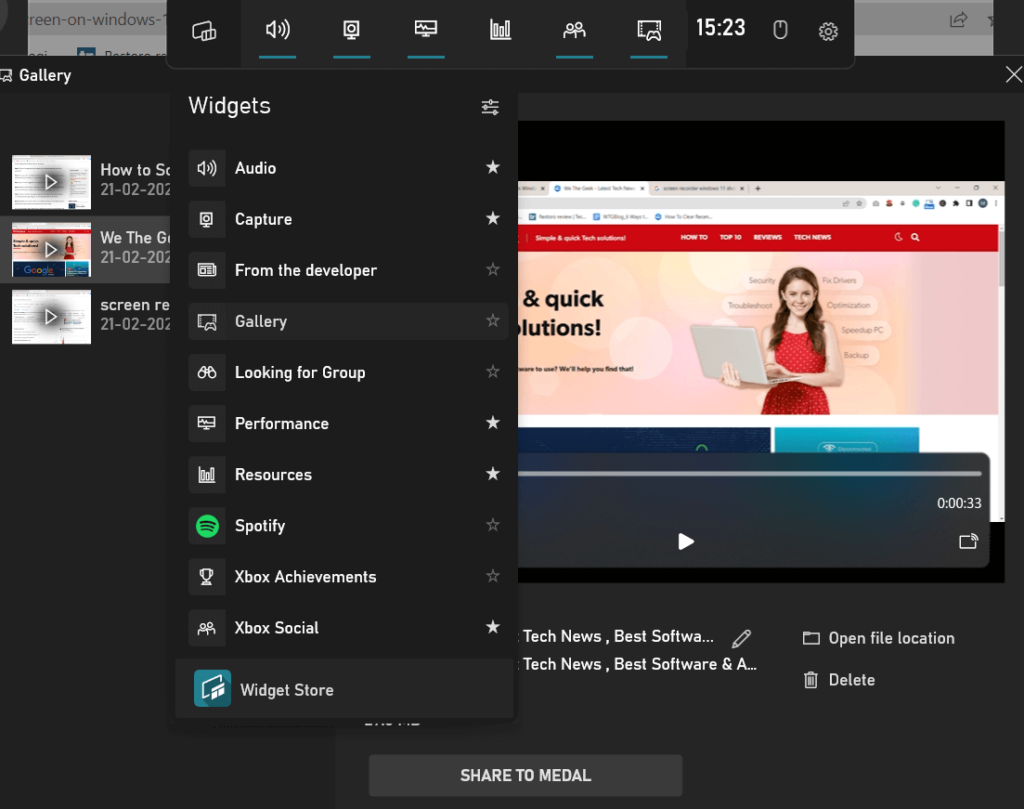
You can edit the name of the captured video by hitting the Pencil icon from the right-side panel. You can even open the file location, delete the video, and more.
To directly capture Windows 11 screen, you can use the shortcut: Windows Key + ALT + G. This will record the last 30 seconds of screen activity.
METHOD 2 = Use a Web-Based Screen Recorder
For instant screen recording on Windows 11, 10, 8, 7, and any web browser of your choice, we recommend you take the help of a web-based screen capturing tool, that doesn’t depend on any additional program to run smoothly. The market has tons of options when it comes to choosing the best video screen-capturing utilities that perfectly fit your needs and are pretty effortless to use.
For this purpose, we suggest using Screencastify, it is available for free of cost and offers some great features to record screens with audio, and edit videos to create powerful & professional videos. It has an interactive UI and you can publish the final output directly to YouTube within the app.
Best part? It has no ads and you can save your work to the Cloud – Google Drive!
Let’s follow the step-by-step instructions to learn how this screen recording extension works:
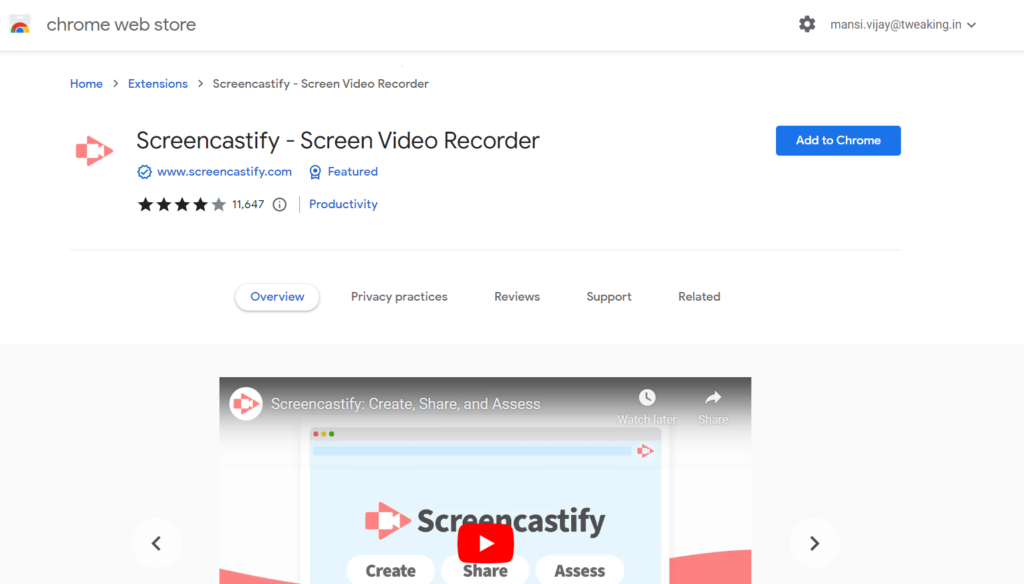
Step 1: Navigate to the official web store and press the ‘Add to Chrome’ button.
Step 2: Once the screen recording extension is added successfully, you need to sign in with your account.
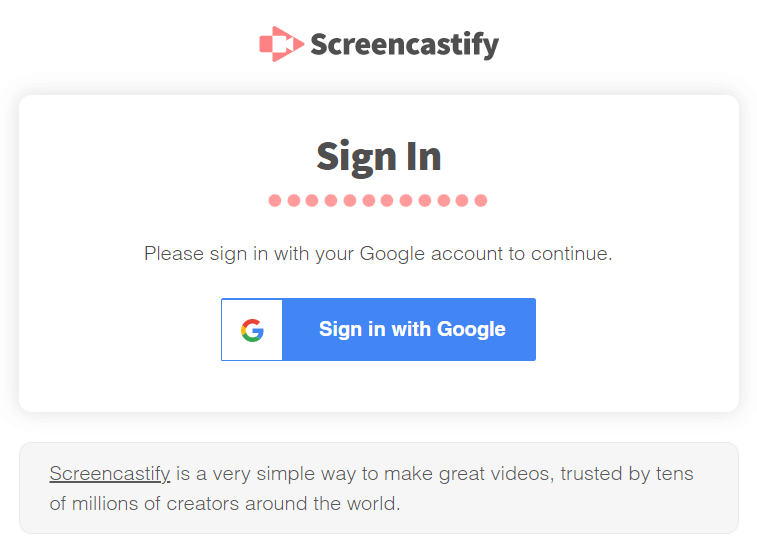
You need to give the necessary permissions to this best screen recorder for PC for accessing webcam and microphone.
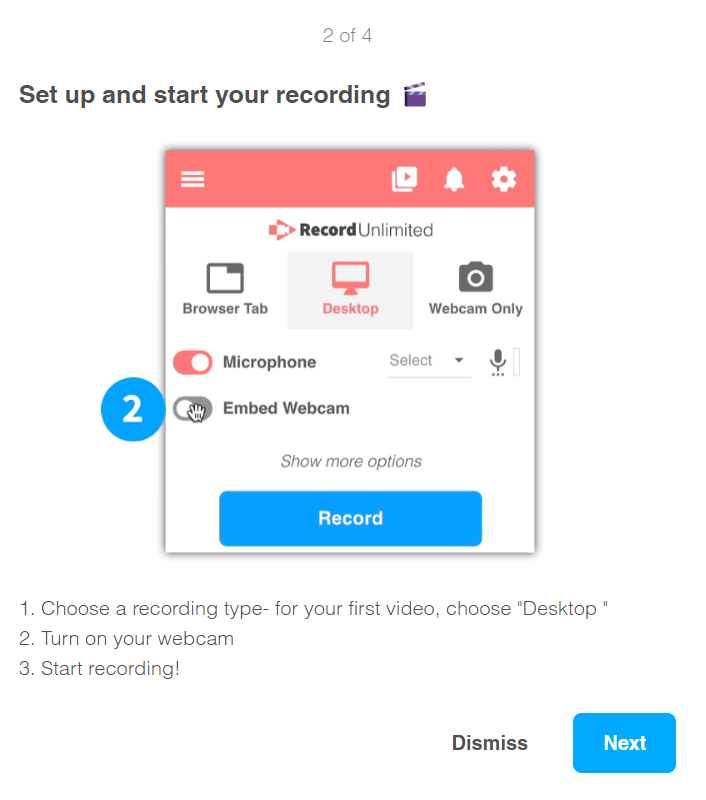
Step 3: You can follow the 4-step tutorial to set up and start your recording!
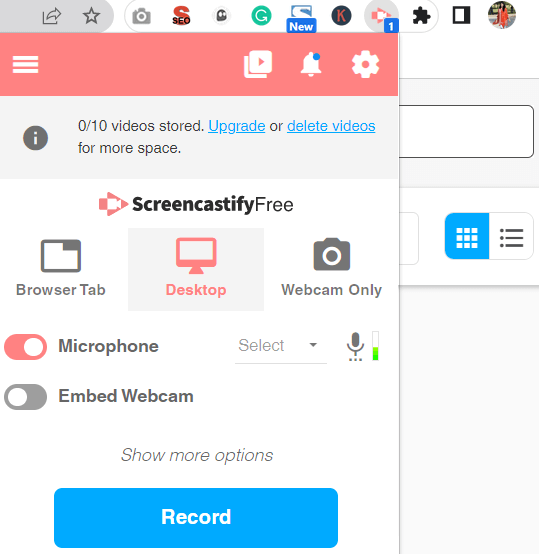
Step 4: Hit the Record button to initiate your first screen recording with Screencastify.
Step 5: You can use different tools featured by the screen recorder for PC during the capturing process. This includes the Pen tool, enabling mouse cursor, stickers, eraser, start webcam, etc.
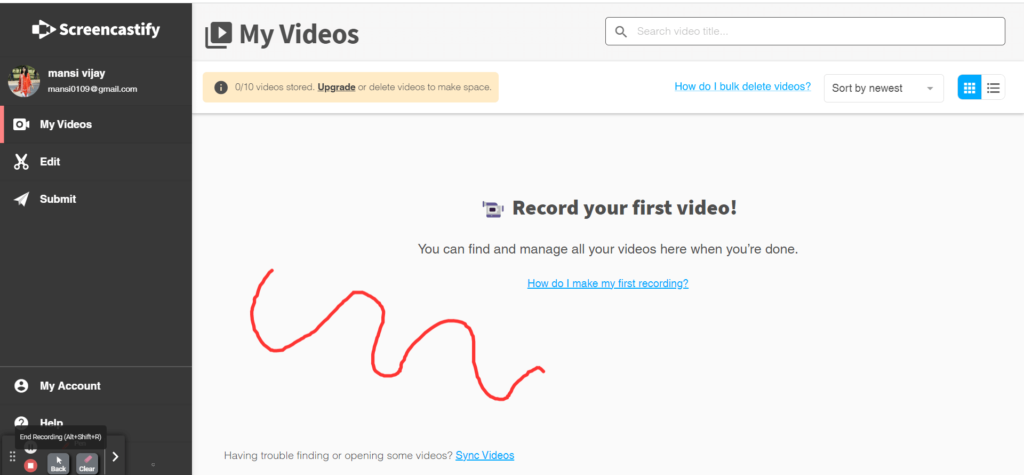
Step 6: Once you are done capturing Windows 11 screen, hit the ‘End Recording’ button.

In case you want to explore some other options in the category – Best Free Online Screen Recorders, check out here!
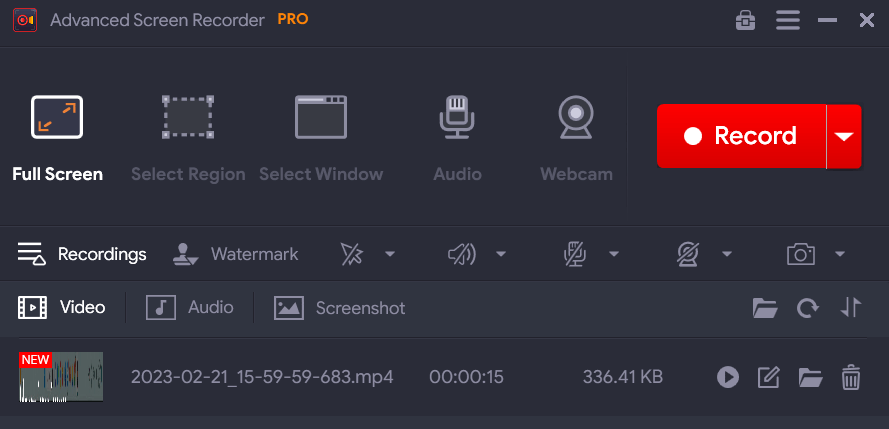
METHOD 4: Use Advanced Screen Recorder
Step 1: Download and install Advanced Screen Recorder by clicking on the download button below –

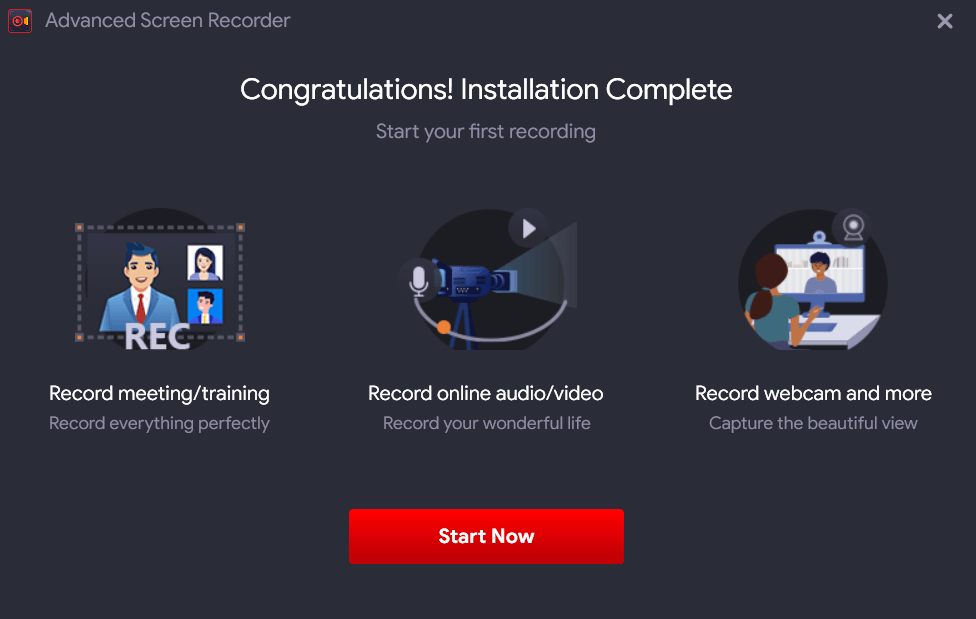
Step 2: After you have installed the software, launch it. Hit the Start Now button and you will see a quick tutorial that shows the step-by-step process of using this best screen recorder for PC.
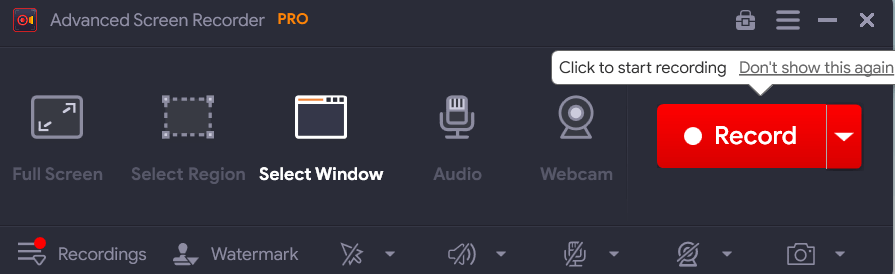
Step 3: Select the desired screen capture mode and hit the Record button.
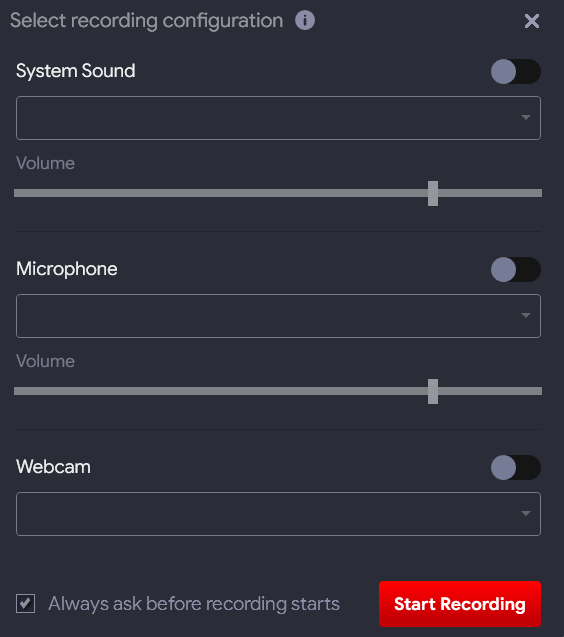
Step 4: You can configure the audio recording settings. You can manage whether you want to record the System Sound, via a Microphone or your own voice Webcam recording. Once selected, hit the Start Recording button!
Step 5: A short panel will appear in the bottom-right corner of the screen, where you can check the progress of the screen capturing process.

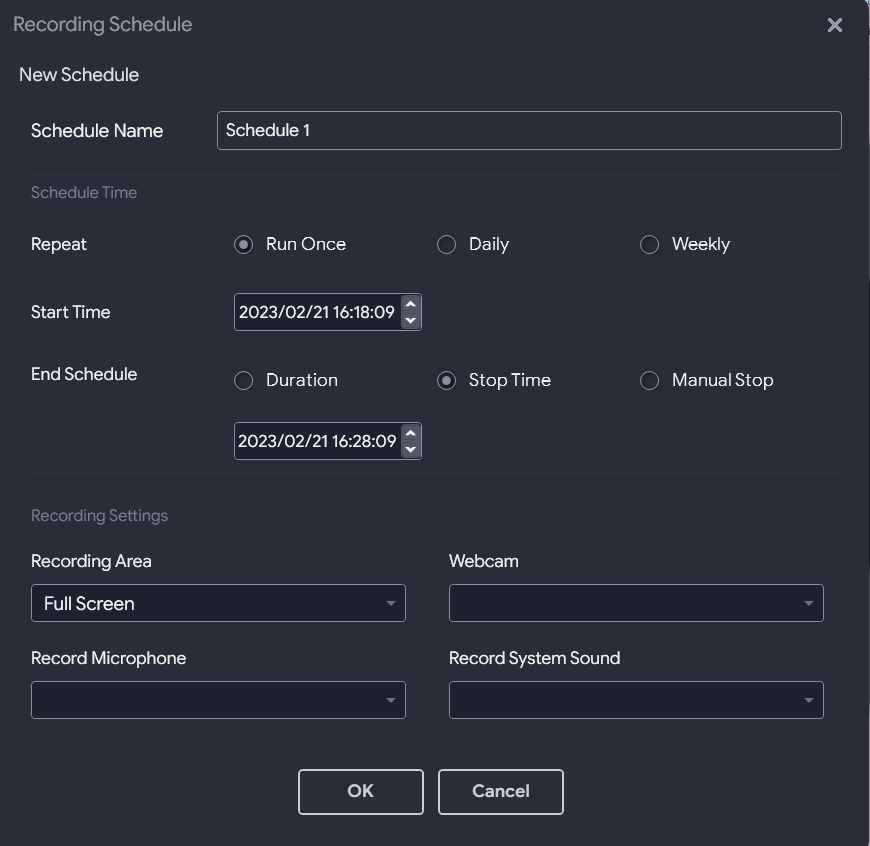
You can even tinker with various options to add or remove the watermark, set video quality, add a mouse pointer, record audio, set an automatic recording schedule, auto-stop, auto-split recordings & more.
Step 6: Once you’re done recording, click on the stop button to end the recording. It will be saved automatically to a default location. You can also check your recorded videos under the Recordings section.
Isn’t this a convenient choice when it comes to “how to screen record on Windows 11?”. Do share your personal experience with the tool in the comments section below!
Final Words | How to Record Windows Screen on Windows 11 PC
It is very easy to record your screen on Windows 11 PC by using the different inbuilt options or third-party tools. Although Windows 11 Xbox Game bar has certain limitations which can be overcome by using a dedicated screen recorder for PC like Advanced Screen Recorder.
It’s a great utility that helps users for a variety of purposes such as preparing educational material, making tutorials, recording a presentation, gameplay, etc. With the Advanced Screen Recorder, you can take screenshots, and record webcam, system audio, and microphone as well. We highly recommend you try it once to find out the amazing features of this product.
We would like to know your views on this post to make it more useful. So, if you know any other effective method to ‘take screen record on Windows 11’, do let us know in the comment section below.
Share this article with your friends and others & do not forget to follow us on social media – Facebook, Instagram, and YouTube.
Emma
Thanks for your considerate sharing! As an active user on screen recording, I’d also like to recommend Filmora Scrn and Joyoshare VidiKit They can record videos in 1080P with no watermark. Joyoshare is cheaper. VLC is easy-to-use as well. But it has fewer recording features serving a video recorder.Mridula Nimawat
Thank you for your suggestions.