
Blog Summary – In this blog, we talk about all the different ways to take screenshots on Windows 11. We make use of the Windows built-in tools and a third-party software TweakShot Screen Capture to show you the range of options available in the latest version of Windows.
Screenshots are needed in daily life for several reasons and that’s why they have become increasingly popular. So, as we move forward in the technical world, many screen capturing tools have emerged. With the Windows upgrade, we take a look at the methods available to take screenshots on the computer. In this blog, the variety of screen capture methods available in Windows 11 are mentioned along with their usage. Windows 11 screenshots will help you capture you screen and share it with others for various purposes.
Must Read: 13 Best Free Screen Recorder Without Watermark
How to take screenshots on Windows 11
Windows 11 brought some fantastic features in its launch and everyone is mesmerized by the visual changes. As much as we find the desktop changes appealing, we also look forward to using them for multiple functions. Here, we find out how to take screenshots on Windows 11. To do so, we are going to take a look at several different methods as mentioned below. It includes built-in tools such as the Snipping tool and also third-party tools.
So, in this section, we will discuss these methods and help you out in learning the best ways possible to take screenshots on Windows 11.
1. Print Screen Key –
This may be the oldest trick but often does the job well. Continuing the legacy of this Windows command, you can use the PrintScreen Key to screenshot the full screen. This is the best way to capture whatever is on your desktop. All you need to do is open up the tabs on the screen which you wish to take a screenshot of. And then press the PrintScreen key on your keyboard.
To save the image, go to the Paint app and then open a new file to paste the image. You have now saved the image to your desired location. Windows 11 screenshots can be captured easily with this evergreen method.
2. Snip & Sketch App –
Snip & Sketch is another inbuilt application that has remained the same in Windows 11. This can be used to take screenshots and to highlight or draw on the images.
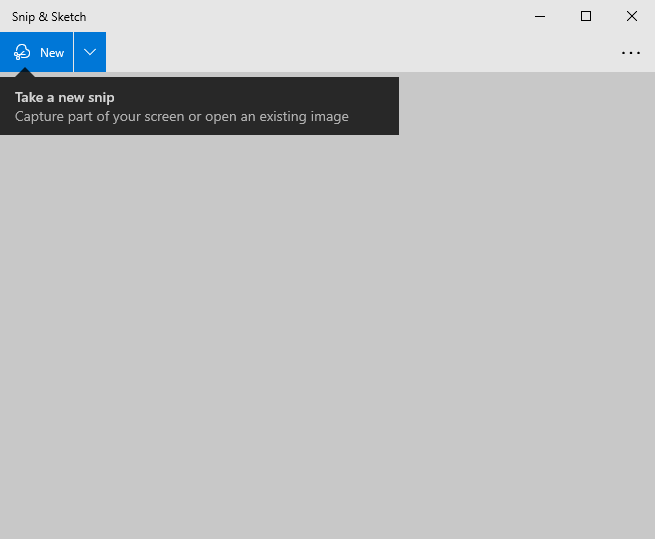
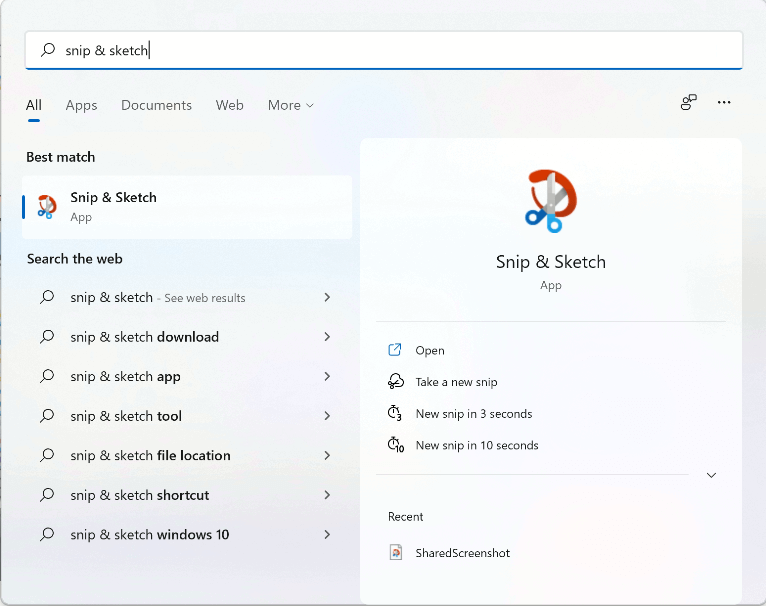
Open Snip & Sketch from the Start Menu search bar. These snipping tools will help in taking Windows 11 screenshot in a jiffy.
Go to New, and now select the area to capture on your current screen.
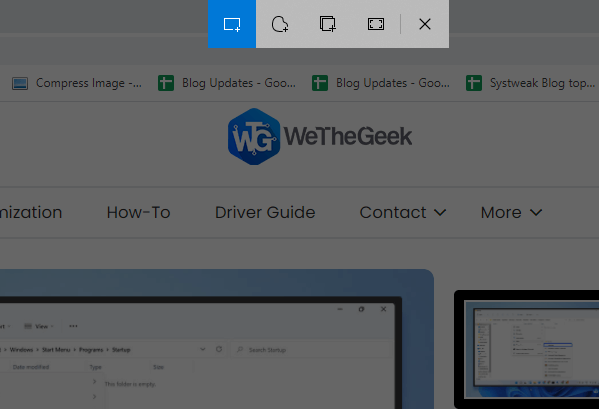
Now, click on the selected area, and on the mouse click, it will take a screenshot on Windows 11.
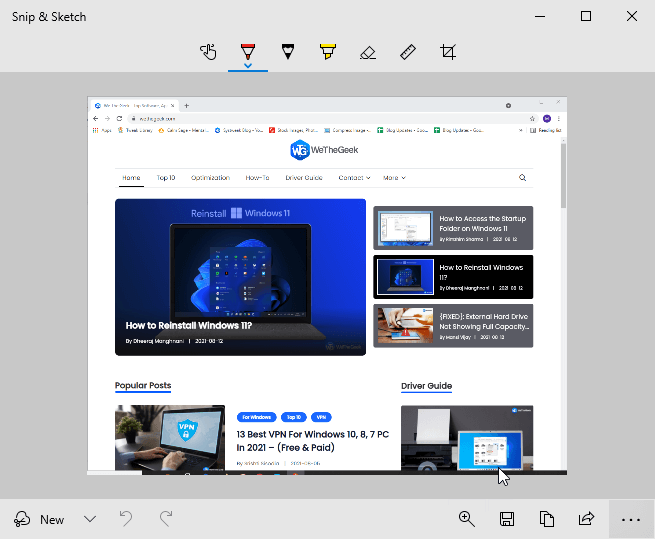
Now save it to the desired location by clicking on the Save icon.
3. Snipping tool –
Snipping tool is the Windows built-in tool that is quite popular with current version -Windows 10, it can also be used on Windows 11. This one offers you an advantage over the age-old method of PrintScreen for taking screenshots on Windows with tools.
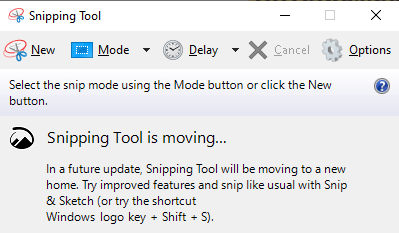
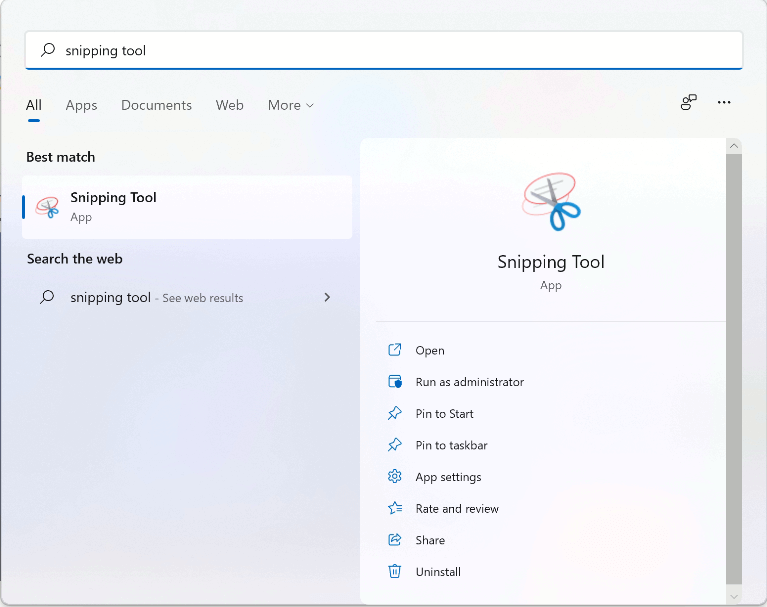
Open the Snipping tool on your computer from the Start Menu search bar.
Here, click on the Modes to select the type of screenshot from Free form, rectangular, window, or full screen.
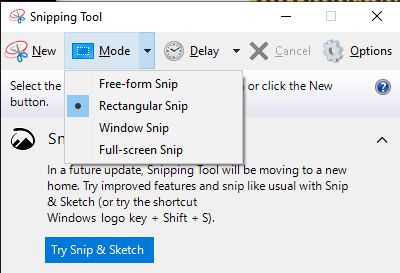
Once selected, you can now use the New button to take a screenshot on Windows 11.
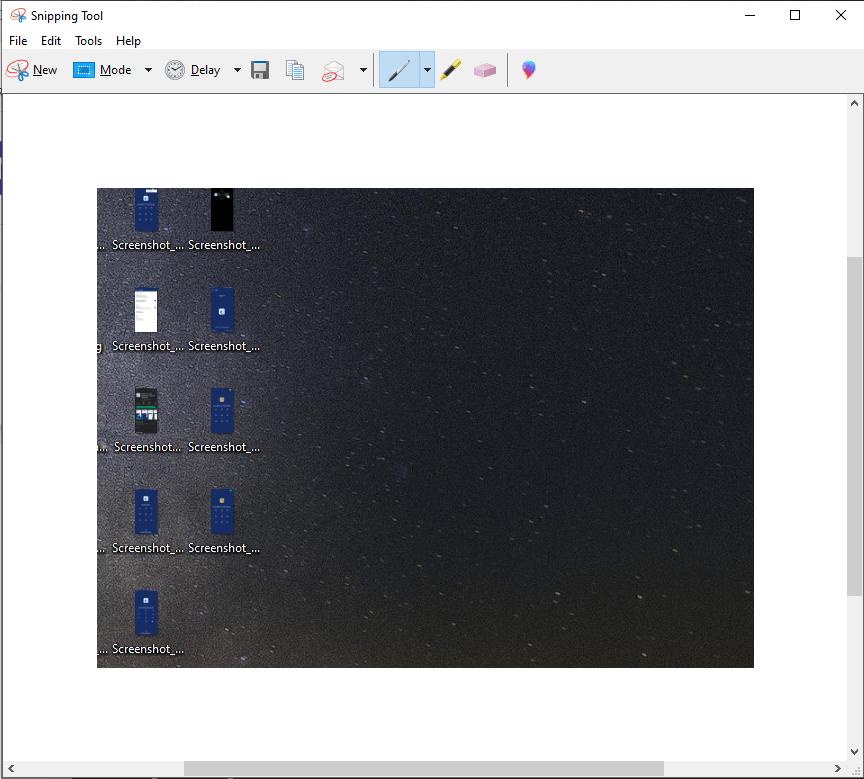
Windows 11 screenshots can be saved in the computer using Snipping tool.
4. Xbox Game Bar –
Xbox Game Bar is one of the most efficient Windows tools to be used for capturing screens. Mostly meant to be used for taking snaps of the games, it can easily serve as a snipping tool for Windows 11.
Open Xbox Game Bar from your Start Menu search bar.
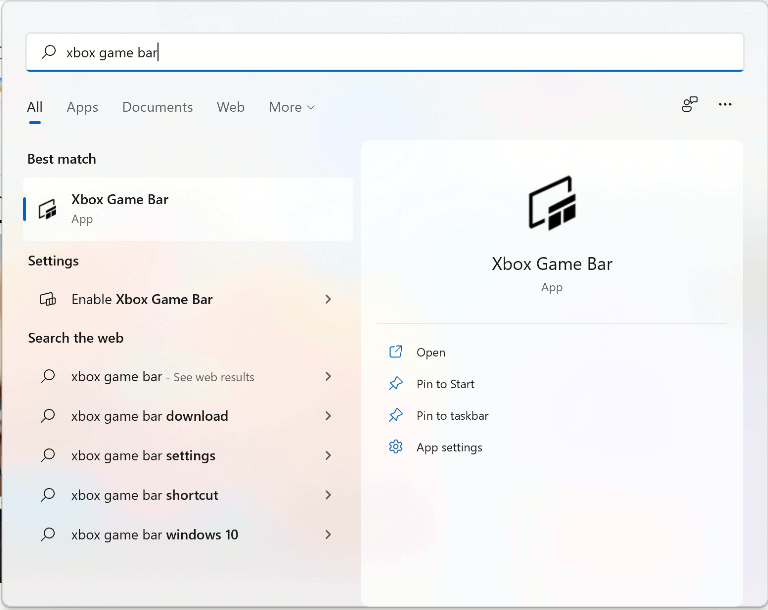
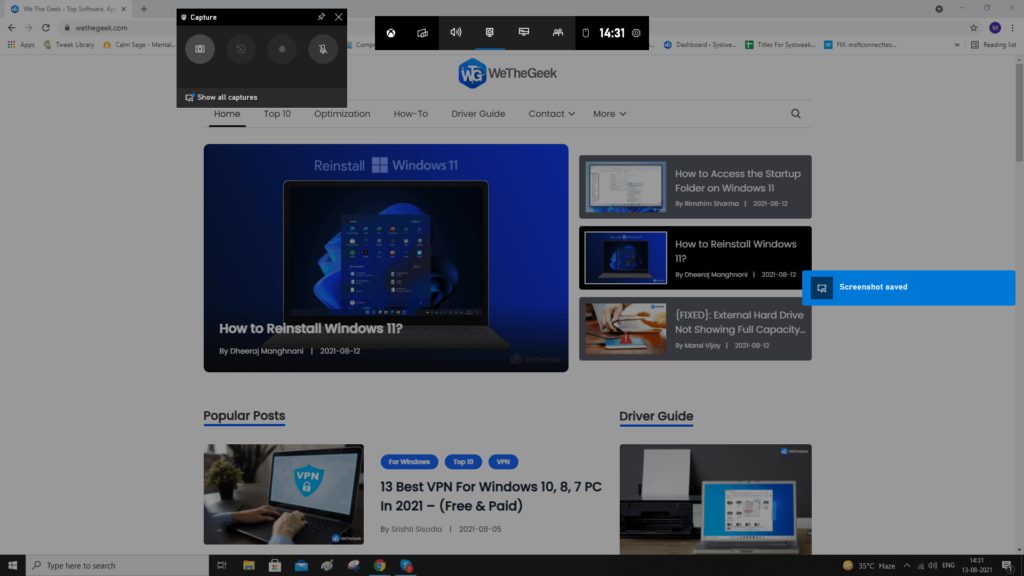
Here you can see the various widget, select the Capture widget and use it to take Windows 11 screenshot now.
![]()
Now, you can see a camera icon that will easily take a snapshot of your computer screen when clicked.
A blue-colored pop will appear on the right side of the screen saying Screenshot Saved.
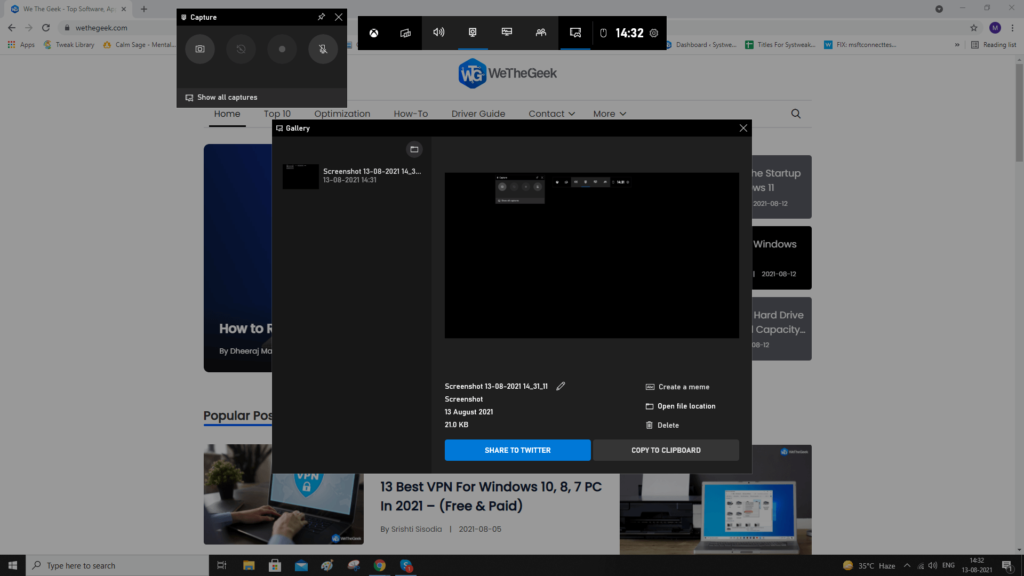
Now, you need to click on Show all captures to see them in the Gallery and also to check the saved file location. Windows 11 screenshots can be easily captured using this method.
It is another of the easiest methods of taking the screenshot on Windows 11.
5. TweakShot Screen Capture-
TweakShot Screen Capture is an excellent choice of tool for Windows PC. This is one of the best screen capture tools available for multiple purposes. Take screenshots, edit images, record screens and share them on cloud storage. It allows you to take screenshots in multiple styles such as -full screen, single tab, and selected region and scrolling screenshots. Once you capture the screen you can easily upload it on cloud storage like Google Drive and Dropbox. The screen capture tool also comes equipped with editing tools. You can take advantage of the tools to quickly edit images and save or share them.
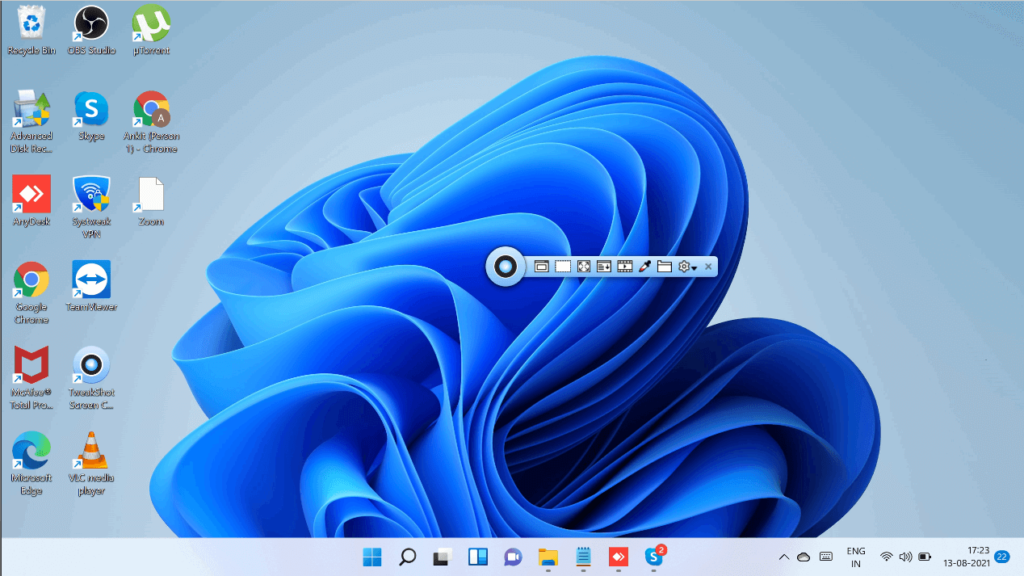
This is an intuitive tool that comes in wonderful shape and can be moved around the desktop to be placed anywhere as per requirement. Separate buttons for capturing- Single tab, select region, Full screen, scrolling screen, recording video are placed on the tool.
To take a screenshot on Windows 11, you need to download the tool from the download button given below-

Now install the tool and then launch it.
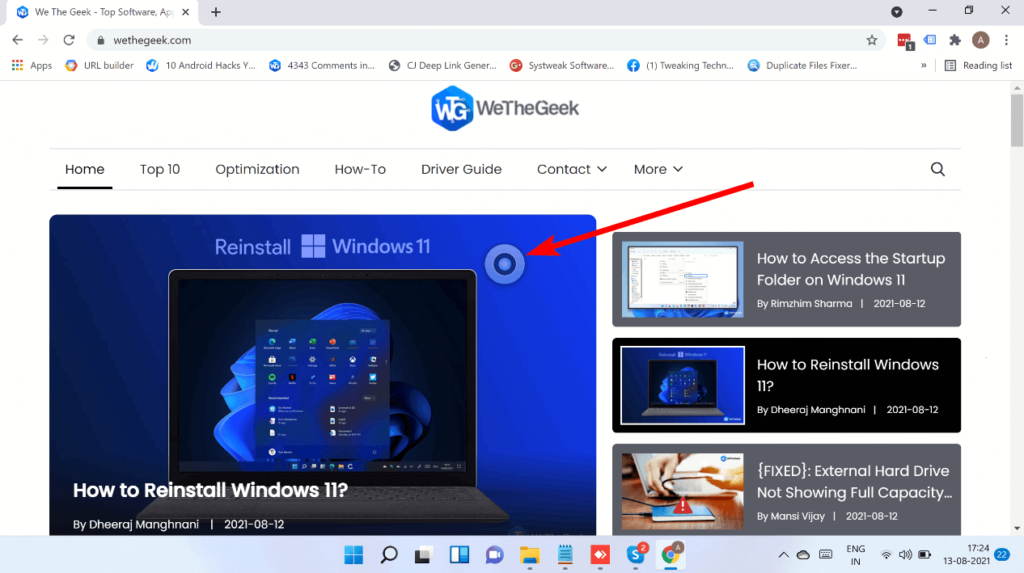
Click on the center of the tool to select the desired region on the computer.

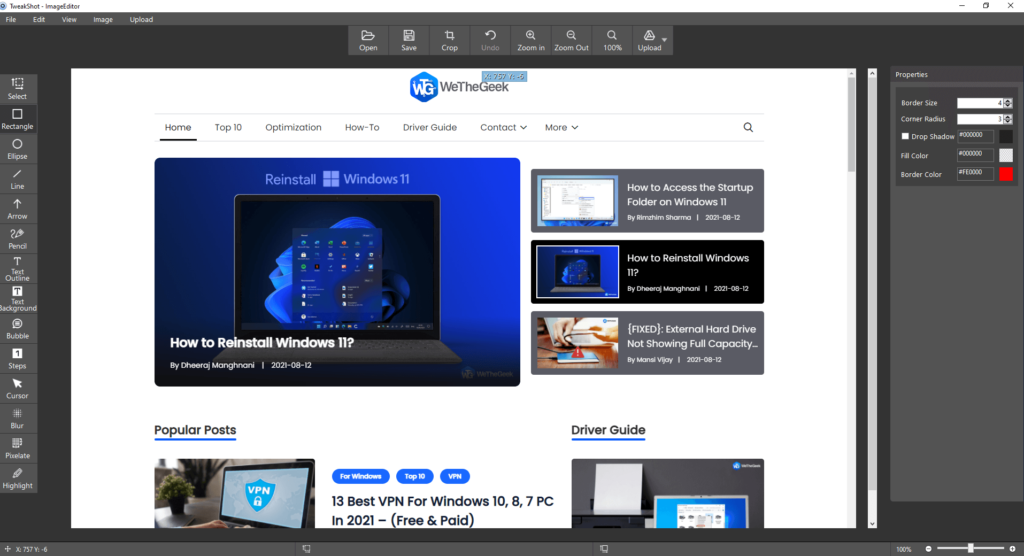
Select the region using your mouse and then click on the screen. It will immediately capture the screen for the selected region and then it will appear in the ImageEditor.
Here you can add text, border, highlight, add blur or pixelate effects or mouse pointers and arrows, etc.
This is the easiest way to capture the screen on Windows 11.
Wrapping up-
With the advancement of Windows 11, we look forward to taking screenshots has never been easier with so many methods present. If you like to move forward with an easy method, go for TweakShot Screen Capture as it is fast and gives you multiple editing tools. Using TweakShot Screen Capture, you can take scrolling screenshots, record your screen, edit images and capture full screen or single window. Get it for your Windows PC now from the download button given below.
We hope this article will help you in learning how to take screenshots on Windows 11. We would like to know your views on this post to make it more useful. Your suggestions and comments are welcome in the comment section below. Share the information with your friends and others by sharing the article on social media.
We love to hear from you!
We are on Facebook and YouTube. For any queries or suggestions, please let us know in the comments section below. We love to get back to you with a solution. We regularly post tips and tricks along with solutions to common issues related to technology.