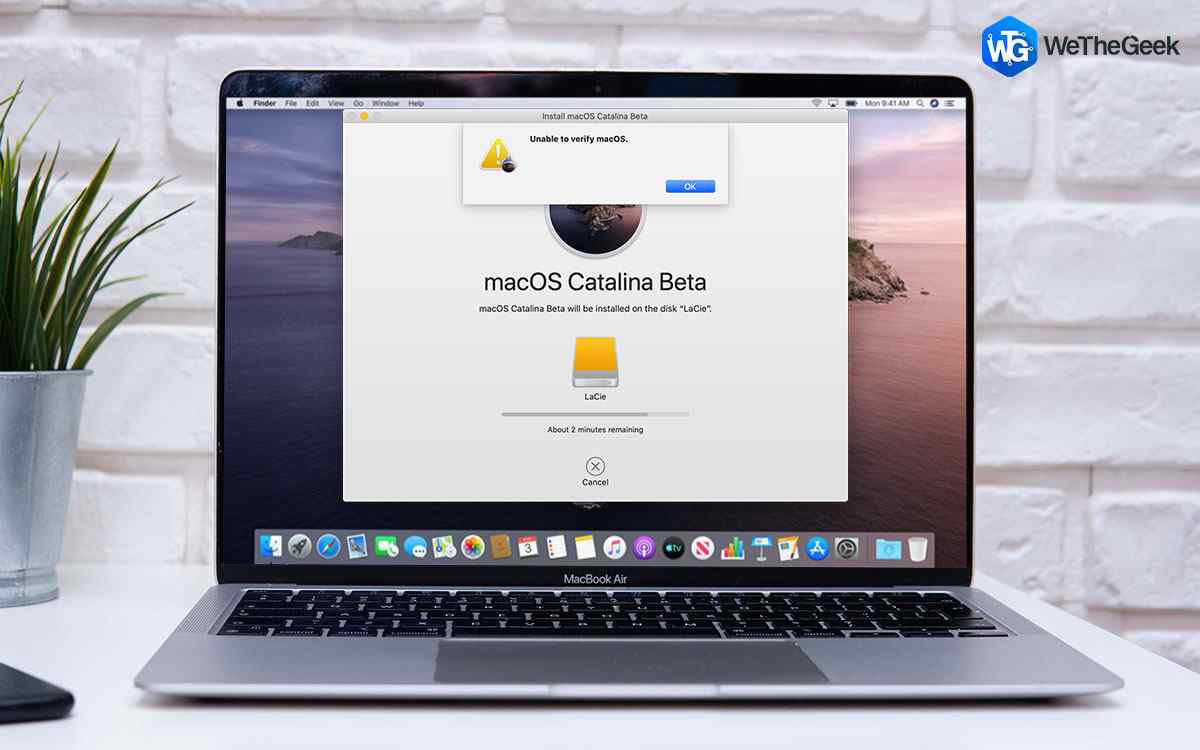
There could be multiple reasons why you may want to reinstall macOS. For instance, selling off an old Mac, downgrading macOS, resolving serious issues that are tagged along with current installation, etc are some of the common reasons why you may want to reinstall your Mac. However, for many users, the road to reinstallation is not smooth as they see an error “Untrusted_Cert_Title” while trying to reinstall macOS.
The error mostly surfaces when your Mac’s system clock is not set correctly. Read the information below to know why.
|
Curious about why this situation takes place where if the macOS clock is set incorrectly, the reinstallation would return the error at hand. In order to create a secure connection, there are many algorithms that require the clock to be set up correctly. The encryption system wants to validate if the digital certificate that further validates your macOS software has expired or not. In case, the date of the certificate is after the expiration date or before the issuance date, you will receive the error. |
Before Trying to Fix The ‘Untrusted_Cert_Title’ Error, Take A Backup
Before you resolve the ‘Untrusted_Cert_Title’ Error or reinstall Mac for that matter, it is highly advisable that you take a backup of your data. This way, if anything goes wrong, you can at least rest assured that you will be able to restore data from that backup.
How To Fix ‘Untrusted_Cert_Title’ Error When Reinstalling macOS?
To resolve the issue let’s first get down to some basics regarding setting a date and time. To set up the correct date on your Mac, here are things you might want to take note of –
- Day of the month– 1 to 31
- Month of the year – 1 to 12
- Hour (24-hour) format – 0 to 23. E.g. 1 PM would be 1300 hours
- Minutes – 0 to 59. E.g. 2:59 PM would be 1459 hours
- The last two digits of the year – g. the year 2022 will be 22
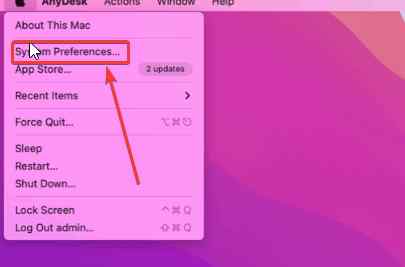
1. Change The System Time Settings
In this first method, we’ll modify the day and date of Mac using System Preferences. Here are the steps to do that –
- Open Apple menu.
- Select System Preferences.
- Click on Date & Time and click on the lock icon.
- Enter the administrator name and password.
- Click on Date & Time and set the same manually. Here uncheck the Set date and time automatically checkbox and manually set the date and time (it should be the date when you are setting the date and time)
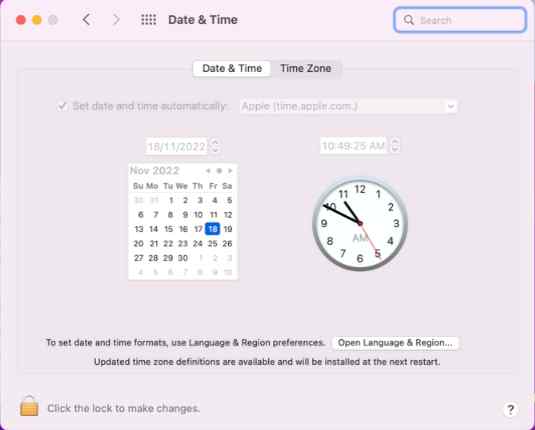
- Do the same thing for the clock and drag the clock’s needle till you get the correct time.
- Click save.
2. Change The Date and Time Via Terminal
This step is applicable if you do not have access to your macOS. Here first, enter the Recovery Mode on your Mac and then follow the steps mentioned below –
- Go to Utilities.
- Click on Terminal and then click on Enter.
- Type the date and press Enter. Your Mac’s date might be set wrongly so you might have to enter the right date. For that, this is the format you have to follow –
– date -u .
So, if the date and time are November 17th, 2022, 17:34 UTC, then the command will be date -u 1117173422
- Hit the Return.
- When you run the command, you will see the date and time in the output line.
- Exit the Terminal.
- Head back to the main recovery window.
- Click on Reinstall macOS and follow the on-screen instructions that appear next.
Words Of Wisdom – What If You Don’t Have A Backup?
Imagine a situation where you lost files that are also not there in your backup and worst! You need those files urgently.
Sounds like getting those files is impossible, right? Needn’t lose hope – A data recovery tool for Mac like Stellar Data Recovery is capable of retrieving data from any data loss situation or from any storage medium. To know more about its features, pricing, pros, and cons, you can check out our comprehensive review of Stellar Data Recovery
Let’s see how it works on Mac –
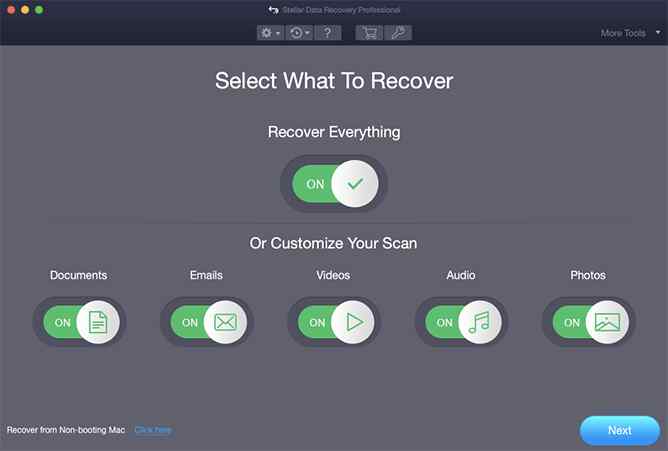
- Download, run, and install Stellar Data Recovery Professional.
- Select the type of data that you want to recover.

- Select the storage location on your Mac from where you want to recover data.
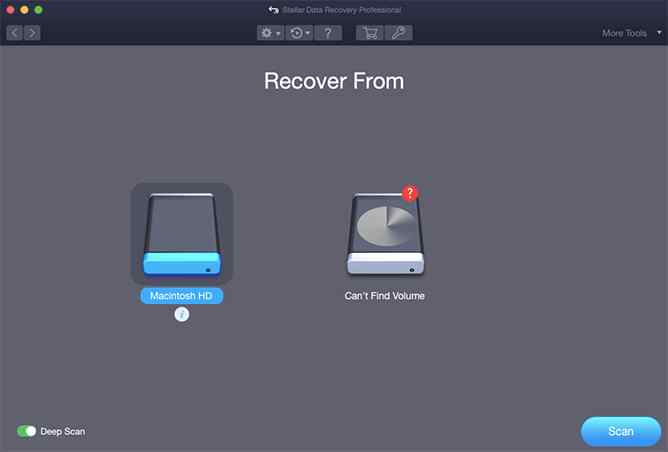
- Once you have selected the location, click on the Scan button from the bottom-right corner of the interface.
- As you can see the files are neatly sorted by their file format. You can even preview files before choosing to restore them.
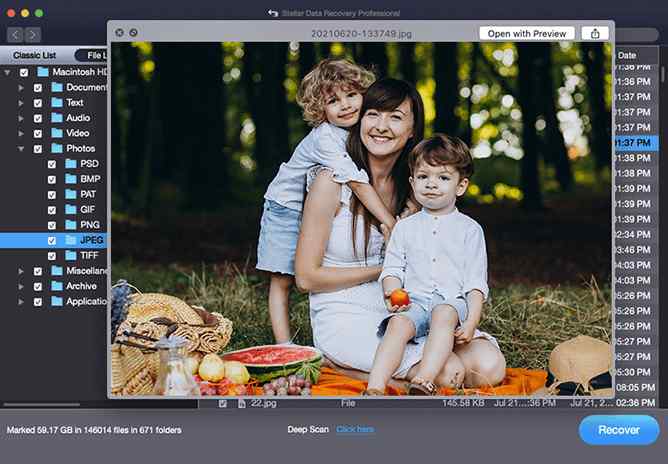
- Once you have chosen the files you want to recover, click on the Recover button.
Done! You have successfully recovered data.
Wrapping Up
We hope that after trying the methods above your road to reinstallation is not bumpy and you have stopped facing the ‘Untrusted_Cert_Title’ error. We regularly come up with more tips, tricks, and fixes that can help you get over issues pertaining to your operating system, so, do bookmark WeTheGeek for later reference.
Don’t forget to follow us on Facebook, YouTube, Flipboard, Instagram.