When you try to access the internet or a resource on the network, does the network error 0x800704b3 appear? This can be due to the fact that the network path was either type in incorrectly, does not exist, or the network provider is not now available. You can try to retype the path but if it still does not work then here are some fixes you need to try to fix this issue.
Also Read: How to Fix “You Are Not Connected to Any Networks” on Windows
Method 1: Activate The Network Troubleshooter
Microsoft provides certain troubleshooters within Windows OS that can identify and to certain extent fix minor issues. Now as we are not aware of the exact reason as to why this error might have occurred, we could begin with the simplest troubleshooting step. Here are the steps you need to follow:
Step 1: Launch the Settings app by pressing Windows + I keys simultaneously.
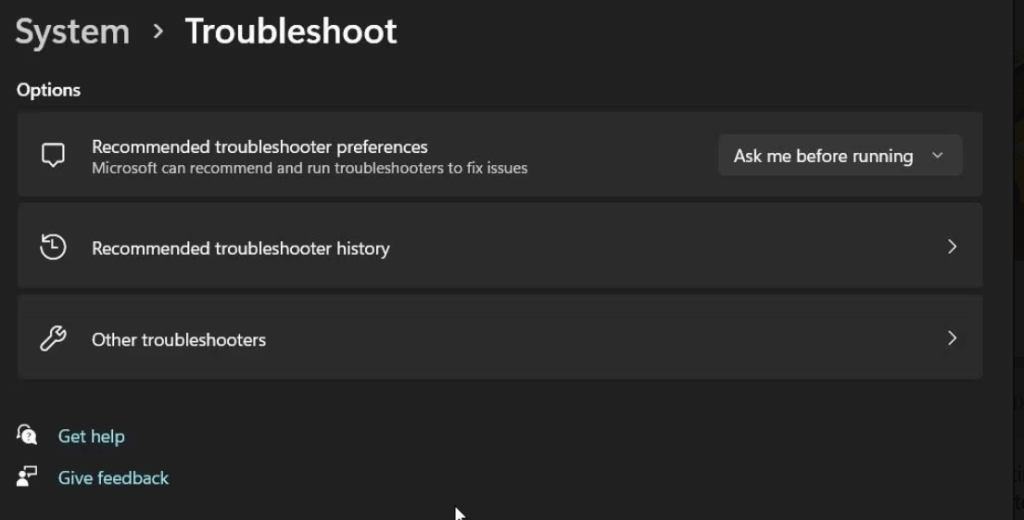
Step 2: Click on System in the left panel and then on Troubleshoot in the right side.
Step 3: Next, choose Other troubleshooters from the right panel.
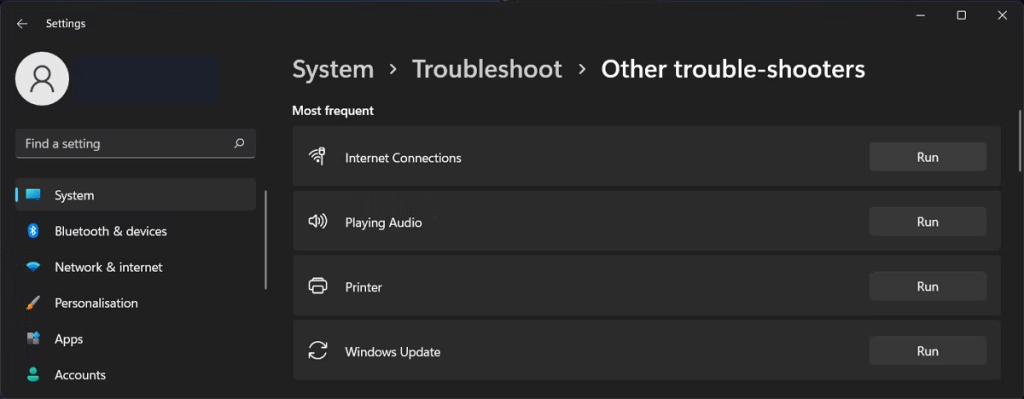
Step 4: Scroll down the list of troubleshooters and locate the Network troubleshooter. Click the RUN button next to it.
Step 5: Follow the onscreen instructions and wait for the troubleshooter to identify the error. Click on Apply this fix.
Step 6: Exit the troubleshooter and check if the issue has been resolved.
Also Read: Network Connections Folder Empty on Windows 11? Try These Solutions!
Method 2: Turn On The Relevant Service
A few key Windows services are essential for maintaining appropriate network connectivity. The creation and upkeep of network connections is the responsibility of these providers. However, the network problem you are currently experiencing may result from any of these services becoming damaged or malfunctioning.
Step 1: Press Windows + R keys to launch the RUN box.
Step 2: Next, enter “Services.msc” and click on the OK button.
Step 3: A new window will open where you will find all the services in your PC listed in alphabetical order. Locate DHCP and double click on it.
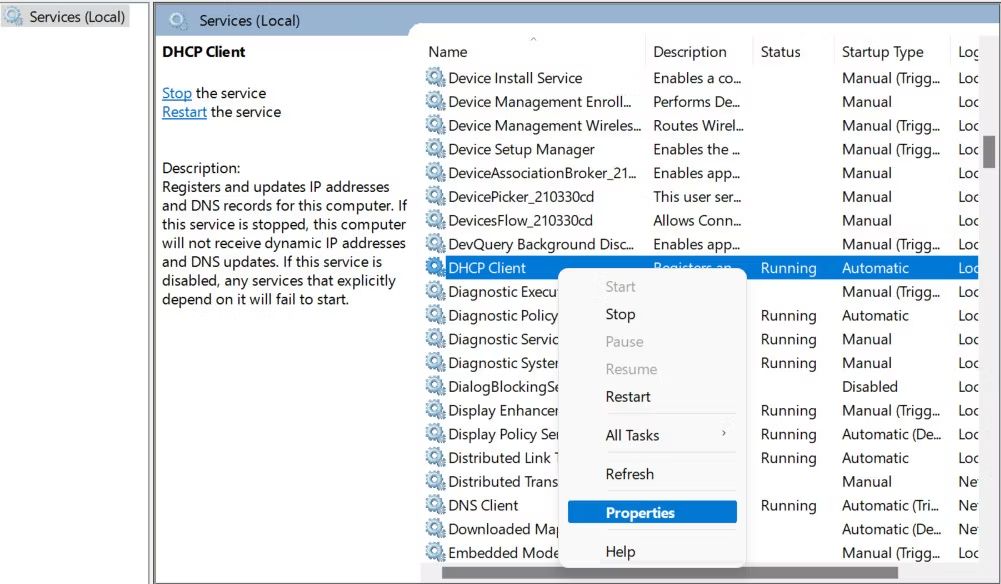
Step 4: The Properties window for that service will now open.
Step 5: Click on the Stop button and then after a few seconds click on the Start button.
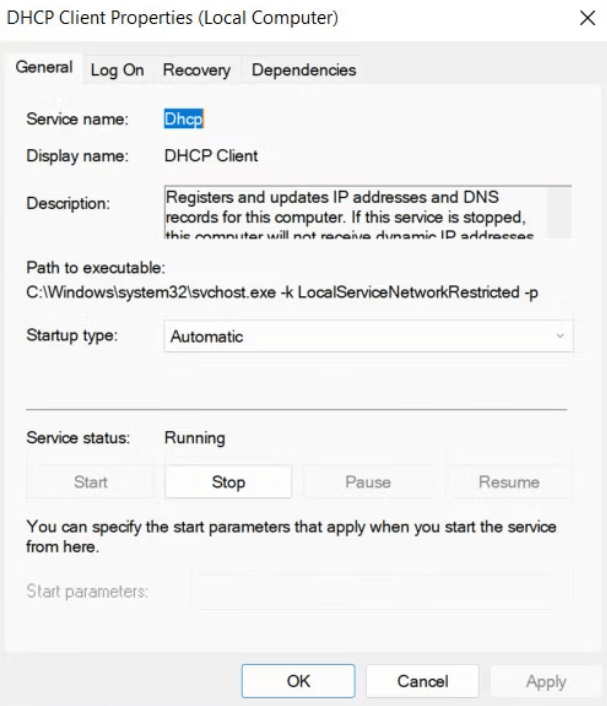
Step 6: Modify the Startup type as Automatic.
Step 7: Click on Apply and then click on OK.
Step 8: You will have to repeat the same steps for a few more services namely:
- TCP/IP NetBIOS Helper
- Network Location Awareness
- Network Connections
- Network List Service
- DNS Client
- WLAN AutoConfig
Close the Services window when each service has started running, then check to see if the issue has been fixed.
Also Read: How To Fix The Network Adapter Error Code 31
Method 3: Restart Network Adapter
To solve the issue, you can also attempt to reset your network connection. This will eliminate any short-term issues or conflicts that may be to blame for the network fault. To continue, adhere to these steps:
Step 1: Make a right click on the network icon that looks like the Wi-Fi symbol to view the context menu.
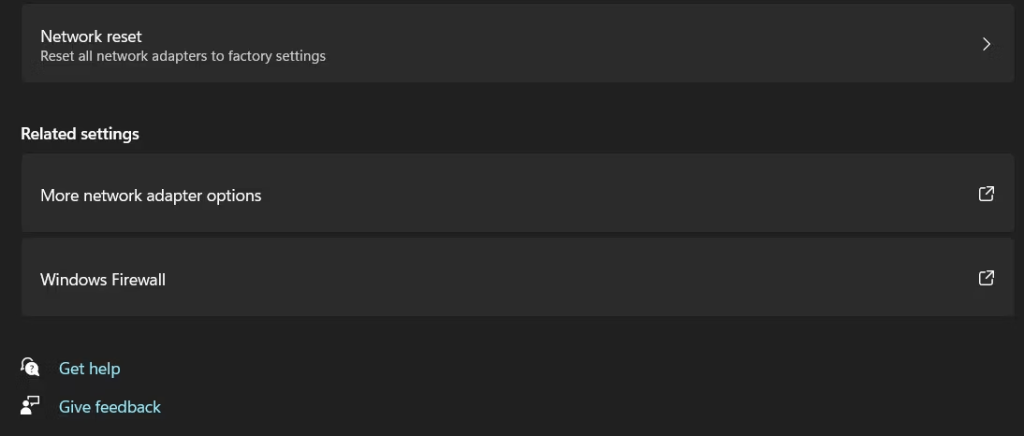
Step 2: Select Open Network & Internet settings and a new window will open.
Step 3: Go to More network adapter options under Advanced network settings.
Step 4: Make a right click on the network adapter you use currently and choose Disable from the context menu.
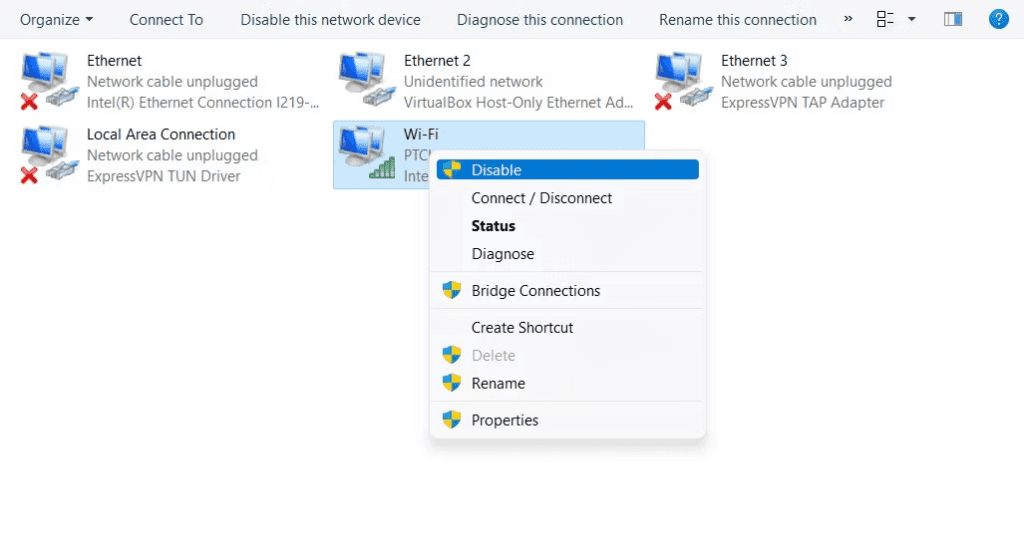
Step 5: After a few seconds, you can right click on it again and select Enable.
Step 6: Close the Settings window after you’re finished, then try to carry out the operation that initially caused the error.
Also Read: Wi-Fi Network Not Showing Up On Windows 11/10, What To Do
Method 4: Update Network Drivers
Drivers play an important role when bridging the gap between the hardware and software. Hence it is important to update all your drivers to ensure your PC functions properly. Here are the steps to update your drivers:
Step 1: Download & Install Advanced Driver Updater.

Step 2: Launch the app and click on the Start Scan Now button.
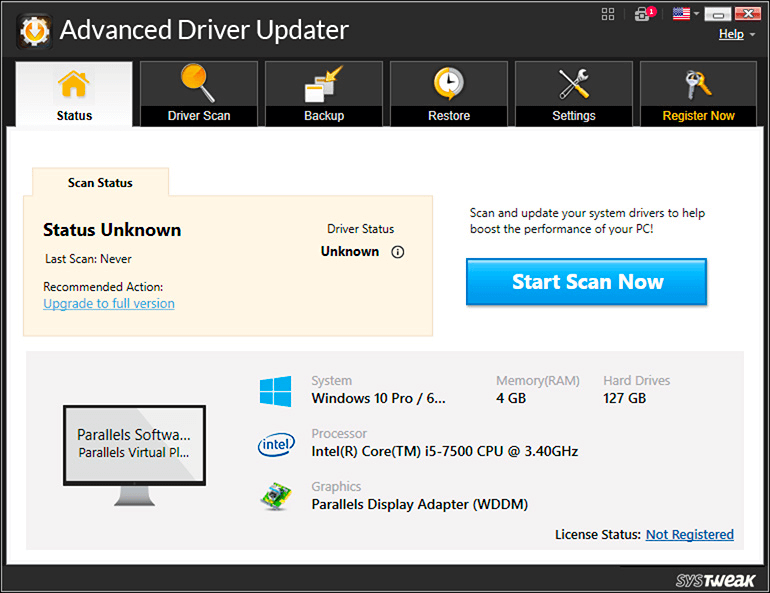
Step 3: A list of driver issues will appear on the screen. Locate your Network driver and click on the Update button next to it.
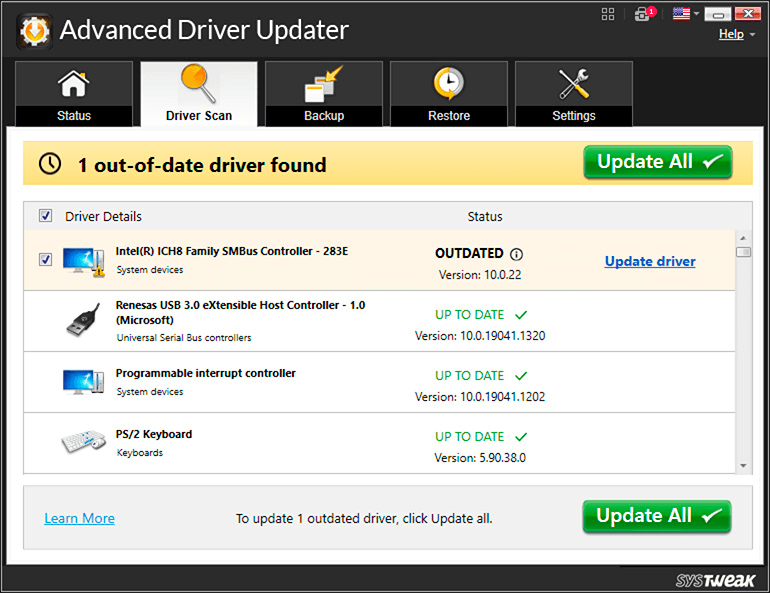
Step 4: Wait for the driver to get updated and reboot your computer.
Also Read: How To Rename A Network Adapter On Windows 11
The Final Word On How To Fix The Network Error 0x800704b3 In Windows 11?
Network issues can be annoying, especially if you require immediate internet connection. Hopefully, the solutions we’ve provided above will enable you to permanently resolve the issue at hand. If it returns, get in touch with the official Microsoft support staff, provide them with the necessary details, and report the problem.
Please let us know in the comments below if you have any questions or recommendations. We would be delighted to provide you with a resolution. We frequently publish advice, tricks, and solutions to common tech-related problems. You can also find us on Facebook, Twitter, YouTube, Instagram, Flipboard, and Pinterest.
Also Read: How To Fix Windows Could Not Find a Driver for Network Adapter