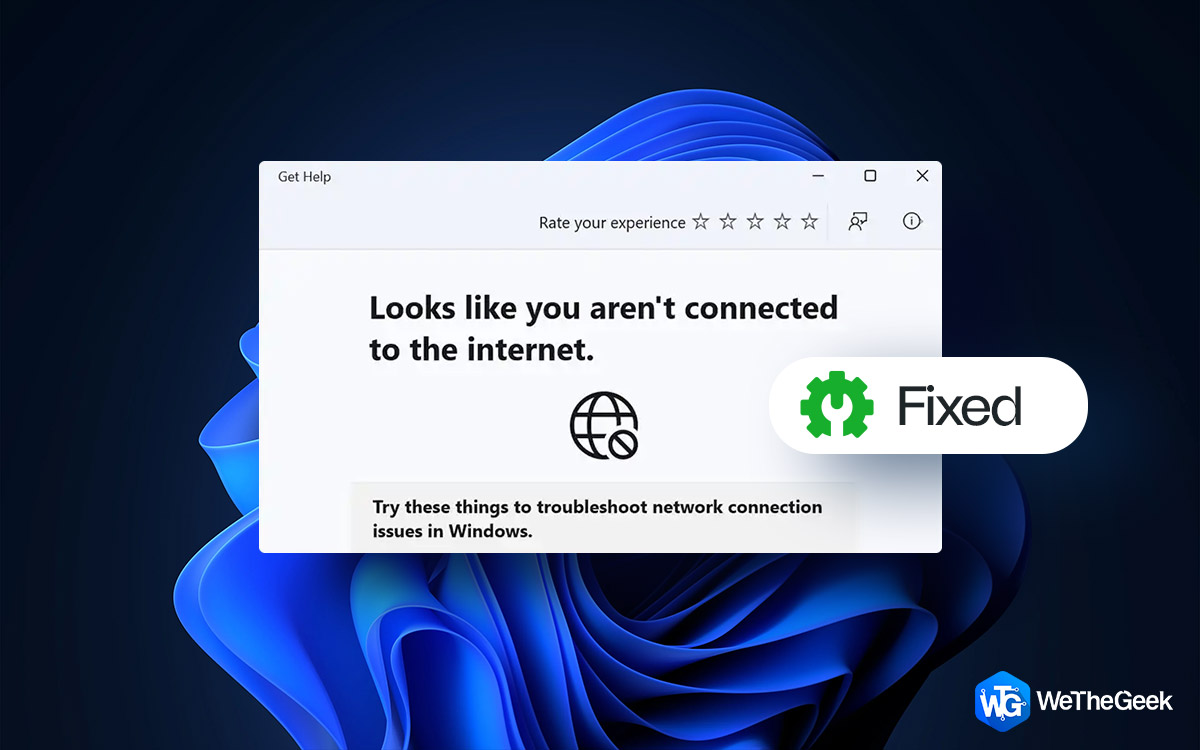
Stuck with the “You are not connected to any networks” issue on Windows 11”? This error message in Windows usually indicates that the device is unable to connect to a network or the internet. Encountering network errors on Windows is pretty natural. It can occur due to several reasons, including:
- Misconfigured network settings
- Outdated or incorrect network driver
- Wi-Fi or Ethernet connectivity issue
- Router or modem problem
- Bugs or temporary glitches.
Additionally, other factors may also trigger this issue on your Windows PC such as interference from other devices or networks, limited bandwidth, and security issues that can also cause network errors.
Wondering how to resolve this issue to get your device up and running again? In this post, we have listed a variety of solutions that you can use to fix this issue via simple troubleshooting.
Let’s get started and learn how we can minimize the occurrence of network errors on Windows.
How to Fix “You Are Not Connected to Any Networks” on Windows
Solution 1: Turn OFF the Airplane Mode
If Airplane Mode is enabled on your device, you may not be able to access any of the network services as your PC is currently offline. Airplane mode disables all the network connectivity services including Wi-Fi and Bluetooth. Hence, here’s how you can disable the Airplane Mode to fix the issue:
Step 1: Tap on the Windows icon placed on the Taskbar and select “Settings”.
Step 2: Switch to the “Network and Internet” tab from the left menu pane.
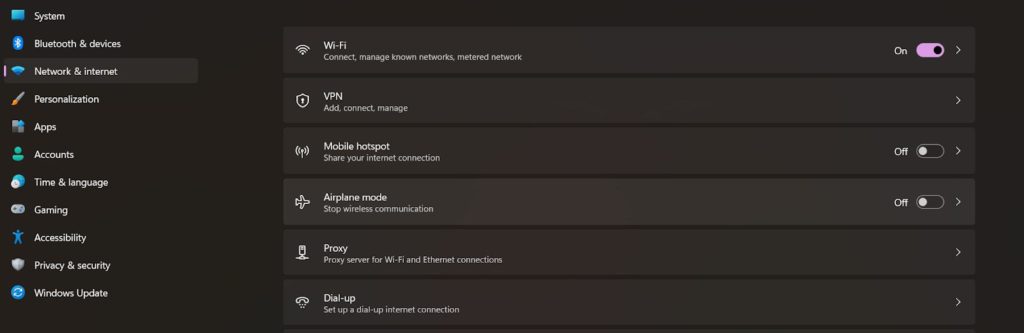
Step 3: Toggle OFF the Airplane Mode option, in case it was enabled by default.
Step 4: Under the “Wireless Devices” section, enable the Wi-Fi and Bluetooth options.
Also read: Wi-Fi Network Not Showing Up On Windows 11/10, What To Do
Solution 2: Run the Network Adapter Troubleshooter
The Network Adapter Troubleshooter on Windows is a built-in tool designed to help diagnose and fix issues with network adapters and their connections. The troubleshooter can detect and resolve common problems such as adapter driver issues, adapter configuration problems, and network connectivity issues. Here’s how you can run the network adapter troubleshooter on your Windows 11 PC:
Step 1: Launch the Settings app. Switch to the “System” tab. Scroll down and tap on “Troubleshoot”.
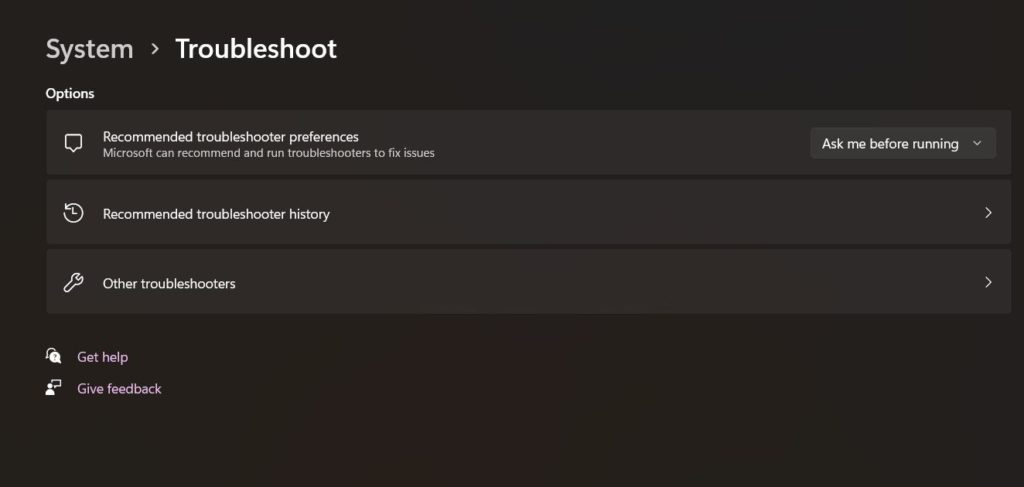
Step 2: Select “Other Troubleshooters”.
Step 3: You will now see a list of Windows built-in troubleshooters on the screen. Look for the Network Adapter troubleshooter in the list and hit the “Run” button placed next to it.

Step 4: Once the scan is completed, try connecting to a network to check if the issue was resolved.
Also read: How To Rename A Network Adapter On Windows 11
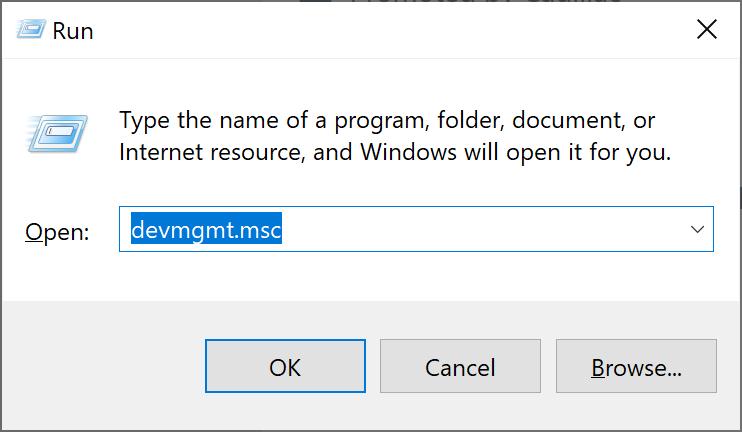
Solution 3: Reinstall the Network Adapter Drivers
Outdated, corrupt, or missing network adapter drivers can also trigger the “You are not connected to any networks” issue. Here’s how you can reinstall the network drivers on your Windows PC.
Step 1: Press the Windows + R key combination to open the Run dialog box. Type “Devmgmt.msc” in the textbox and hit Enter.
Step 2: In the Device Manager window, tap on “Network Adapters”. Right-click on your network adapter driver and select “Update Driver”.
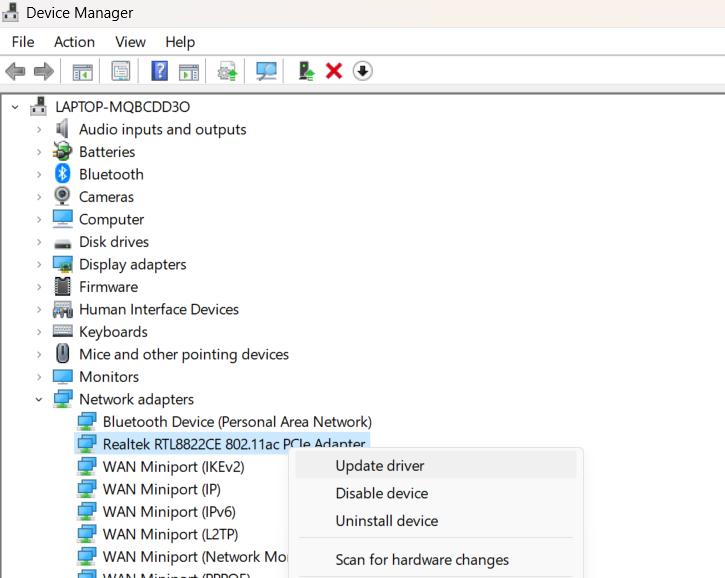
Step 3: Follow the on-screen instructions to install the latest version of network adapter drivers on your device.
Also read: What is Killer Network Service? How to Fix Its High CPU Usage?
Solution 4: Reset the Windows Network
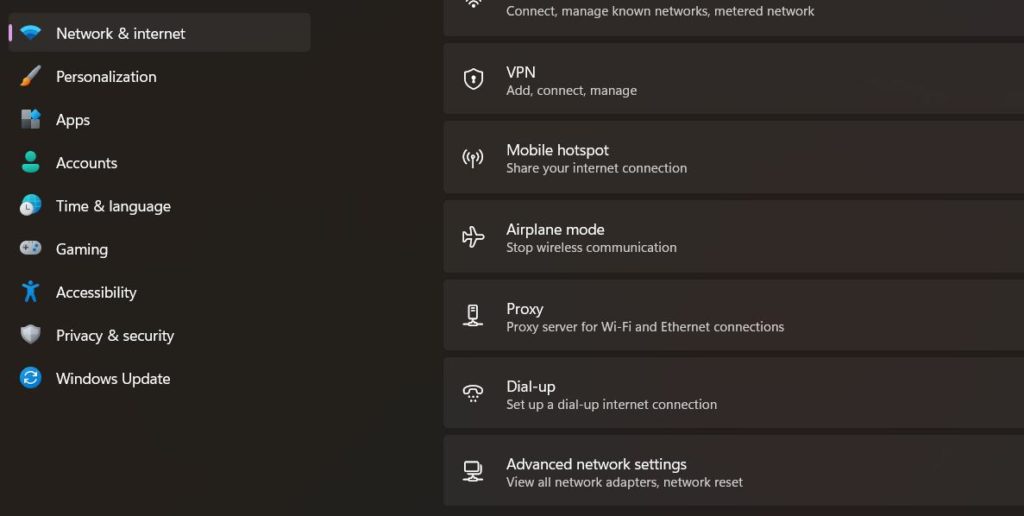
Step 1: Launch the Settings app and switch to the “Network and Internet” section from the left menu pane.
Step 2: Scroll down and tap the “Advanced Network Settings” option.
Step 3: Hit on the “Reset Now” button placed next to the “Network Reset” option.
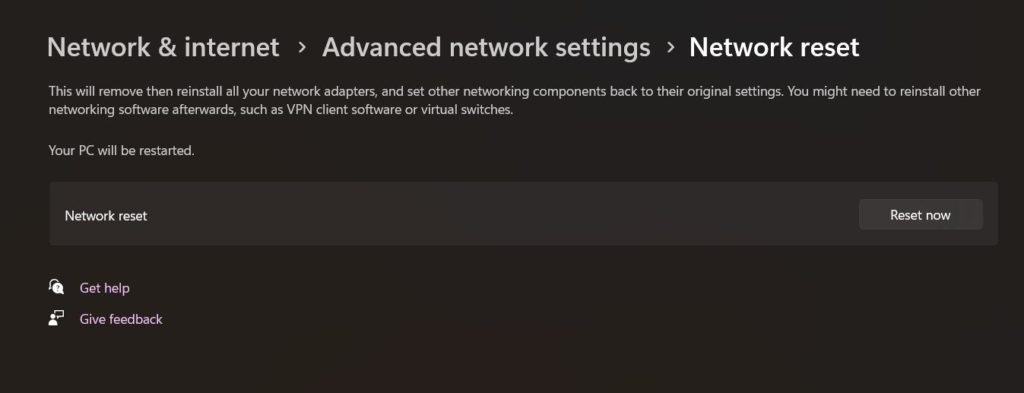
Step 4: By following this process, Windows will reinstall the network adapters, networking software, and other virtual switches.
Solution 5: Check your WiFi Router
Make sure that your WiFi router is powered ON and you can also try rebooting it to resolve temporary glitches or bugs. If you using an ethernet connection, unplug and replug the ethernet cable and check if it helps in fixing the issue.
Solution 6: Use the System Restore Feature
System Restore on Windows is a utility feature that allows you to restore your computer to a previous state if you encounter problems with your system, such as crashes, errors, or other issues. To use System Restore in Windows, follow these steps:
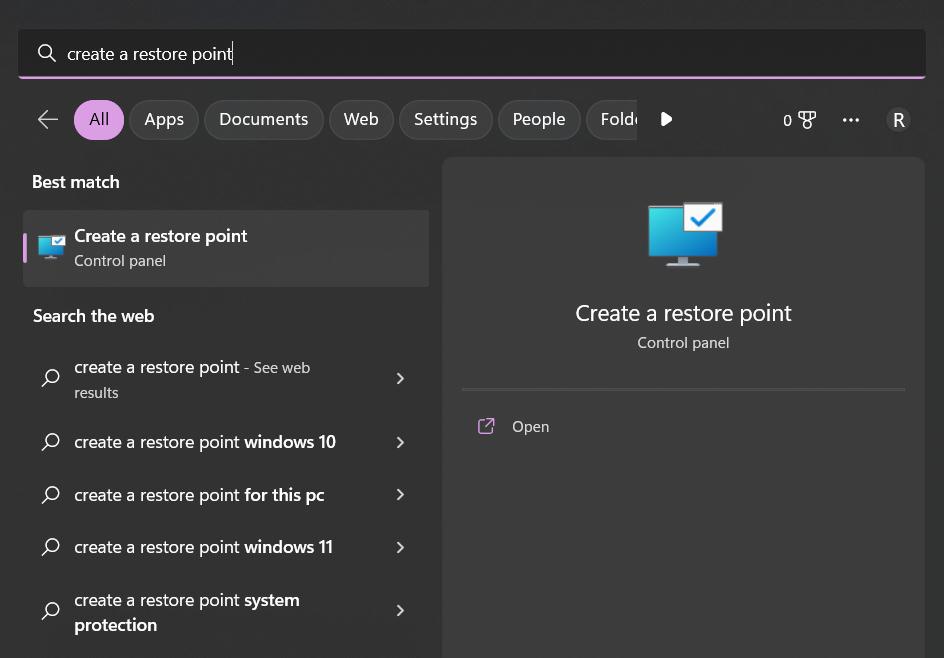
Step 1: Tap on the search icon placed on the Taskbar and type “Create a Restore Point” in the search bar.
Step 2: Click on the “System Restore” button in the System Properties window.
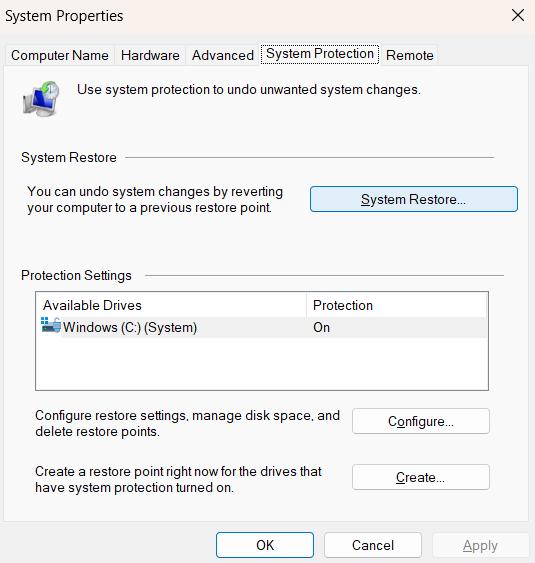
Step 3: In the System Protection tab, click the “System Restore” button.
Step 4: Follow the on-screen instructions to choose a restore point and restore your system.
Conclusion
Here are a few simple workarounds to fix the “You are not connected to any networks” issue on Windows. It is a commonly reported issue that can easily be fixed by making a few quick changes to your device’s settings. You can use any of the above-listed methods to resolve this error on Windows PC.
Was this post helpful? Were you able to get rid of the problem? Feel free to share your feedback in the comments box!