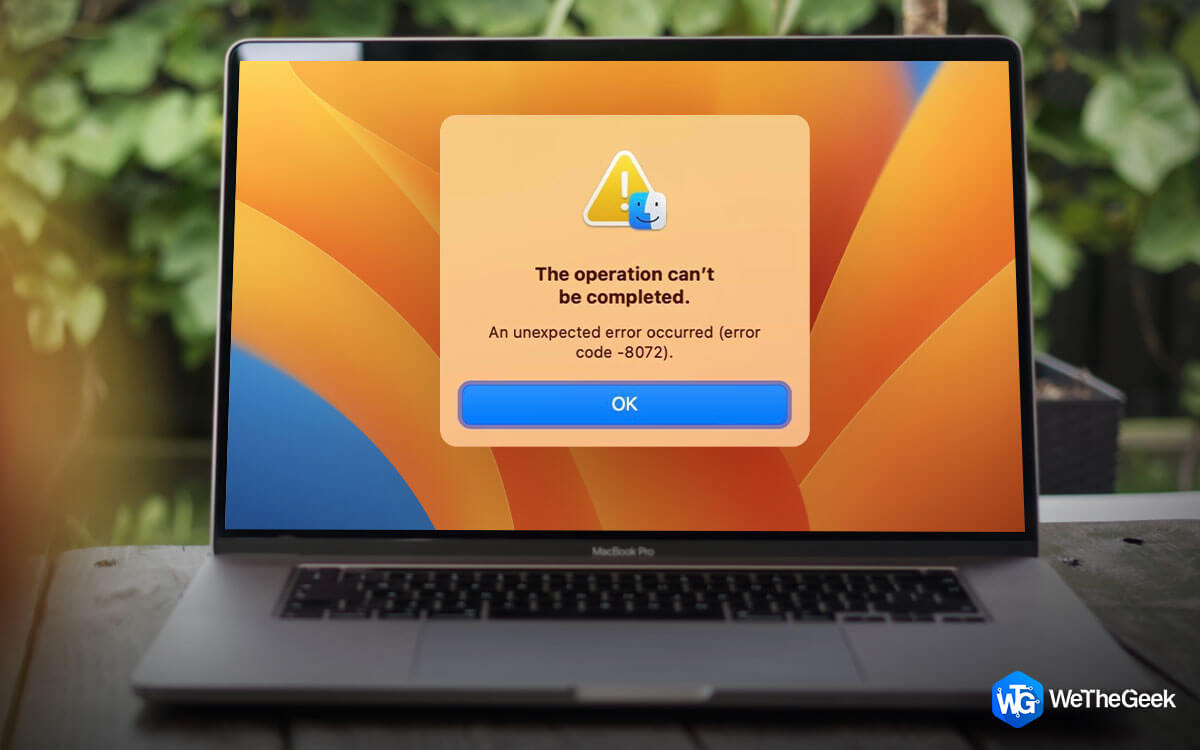
Imagine the frustration: you’re trying to delete a file, rename a folder, or empty the trash on your Mac, and suddenly, a cryptic error code pops up: 8072. It’s like a digital roadblock, leaving you stranded and confused. It pops up on your Mac screen, like an unwelcome guest at a digital party, throwing a wrench in your workflow and leaving you frustrated. Fear not, fellow Mac users! This guide equips you with the knowledge and tools to vanquish this digital foe for good.
So, without further ado, let’s get started.
Understanding the Enemy: What is Error Code 8072?
Error Code 8072 typically occurs when users attempt to delete or move files or folders within the macOS environment. It signifies that the operation couldn’t be completed due to various underlying issues. These issues may range from permission errors to file system inconsistencies or even hardware-related issues. Also known as the “operation could not be completed” error, is a general catch-all for permission issues. It pops up when your Mac encounters a roadblock preventing it from completing an action, often related to file access or modification.
Common Culprits of Error Code 8072
1. Permission Woes: Sometimes, files inherit restrictive permissions, making modifications off-limits. It’s like trying to enter a building without the right key!
2. Corrupted Trash: A jammed Trash bin can cause cascading issues. Think of it as a clogged pipeline hindering the flow of deleted files.
3. App Interference: Rogue applications or extensions can clash with Finder operations, creating a digital battlefield.
4. System Glitches: Underlying disk errors or software conflicts can throw a wrench into the smooth operation of your Mac
Ways to Fix Mac Error Code 8072: Step-by-Step Solutions
Method 1: Force Restart Your Mac
When encountering the troublesome Mac Error Code 8072, a straightforward remedy involves initiating a force restart of your Mac. This approach is designed to alleviate temporary glitches or disturbances within the system that could be triggering the error. Follow the steps below:
1. Force Quit: This method forces your Mac to shut down immediately. It’s similar to pulling the plug on a computer.
- For Intel-based Macs: Press and hold Command (⌘) + Option (⌥) + Escape (Esc) until the “Force Quit Applications” window appears. Look for any unresponsive applications and select them one by one, clicking “Force Quit”. Once all unresponsive apps are closed, try restarting normally using the Apple menu > Restart.
- For Macs with Apple silicon: Press and hold the power button for about 10 seconds until the screen goes black. The power button might feel different depending on your model.
2. Hardware Force Restart: If Force Quit doesn’t work, you can perform a hardware force restart. This method should only be used as a last resort.
- For all Mac models: Press and hold Command (⌘) + Control (Ctrl) + power button (or Touch ID/Eject button on older models) for about 10 seconds until the screen goes black and the machine restarts automatically.
Read Also: How to Solve the Mac Error Code 100006: Simple and Quick Solutions
Method 2: Force Empty Trash Bin
If you encounter error code 8072 while attempting to empty the Trash on your Mac, you can resolve this issue by performing a force-empty Trash operation. Follow the steps below:
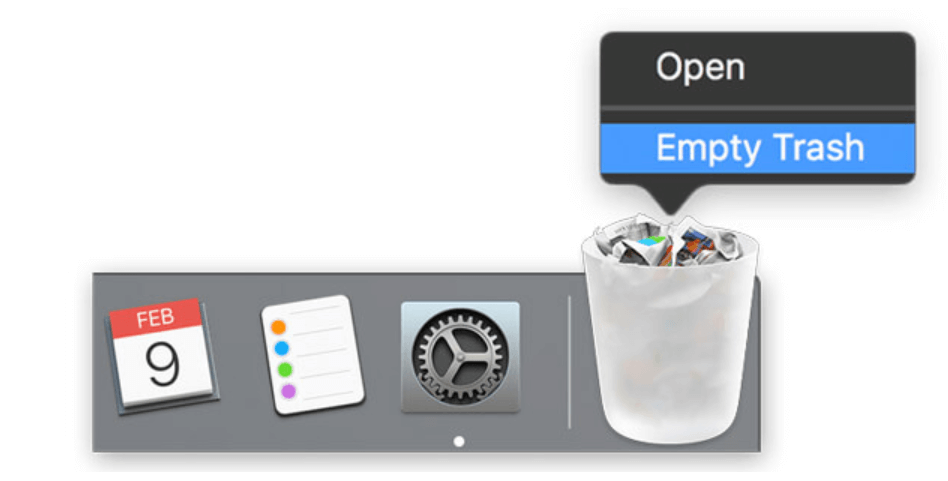
Step 1: Press and hold the “Trash” icon until its context menu pops up in front of you.
Step 2: Simultaneously hold down the “Shift” and “Option” keys, then click “Empty Trash” to forcefully empty the Trash.
Read Also: Can’t Empty Trash On Mac? 5 Ways To Clear It
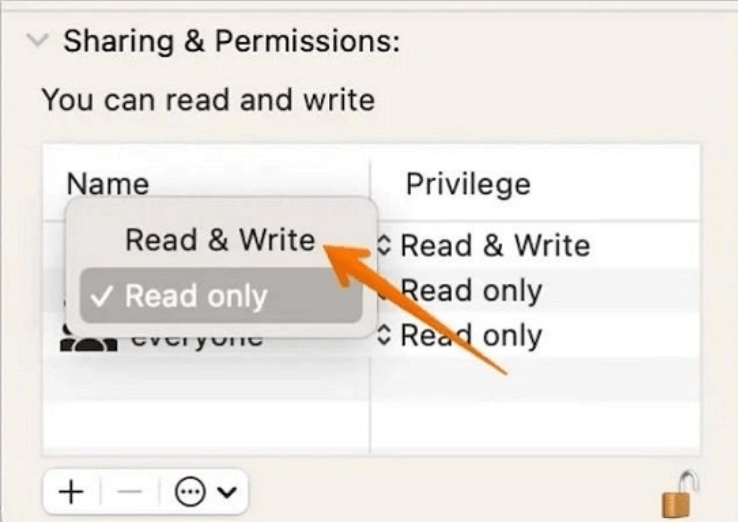
Method 3: Check The Permissions
At times, the error may arise due to insufficient permissions for deletion. It’s essential to verify whether you possess the necessary permission to delete the item. Follow the steps below:
- Access the file in Finder, then press Command-I to access the Get Info At the bottom of the tab, find and tap on the arrow adjacent to ‘Sharing and Permissions.’
- Look for your user profile (name) or Everyone right in front of Read & Write. If not present, click on it and select either option.
Method 4: Boot The Mac Into Safe Mode
Safe Mode on your Mac serves as a valuable troubleshooting method aimed at pinpointing and resolving startup glitches, software clashes, and overall system stability concerns. By opting for Safe Mode, you can systematically isolate potential triggers, such as the error code 8072, fostering a stable environment conducive to effective issue resolution.

1. For Macs with Intel Processors:
Step 1: Turn on or restart your Mac.
Step 2: Immediately press and hold the Shift key as soon as you hear the startup chime or see the Apple logo.
Step 3: Keep holding the Shift key until you see the login window appear. You might be asked to log in twice.
Step 4: Look for “Safe Boot” written in the menu bar near the top right corner of the screen. This confirms you’re in Safe Mode.
Step 5: Log in to your Mac as usual.
2. For Macs with Apple Silicon (M1, M2, etc.):
Step 1: Turn on or restart your Mac.
Step 2: As soon as you see the startup options window, press and hold the Command (⌘) + Shift + Option (⌥) keys together.
Step 3: Select the startup disk you want to use if you have multiple drives.
Step 4: Click the “Continue in Safe Mode” button.
Step 5: Enter your Mac’s password to log in.
Step 6: Look for “Safe Boot” written in the menu bar near the top right corner of the screen. This confirms you’re in Safe Mode.
After successfully booting your Mac into Safe Mode and logging in, attempt to replicate the actions that led to the appearance of the error code 8072. This will help determine if the issue persists in Safe Mode and facilitate targeted troubleshooting.
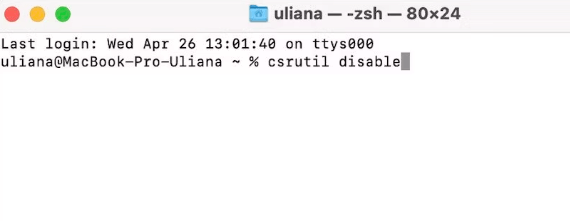
Method 5: Turn Off SIP (System Integrity Protection)
Disabling System Integrity Protection (SIP) on a Mac involves booting into the Recovery mode and using the Terminal. Here’s a step-by-step guide:
Step 1: Click on the Apple menu and select Restart.
Step 2: As your Mac restarts, hold down the Command + R keys simultaneously until the Apple logo appears. This will boot your Mac into Recovery mode.
Step 3: Once in Recovery mode, click on the Utilities menu at the top of the screen and select Terminal from the dropdown.
Step 4: In the Terminal window, type the following command and press Enter: csrutil disable
Step 5: After disabling SIP, restart your Mac by clicking on the Apple menu and selecting Restart.
Step 6: Once your Mac restarts, SIP should be disabled. You can verify its status by opening Terminal and entering the command: csrutil enable
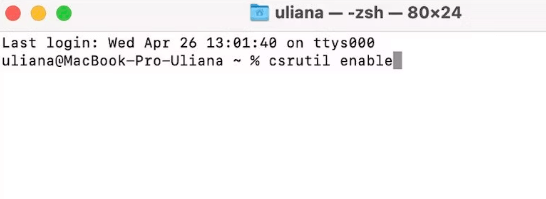
If SIP is disabled, you’ll see a message indicating that it’s turned off. Keep in mind that disabling SIP removes important security protections, so it should only be done when necessary, and SIP should be re-enabled after performing any required tasks.
Read Also: Mac Terminal Commands Cheat Sheet Everyone Should Have
Mac Error Code 8072: Fixed
With this comprehensive guide and a bit of perseverance, you’ll be well-equipped to tackle error code 8072 and reclaim your digital peace of mind. Remember to exercise caution when performing advanced troubleshooting steps, and always ensure you have backups of your important data to mitigate the risk of data loss. With perseverance and the right approach, you can conquer Mac Error Code 8072 and keep your Mac running smoothly.
For more such troubleshooting guides, listicles, and tips & tricks related to Windows, Android, iOS, and macOS, follow us on Facebook, Instagram, Twitter, YouTube, and Pinterest.