Device drivers play a crucial role in every operating system. Drivers have the sole objective of setting up a connection between the OS and the hardware. So, if any hardware connected to your Windows PC fails or stops working, updating the drivers is the first thing you should try.
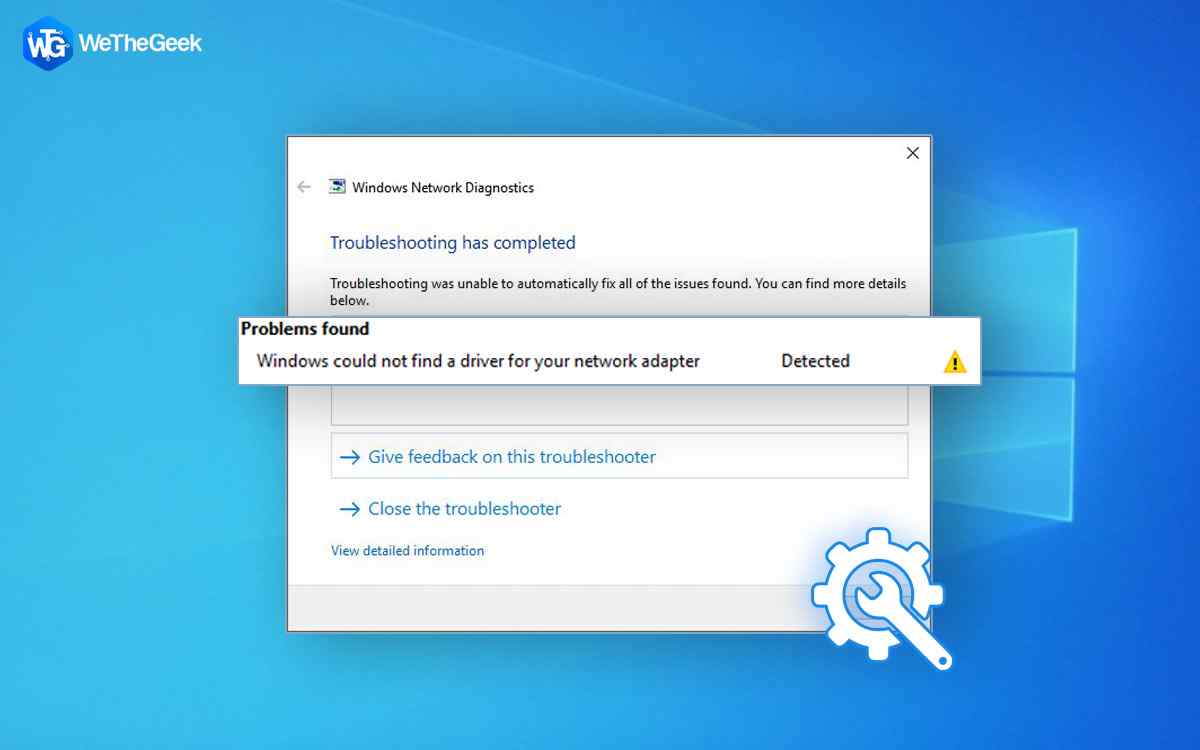
Stuck with the “Windows could not find a driver for network adapter” error? Encountering network-related issues on Windows? Well, there may be several reasons that may trigger this issue. Some of the most common reasons include corrupt or outdated network driver, interference if a third-party VPN app or service, faulty or outdated Windows update, and so on.
Wondering how you can fix this issue on your own? Don’t worry. We’ve got you covered. In this post, we have listed various solutions that will help you get past this error via simple troubleshooting.
How to Fix Windows Could Not Find a Driver for Network Adapter In Windows 11
Let’s get started.
Solution 1: Manually Enable the Network Adapter
Tap on the search icon placed on the Taskbar and type “Control Panel.” Hit Enter to launch the Control Panel app.

Select “Network and sharing center.”

Select the “Change adapter settings” option placed on the left menu pane.

The Network Connections window will now appear on the screen.

Right-click on the network adapter and select “Enable”.
Also read: WiFi Adapter not Working on Windows 10? Here’s the Fix!
Solution 2: Update the Network Adapter Driver
Outdated, corrupt, or missing network drivers can also trigger your device’s “Windows Could Not Find a Driver for Network Adapter” error. Hence, if you are constantly encountering this error on your Windows 11 PC, updating the network adapter driver might help.
Press the Windows + R key combination to open the Run dialog box. Type “Devmgmt.msc” in the textbox and hit Enter.

In the Device Manager window, select “Network Adapters.” Right-click on each entry and select “Update Driver.”

Follow the on-screen instructions and update the network drivers installed on your device.

Manually updating the system drivers sounds too tiring, isn’t it? Well, we have one useful suggestion for you! Download and install the Advanced Driver Updater tool on your Windows PC to save yourself from the hassle of tracking outdated, corrupt, and missing drivers.

Advanced Driver Updater tool keeps your PC’s performance at its peak as it allows you to scan, download and install device drivers on Windows quickly. In just a few clicks, you can update all the outdated drivers with the help of this nifty tool.
Also read: {Resolved}: How To Fix Network Adapter Missing In Windows 10
Solution 3: Configure the Power Management Settings
Press the Windows + R key combination to open the Run dialog box. Type “Devmgmt.msc” and hit Enter.
In the Device Manager window, select “Network Adapter.” Now, right-click on the network adapter and select “Properties.”
In the Properties window, switch to the “Power Management” tab.
Now, uncheck the “Allow the computer to turn off this device to save power” option.

Hit on the OK button to save changes. Reboot your device and check if the issue persists.
Solution 4: Disable the VPN Service
Is your Windows PC currently connected to any VPN service? There may be a few rare instances where the third-party VPN service might interfere with the network configuration of your device. To ensure that’s not the case, try to temporarily disable the VPN service and see if this hack helps eliminate the error.
Also read: 10 Best Ways to Fix Unidentified Network No Internet Access – Windows 10
Solution 5: Use the System Restore Feature
Tried the above-listed solutions and still had no luck. You can use the System Restore feature as your last resort to roll back your device to a previously created checkpoint. Here’s what you need to do:
Tap on the search icon placed on the Taskbar and type “Create a restore point,” and hit Enter.

Tap on the “System Restore” button.

Select “Recommended Restore” and hit on the “Next” button.

Confirm your restore point and hit on the “Finish” button.

Your device will now be restored to a previous checkpoint to undo all the recent changes.
Conclusion
Here were a few simple solutions to fix the “Windows could not find a driver for network adapter” error on Windows 11. You can use any of these solutions to get rid of this error message so that Windows can automatically detect the network adapter driver on your PC. Do let us know which method did the trick for you. Feel free to share your thoughts or feedback in the comments section.
Follow us on social media – Facebook, Instagram and YouTube.
Must Read: 8 Best Driver Updater Software For Windows 10, 11, 8, 7