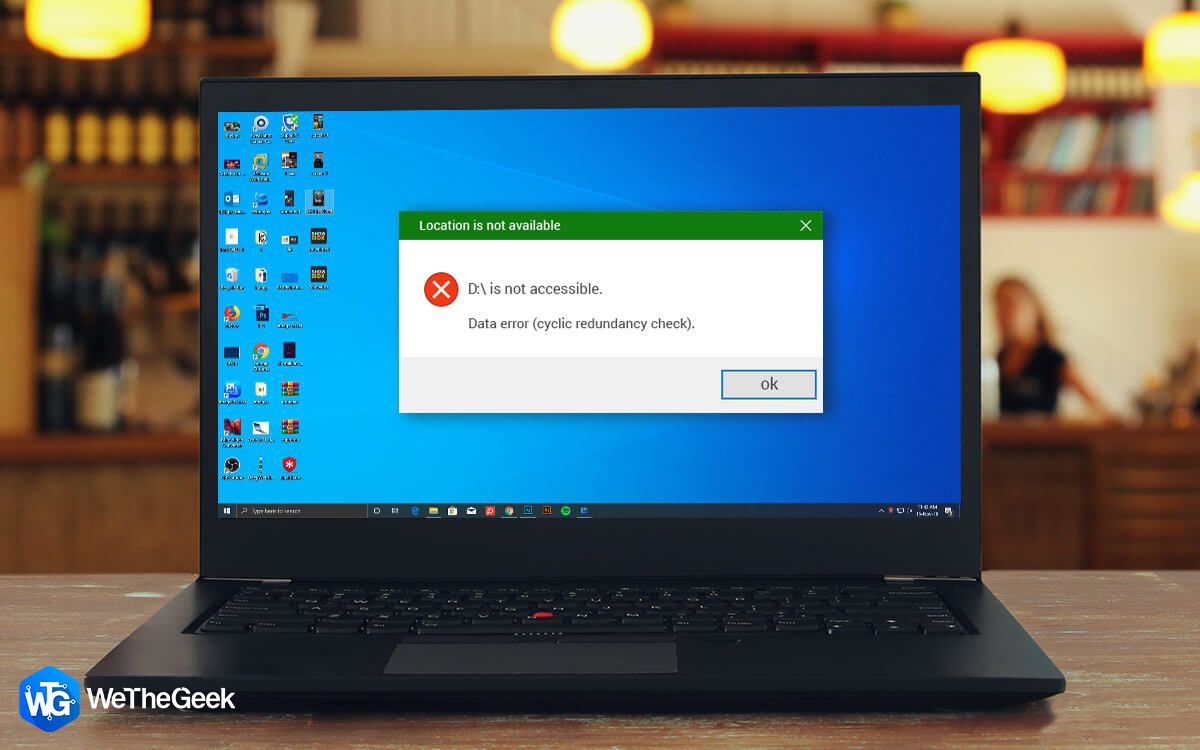
While copying files to your hard drive, if you are receiving Data Error, Cyclic Redundancy Check, don’t panic that you might lose the data. Read the following article carefully, and learn what this error means, why it occurs & what can you do to fix it.
What Does Cyclic Redundancy Check (CRC) Error Mean?
Cyclic Redundancy Check refers to an error-detecting & data verification method commonly used in digital storage devices (CDs, DVDs, Hard Disks & USB Drives, etc.) & digital networks to detect accidental changes to raw data. The main aim of using CRC is to detect & prevent any inappropriate or unexpected changes in raw data that might lead to disk bugs and errors.
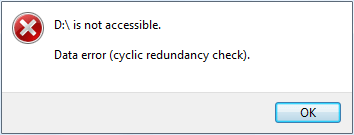
Receiving this error can make you helpless to transfer or access the data.
Possible Reasons Behind Data Error: Cyclic Redundancy Check
When there’s a bad spot on the media of your hard disk, a CRC error may happen. At times, it may also stop responding due to software conflicts, misconfigured system files, corrupted registry entries, cluttered hard disks, or power loss.
The Cyclic Redundancy Check (CRC) Error stops you from copying files, makes the hard disk inaccessible, and causes troubles in initializing.
Regardless of any specific cause, Cyclic Redundancy Check (CRC) error is a serious error, and you should perform some effective measures to get rid of the potential data loss or complete system failure problems.
Easy Hacks To Resolve Cyclic Redundancy Check On Windows 11/10 PC
Check out the list of solutions below to easily fix Data Error Cyclic Redundancy Check:
Before fixing the data error:
Make sure to recover your important files from the initialized disk/external hard drive/SD card. Since the drive is inaccessible now due to the error, you can make use of a dedicated Data Recovery Software.
Advanced Disk Recovery, aiming to restore data lost logically, is a powerful data recovery solution that supports recovering photos, videos, documents, audio files & other multimedia files. You can watch this tutorial to learn how to recover data from a hard drive using Advanced Disk Recovery.
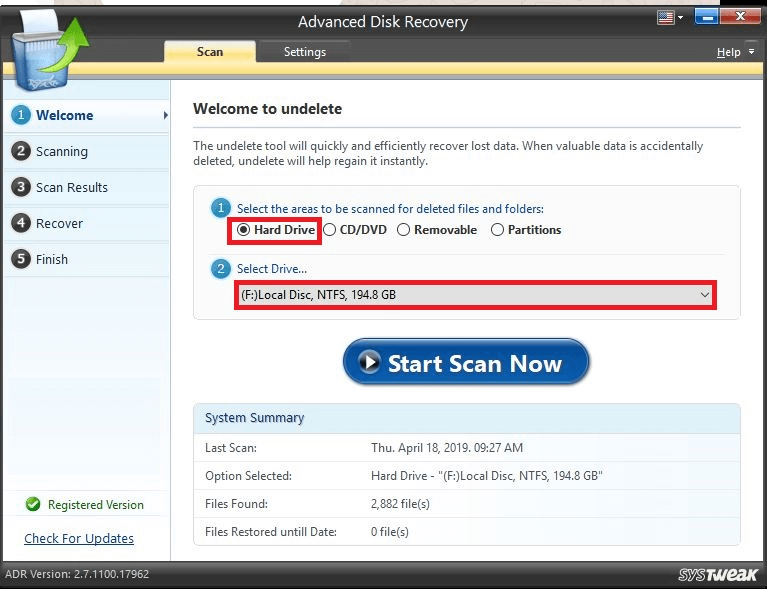

Here’s a complete guide on Advanced Disk Recovery!
Workaround 1- Rename The Drive
In certain scenarios, Windows OS doesn’t automatically allot a drive letter to the newly connected drive. Sometimes it might also de-assign the drive for safe disconnection when sitting idle. If that’s the case, try renaming it or assigning a drive letter to access it.
Step 1- Press Windows + R to launch the Run window.
Step 2- Type diskmgmt.msc & press Enter.

Step 3- Your Disk Management tool will list all the drives based on file systems and sizes. Locate the drive you wish to assign the letter to & right-click on it to see more options.
Step 4- In the pop-up menu, choose the option Select Change Letter and Paths.
Step 5- Choose option Change if the drive letter is already associated or go for selecting option Add if there are none.
Step 6- In the next pop-up assign a new letter to the drive and Close the window to reboot the system.

Observe, if this workaround has solved the data error Cyclic Redundancy Check. If not, you can proceed with the next method!
Workaround 2- Utilize In-Built Windows (CHKDSK) Utility
It’s a built-in Windows utility that comes with the ability to find and repair corrupt files.
Step 1: Run Command Prompt as Administrator to have full privileges.
Step 2: Type and execute the following command: chkdsk /f x: (Replace x with the drive letter you’d like to run the scan on.)
Step 3: Wait for the scanning process to get complete. Once done, CHKDSK will show you the report & will ask you to your reboot your system.

If the Cyclic Redundancy Check error is not fixed by running the CHKDSK utility, then you should follow the below-given method.
Workaround 3- Format the Corrupted Drive
Most probably the above method will solve your problem, but if you’re still encountering the Cyclic Redundancy error, you can consider formatting it. Since you’ve already recovered all your files and data as per the above instructions, then the formatting process won’t take much of your time.
Follow the step-by-step instructions to format the corrupted drive:
Step 1- Open File Explorer and right-click on the drive you wish to format.

Step 2- From the context menu choose the Format option to start the process.
Step 3- Deselect the Quick Format option, because you want to clean your drive thoroughly.

Step 4- Select NTFS if the selected drive is a hard disk or FAT32 in case, the selected drives are pen drives or SD cards.
Go ahead with formatting the drive. If no errors pop-up while the formatting process, you would be able to copy files to and from the hard drive without any hassles.
Were You Able To Fix the “Data error (Cyclic Redundancy Check)”?
Data Error Cyclic Redundancy Check can occur anytime during the data transfer process. The error not only restricts you from accessing your data but also results in data loss. Hence, it becomes quintessential to perform Data Recovery before applying the suggested fixes. If you know any other workaround that can help you to fix the CRC error on Windows 11/10 PC, do let us know in the comments section below!
NEXT READ:
- FIX: “What Needs Your Attention” Update Error on Windows 11/10
- Windows 11 Cannot access shared folder error? Here’s How to fix it!
- How To Fix Folder Access Denied Error on Windows 11
- How to Solve Error Message “Could Not Find This Item” in Windows 11/10 (2022)
- 5 Solutions for “Cannot Delete Files/Folder Error” in Windows 11