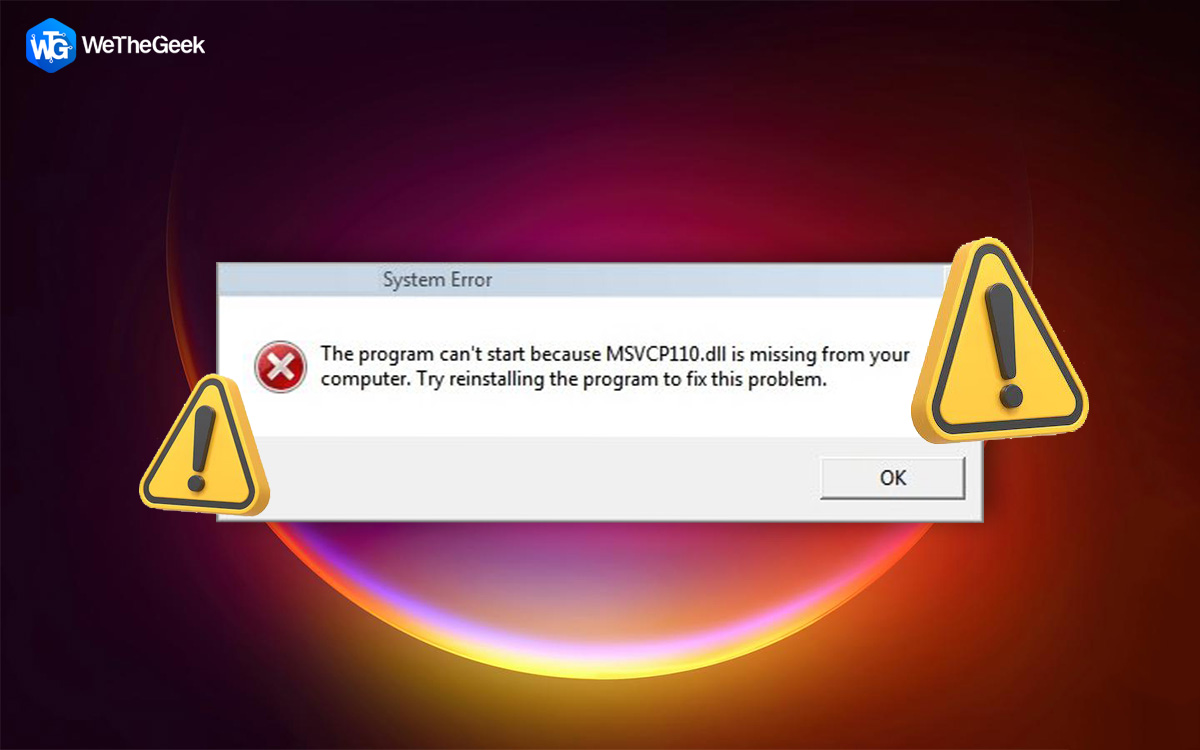
In the world of Windows operating systems, error messages can be a common source of frustration for users. Isn’t it? Well, one such error that has plagued Windows users over the years is the “Msvcr110.dll missing” error. Whether you’re a seasoned computer enthusiast or a casual user, encountering this error can disrupt your computing experience and leave you scratching your head.
Fear not, though, as this article will provide you with practical solutions to fix it on Windows 11. We’ll dive deep into what this error means, why it occurs, and most importantly, how you can resolve it effectively.
But before we dive into the solutions, let’s start by understanding the nature of the Msvcr110.dll error and its significance in the Windows ecosystem. This guide will equip you with the knowledge and tools needed to tackle it with minimal effort.
So, let’s get started on our journey to troubleshooting this frustrating error and restoring your Windows 11 system to its smooth, error-free state!
Also Read: Best Ways To Fix The MSVCR120.dll Missing Error On Windows
What is the Msvcr11 DLL Missing Error? What Causes It?
The “Msvcr110.dll missing” error is a common Windows issue that occurs when the computer’s operating system cannot locate the “Msvcr110.dll” file. DLL stands for Dynamic Link Library, and these files contain code and instructions that various programs use to function correctly. In this case, “Msvcr110.dll” is a vital component associated with the Microsoft Visual C++ Redistributable package. When this file is missing or corrupted, it can lead to a range of errors, including application crashes and system instability.
Several factors can cause the Msvcr110.dll error, but one of the most common reasons is the absence or corruption of the file itself. This can happen due to any of the following reasons:
- Software conflicts.
- Incomplete installations.
- Virus or Malware infections.
- System updates gone wrong.
- Incompatibilities between software versions.
- Incorrect system configurations.
To resolve it, users typically need to restore or replace the missing DLL file, repair system issues, or update relevant software components.
Also Read: How To Fix Missing dll Files Error In Windows 7
How to Fix the Msvcr110.dll Is Missing Error on Windows 11?
Solution 1: Reboot Your PC
A simple yet effective initial step to tackle the “Msvcr110.dll missing” error on Windows 11 is to reboot your computer. A system restart can clear temporary glitches or conflicts that might be causing the error.
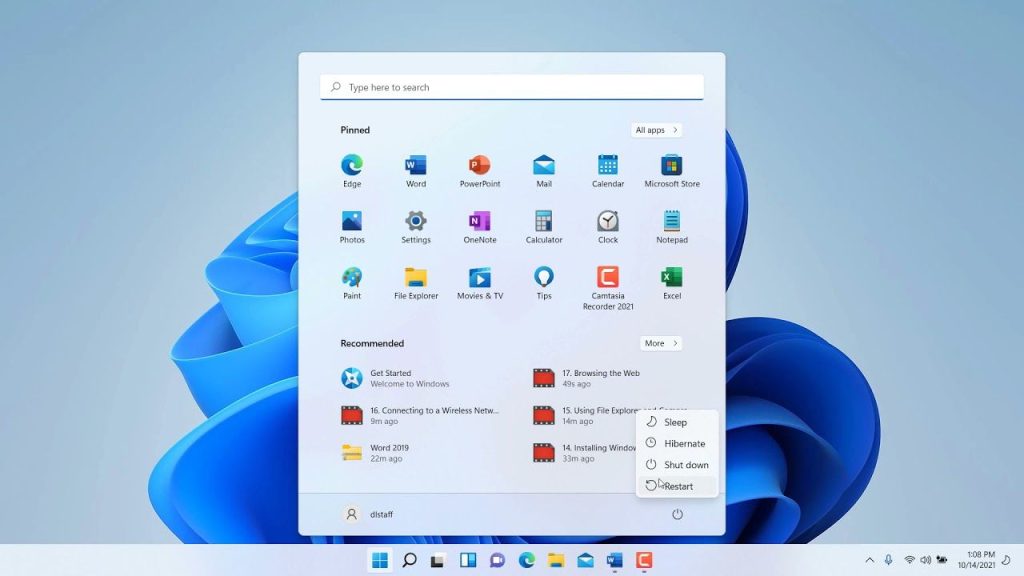
To do this, save your work, click on the Windows Start menu, select the power icon, and choose “Restart.” After the restart, check if the error still persists. If it does, we’ll explore further solutions to resolve it.
Solution 2: Run the SFC Scan
The SFC (System File Checker) scan is designed to detect and repair corrupted or missing system files, including the Msvcr110.dll file. Running this scan can often resolve the “Msvcr110.dll missing” error on Windows 11.
Here’s how to run an SFC scan on Windows 11:
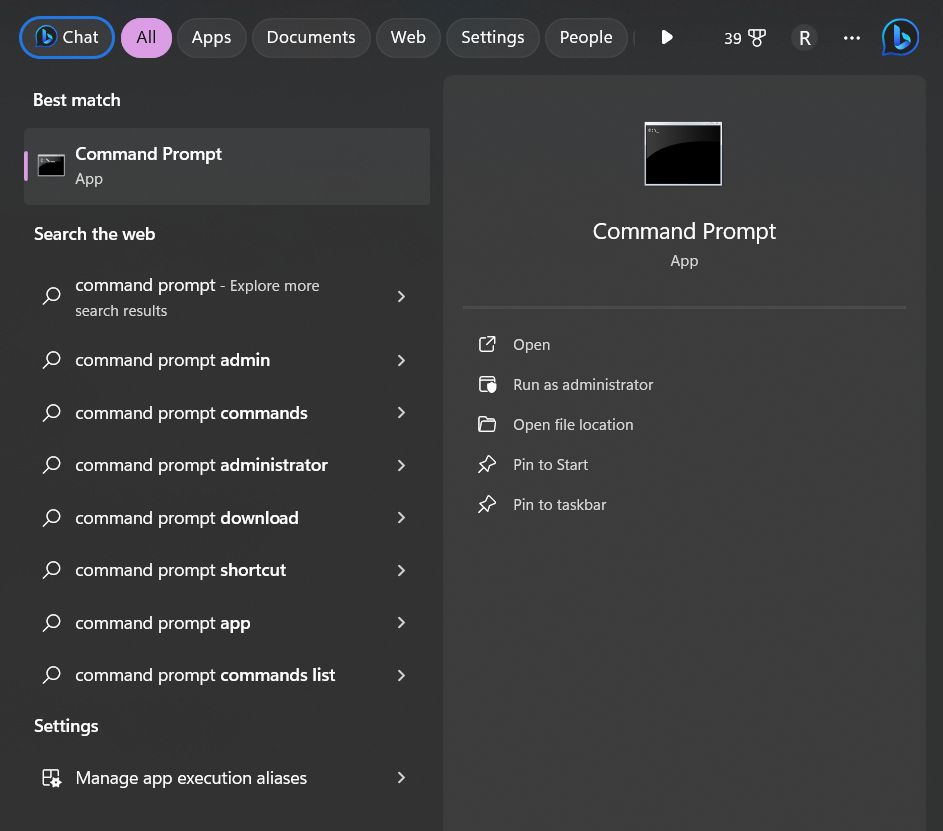
Step 1: Press the Windows key on your keyboard or click on the Windows icon in your taskbar to open the Start menu.
Step 2: In the Windows search bar, type “Command Prompt” or “cmd.
Step 3: Right-click on “Command Prompt” in the search results and select “Run as administrator” to open an elevated Command Prompt window.
Step 4: In the Command Prompt window, type the following command and press Enter:
sfc /scannow
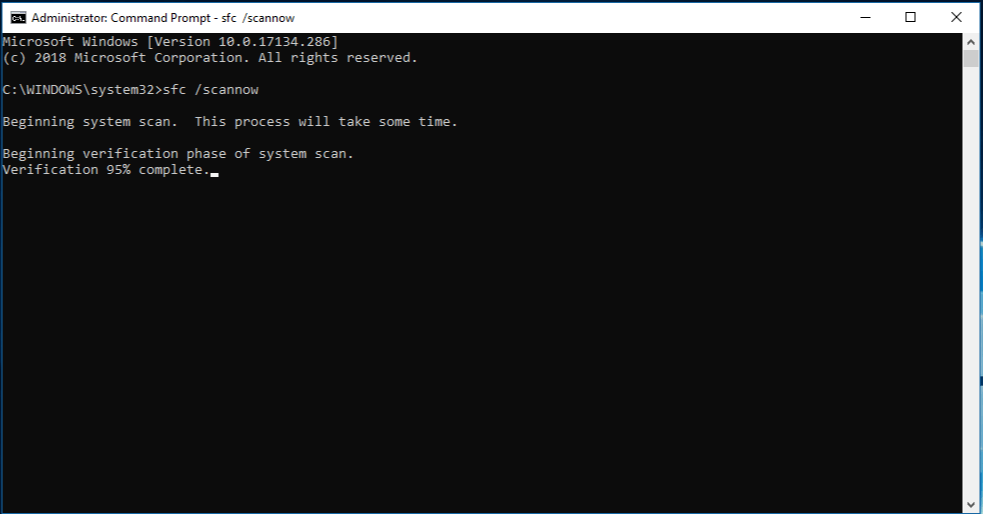
Step 5: The System File Checker (SFC) scan will begin. This process may take some time as it checks and repairs corrupted or missing system files.
Step 6: Once the scan is complete, follow any on-screen prompts or instructions provided by the SFC tool.
Step 7: After the process finishes, restart your computer.
If the issue persists, continue to explore additional solutions.
Also Read: How To Fix Windows Error 0x80040154 When Opening Apps?
Solution 3: Download the Missing Msvcr110.dll File
Downloading and replacing the missing Msvcr110.dll file can often resolve the “Msvcr110.dll missing” error. However, exercise caution when downloading DLL files from the internet, as using trusted sources is crucial to ensure the file’s integrity and security. Here’s what you need to do:

To obtain the Msvcr110.dll file, navigate to the Visual C++ Redistributable for Visual Studio 2012 Update 4 webpage. On this page, you will discover comprehensive details, including installation guidelines and system prerequisites.
Solution 4: Update Windows
Ensuring that your Windows operating system is up to date can often be a straightforward yet effective way to resolve the “Msvcr110.dll missing” error.
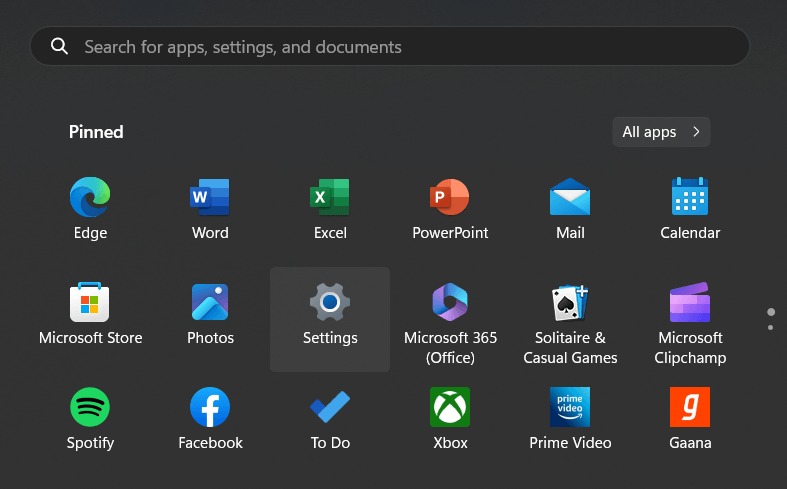
Step 1: Press the Windows key on your keyboard or click on the Windows icon in your taskbar to open the Start menu.
Step 2: Click on the “Settings” gear icon, which resembles a gearwheel, to open the Windows Settings.
Step 3: In the left-hand pane, click on “Windows Update.”
Step 4: Click the “Check for updates” button. Windows will now scan for available updates.
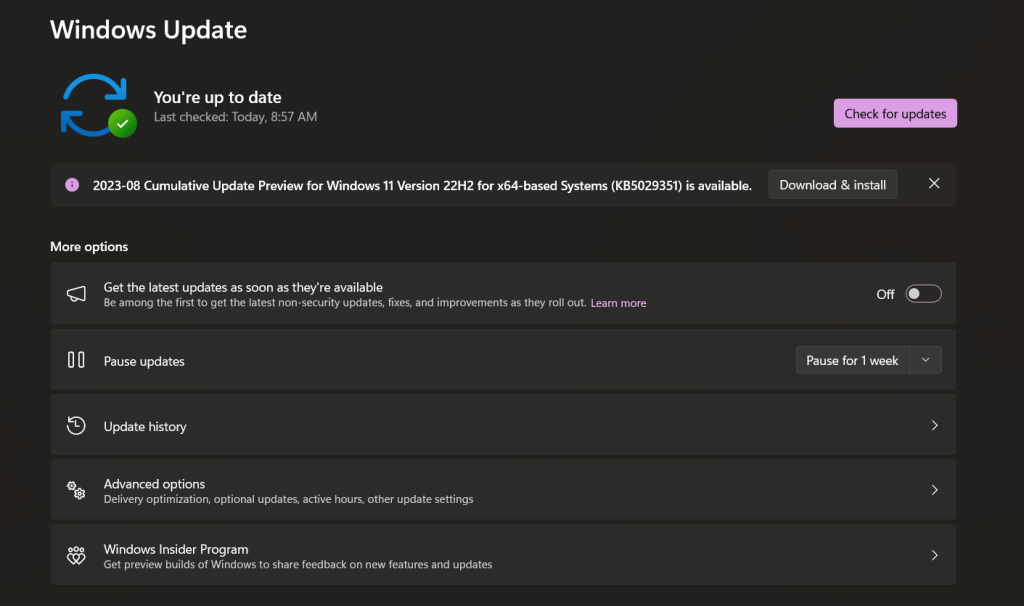
Step 5: If updates are found, follow the on-screen instructions to download and install them.
Step 6: After the updates are installed, restart your computer if prompted.
Updating Windows not only brings new features and improvements but also addresses known issues and missing system files, potentially resolving the DLL error. If the problem persists, we’ll explore additional solutions.
Also Read: ‘You Need Permission To Perform This Action’ On Windows Error
Solution 5: Update Graphics Driver
Outdated or incompatible graphics drivers can sometimes contribute to the “Msvcr110.dll missing” error on Windows 11. Updating your graphics driver can resolve this issue and improve overall system stability.
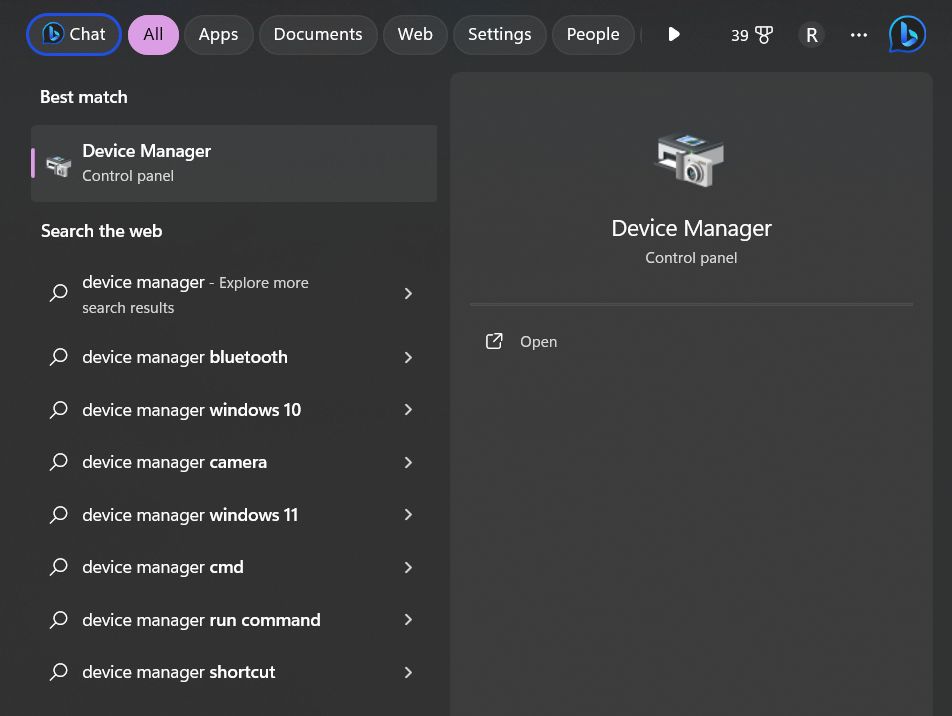
Step 1: Press the Windows key and type “Device Manager” in the search bar. Select “Device Manager” from the search results.
Step 2: In the Device Manager window, expand the “Display adapters” category to reveal your graphics card.
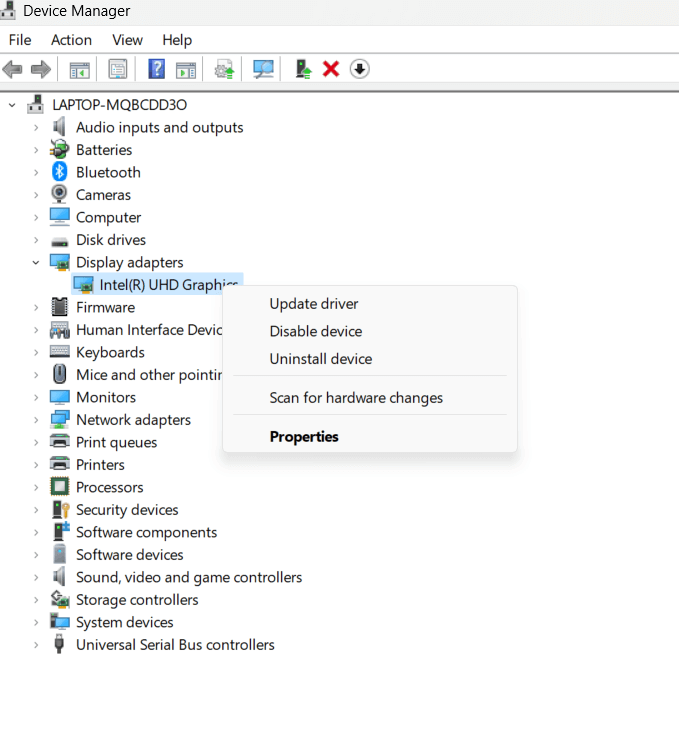
Step 3: Right-click on your graphics card and choose “Update driver.”
Step 4: Select “Search automatically for updated driver software.” Windows will search for and install the latest compatible driver for your graphics card.
Step 5: Follow the on-screen instructions to complete the driver update process.
Step 6: After the update is finished, restart your computer to apply the changes.
However, if you are unsure of how to follow the instructions using Device Manager, we have a better alternative for you. A third party driver updater is a solution to save your time and efforts. We recommend using Advanced Driver Updater which is an ultimate driver updating program for Windows. Simply download it and start a scan, which will display all the outdated drivers on your computer. You can choose to update the Graphics driver or update all in one click. Once the updates are completed you need to restart the PC.

Read more details on how to update graphics cards on Windows in this post.
A graphics driver update can often resolve compatibility issues that lead to DLL errors and enhance the overall performance of your system. If the “Msvcr110.dll missing” error persists, we’ll explore further troubleshooting options.
Solution 6: Reset Windows
If all previous solutions fail to resolve the “Msvcr110.dll missing” error on Windows 11, performing a Windows reset can be a more drastic but effective step to restore your system to a functional state. However, please note that this process will remove your installed applications and settings, so ensure you back up important data before proceeding.
Step 1: Press the Windows key and type “Settings.” Click on “Settings” in the search results.
Step 2: In the Windows Settings window, select “System.”
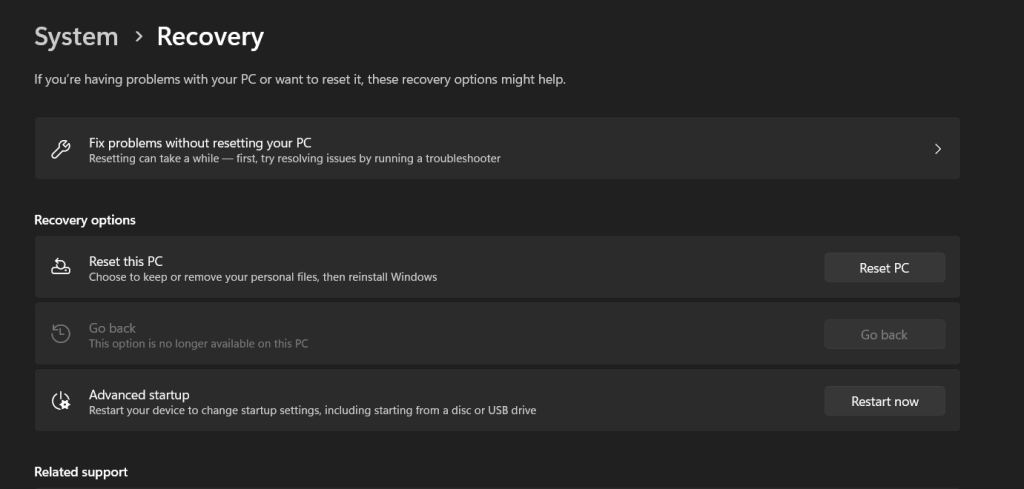
Step 3: Navigate to the “Recovery” tab on the left-hand side.
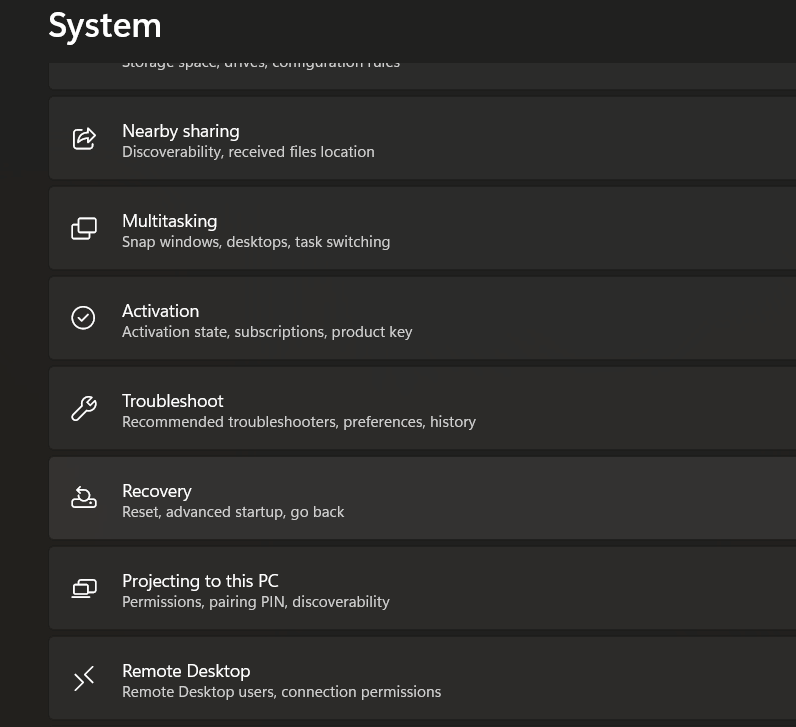
Step 4: Under “Reset this PC,” click the “Get started” button.
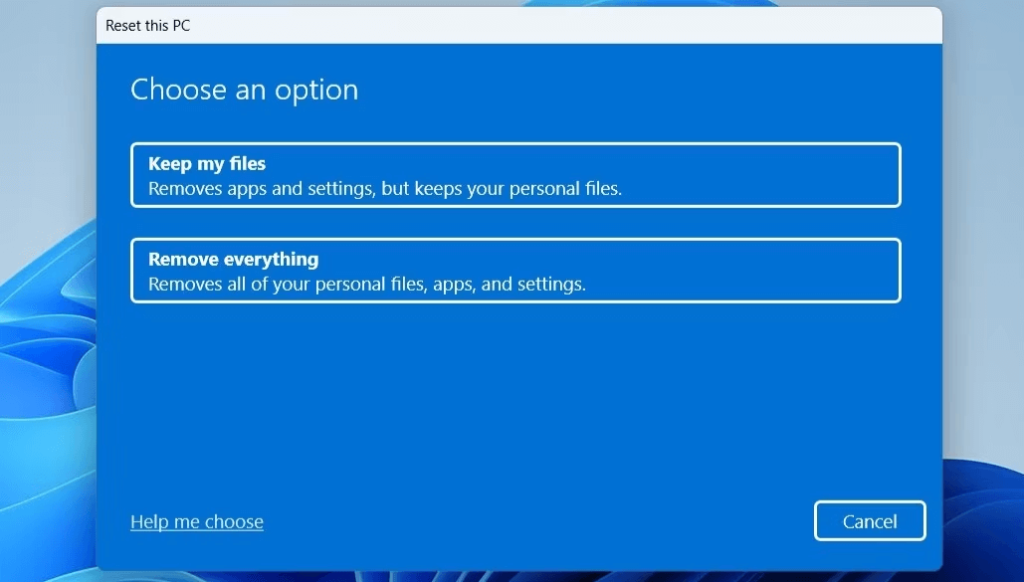
Step 5: Choose between “Keep my files” (which removes apps and settings but keeps your personal files) or “Remove everything” (which removes all files and settings).
Step 6: Follow the on-screen prompts to complete the reset process. Windows will reinstall the operating system, and your computer will restart.
Step 7: After the reset is complete, follow the initial setup instructions to configure Windows 11.
Performing a Windows reset is a comprehensive solution that can often resolve persistent errors, including the “Msvcr110.dll missing” issue. However, it should be considered a last resort due to the data loss involved. Be sure to back up important files and documents before proceeding.
Note: If the problem persists even after the reset, it may indicate a more complex underlying issue, and seeking professional assistance may be necessary.
Also Read: How to Fix Error Code 0x80070490 in Windows 11/10
Conclusion
In conclusion, the “Msvcr110.dll missing” error on Windows 11 can be a frustrating hurdle, but with the right troubleshooting steps, it can be overcome. We’ve explored several solutions in this guide, from simple restarts to more comprehensive system resets. By following these steps, you can address this error and restore your Windows 11 system to its smooth, error-free operation.
Which method did the trick for you? Feel free to share your thoughts in the comments section! Follow us on social media – Facebook, Instagram and YouTube.