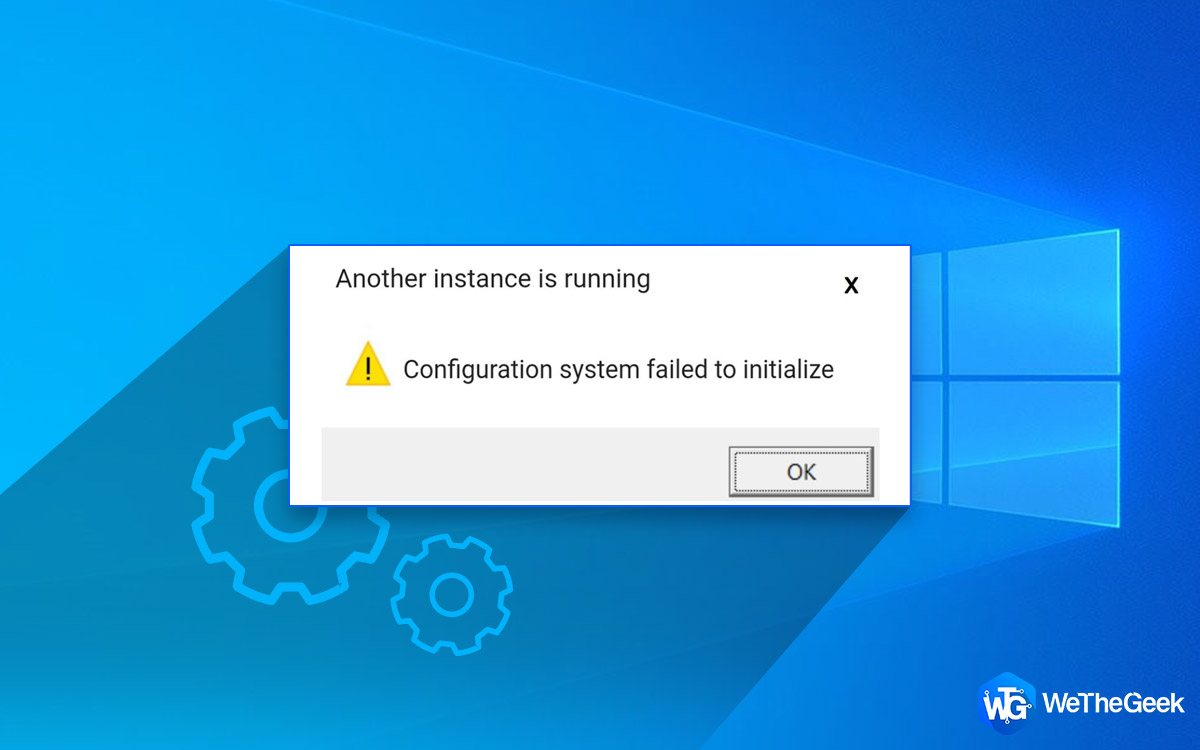
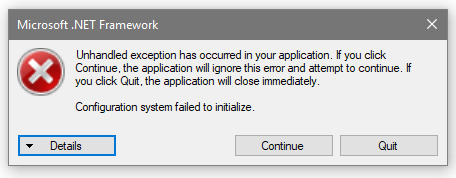
Windows 10 is a remarkable operating system but it is not free from errors. And one such error prompt that has been troubling Windows 10 users is Configuration System Failed to Initialize. This error generally occurs when you are trying to launch a newly installed application or opening an old program after making certain changes or updates. There is no specific reason as of now as to why this error occurs but we can resolve this with a few different troubleshooting methods.
Different Methods On How To Solve Configuration System Failed To Initialize In Windows 10
There are a few steps to resolve this error in Windows 10 PC as recommended by experts on various technical experts. You can follow them one by one and do not forget to check if the issue has been resolved after carrying out each method.
Method 1: Initiate System File Checker
Microsoft has inculcated a utility in Windows 10 that helps to check and fix all the system files without having to use any third-party tool or disk. Here are the steps to use the SFC tool.
Step 1: Press Windows + X to launch the quick access menu.
Step 2: Locate Command Prompt (Admin) and click on it to run the Command Prompt window in an elevated mode.
Step 3: Click on Yes if you get a prompt.
Step 4: A black and white window will open where you have to type the following command and then press Enter.
sfc /scannow
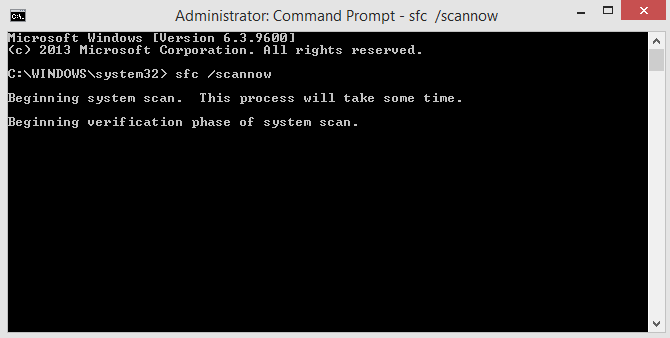
Step 5: This process takes considerable time, so ensure that the verification counter on your screen reaches 100% complete.
Step 6: All the corrupted system files will be restored from a copy kept as a backup by the operating system. Restart your computer and check if the issue persists.
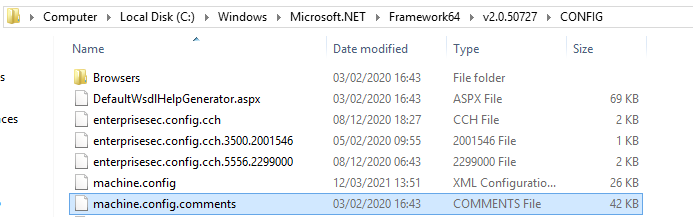
Method 2: Check The Dot Net framework Config file
The next method to fix configuration system failed to initialize in Windows 10 is to check the config file in your system. Here are the steps to do so:
Step 1: Press Windows + E and the File Explorer window will open.
Step 2: Navigate to the following path. You can copy the path and paste it into your address bar of File Explorer.
C: \ Windows \ Microsoft.NET \ Framework64 \ v2.0.50727 \ CONFIG
Step 3: Locate the config file of the app which produced the error on launch and edit it.
Note: One of the best file editors is Notepad ++ which is a free app and can help to complete this step.
Step 4: Once you have successfully opened the Config file, you need to locate Configuration and ensure that the next line contains configSections as its child.
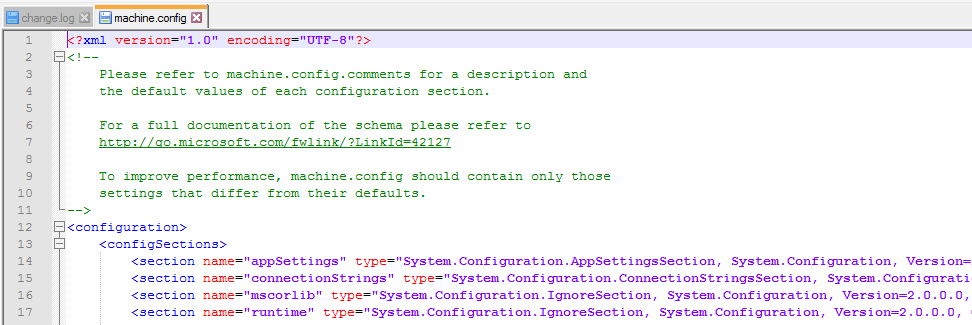
Step 5: If there is anything else in between them, then remove it and save the file.
Check if the configuration system failed to initialize error prompt still appears.
Method 3: Delete old configuration files
Another step is to delete the config file of the app in question. Here are the steps to delete old configuration file:
Step 1: Press Windows + E to open File Explorer.
Step 2: Navigate to the below-mentioned path and delete the config file of the app in question.
C: \ Users \ username \ AppData \ Local \ appname
Step 3: Next, go to the below path and delete the config file of the same app that would not launch.
C: \ Users \ username \ AppData \ Roaming \ appname
Note: Do mention the name of the app in the above paths where it says appname. If you do not know the exact spelling of the app then leave it blank and with the rest of the command, you will see a list of apps installed in your system. Double click on the app folder and then delete the config file.
Step 4: Restart the application and check if the issue has been resolved.
Method 4: Update Drivers
The final solution to this problem is to update all your drivers so that your software can communicate to your hardware properly. It would be next to impossible to update your drivers manually by visiting the official website of the manufacturer of each Hardware component on your PC. Hence it is recommended to use professional software, like a driver updater application.
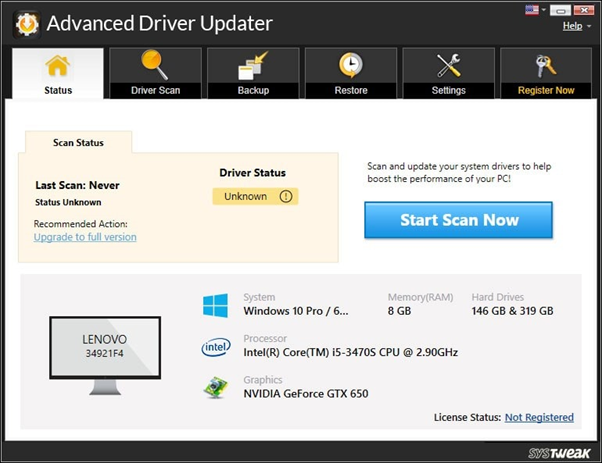
A Driver updater application like Advanced Driver Updater would scan your computer’s hardware and existing drivers and then would download/install the updated ones on your PC. This is an automatic process that requires a few mouse clicks and can be scheduled for later when you are not present in front of the system. Here are the steps to run Advanced Driver Updater on your PC:
Step 1: Download and Install Advanced Driver Updater on your computer.

Step 2: After it is installed, launch the application and then click on the Start Scan Now button.
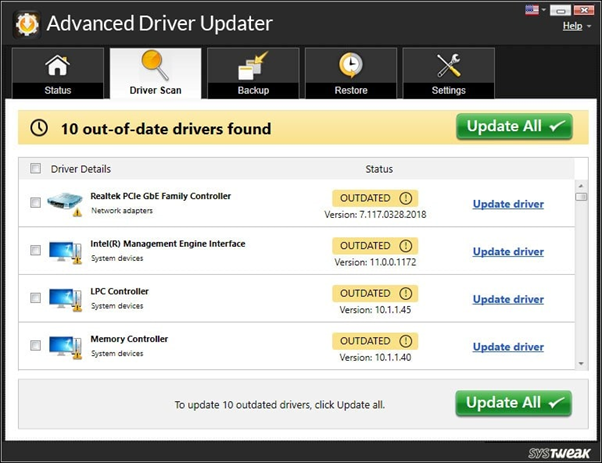
Step 3: A list of driver issues will appear on the screen. Click on the Update Driver link next to each one.
Step 4: Reboot your system after you have updated all your drivers.
The Final Word On How To Solve Configuration System Failed To Initialize In Windows 10?
It is important to keep your drivers updated so that you do not face issues while your PC is running. Drivers are the key link between the hardware and software of your computer. Without updating them, you are bound to face minor issues now and then. Advanced Driver Updater is an amazing software that can scan and detect all the driver issues like missing, corrupt and outdated drivers. With this application, you need not worry about small issues like sound, graphics, mouse, keyboard, etc.
For any queries or suggestions, please let us know in the comments section below. We would love to get back to you with a solution. We regularly post tips and tricks, along with answers to common issues related to technology.