
The dreaded Blue Screen of Death is the last thing you want to see on your computer. The kernel data in page error, on the other hand, will seem exactly like this. This is a very important code that you should not disregard. It’s an alert that something is wrong with your computer, and you must act soon. The good news is that there are several options for determining the root reason before things deteriorate.
How To Resolve Kernel Data Inpage Error In Windows PC
There are a number of troubleshooting actions you can undertake to fix the kernel data in page problem, whether or not you have a status code. Take a backup of all your files before you do anything else. Your PC might crash at any time if it’s a hard drive failure.
Method 1: Restart Your Computer
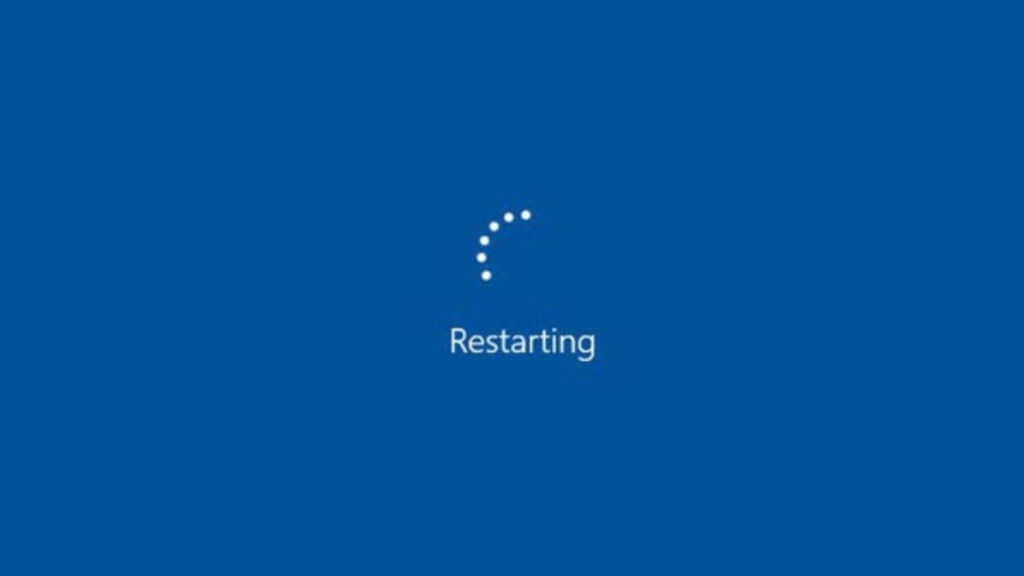
Your computer reboots automatically whenever you get a BSOD. When experimenting with solutions, though, try restarting your computer after you make any changes. It’s also possible that the issue was triggered by a random hardware glitch, excessive resource utilization, or even an incomplete driver or computer update.
Method 2: Examine Your Hardware
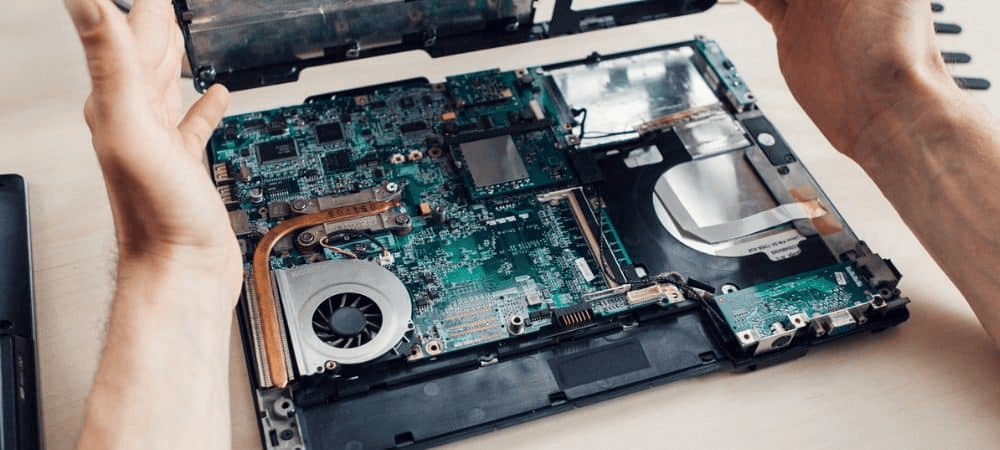
A data inpage issue in Windows can be caused by a cable that is partially undone or twisted. Even if your PC has an SSD, a physical shock to the PC can cause the drive to disengage or damage the delicate pins connecting the drive to the motherboard. Disconnect the power line from your computer and turn it off. Then take the following steps:
- Remove memory modules and inspect the pins for damage.
- Ensure that all memory modules are properly positioned in their slots.
- Make that the hard drive cable is connected properly on both the hard drive and the motherboard.
Method 3: Examine Your Hard Disk Drive
If it’s a hard disk problem, you must conduct a scan and rectify certain faults with the Error Checking program. Here are the steps:
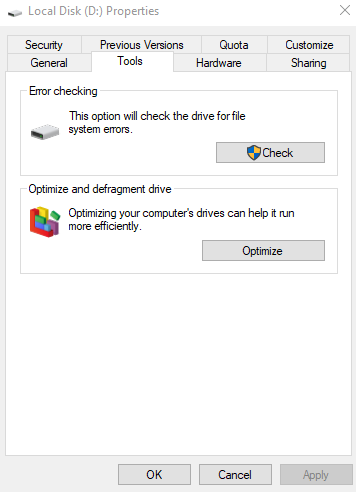
Step 1: Select “This PC” in “File Explorer.” Select “Properties” from the context menu after making a right-click on your hard disk.
Step 2: Click “Check” under the “Tools” tab.
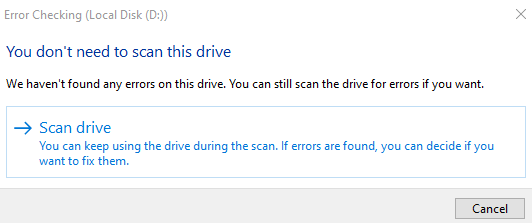
Step 3: Kindly note that the health of your hard disk is automatically monitored in Windows OS. As a result, you may see a notification stating that the drive does not need to be monitored. However, just to be safe, run the Error Checking tool.
Step 4: To begin the scan, select “Scan drive.”
Step 5: If you get a notification claiming the scan can’t run while you’re using the disk, reboot your PC and schedule the scan to initiate at the next restart.
Step 6: You’ll be given the option of allowing the tool to fix any faults it discovers. Allow it to continue and the kernel data inpage error should be resolved.
Method 4: Activate the Memory Diagnostic Tool
If status code indicates a memory problem, consider initializing the Memory Diagnostic program. Before using this program, make sure all open apps and files are closed.
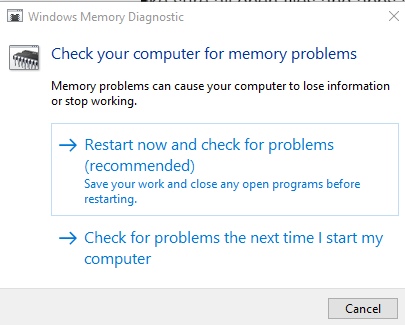
Step 1: Open “Start” and type mdsched.exe into the search box. You may also type “Memory Diagnostic” and choose the result from the list.
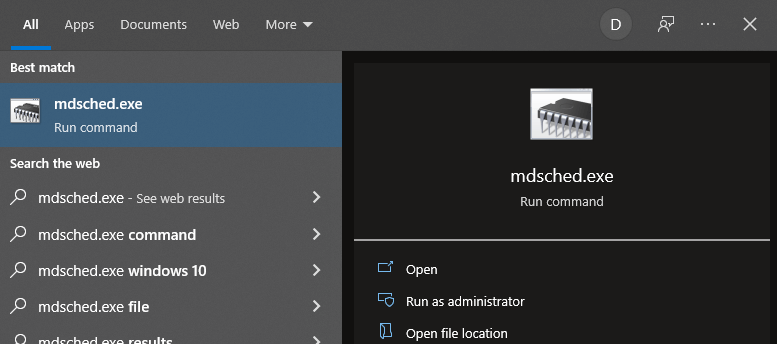
Step 2: You can conduct the scan right away or on the next reboot.
Step 3: When the scan begins, press F1 to stop it. This gives you the option of selecting the type of scan you want to employ. When you obtain the kernel data inpage error, you need to do a more thorough scan and hence “Extended” should be selected.
Step 4: To save your changes, press F10. It’s recommended not to interrupt this scan because it can take a long time.
Step 5: If any problems are discovered, a notification should appear on your desktop when your machine restarts.
Method 5: Uninstall Software that was recently installed
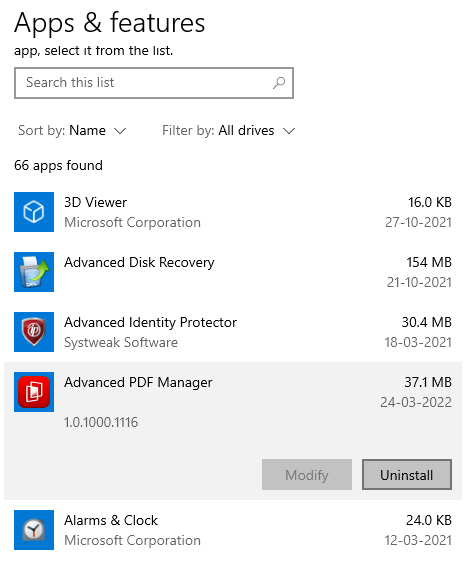
Your PC may undergo several unwanted modifications as a result of software installation. A single app can radically impact your PC, from changing device drivers to causing corrupted PC files. Uninstall any software/apps you’ve recently installed and restart your computer. It may not be compatible with your machine or could also be infected with a virus. The same can be said for any unsigned drivers. If you’ve installed unsigned drivers recently then you need to remove them too.
Method 6: Disconnect any hardware that was recently installed
Disconnect and restart any new gear or peripherals you’ve recently installed. Incompatible new hardware, damaged device drivers, or even wrongly installed devices can all produce this problem. If the issue is connected to new hardware, you should observe issues within a few days. If this is the case, disconnect any new devices and reboot your PC. If it works without issues, try reinstalling the same hardware to see if the fault occurs again. If you don’t get it, it was most likely due to an installation error.
Method 7: Scan for vulnerabilities


A virus can perform almost anything, even producing kernel data inpage faults. Run a comprehensive computer scan with your antivirus software to see whether a virus is to blame. You can also use a combination of Microsoft Defender and other third-party security software like Systweak Antivirus.
Method 8: Examine the Device Drivers
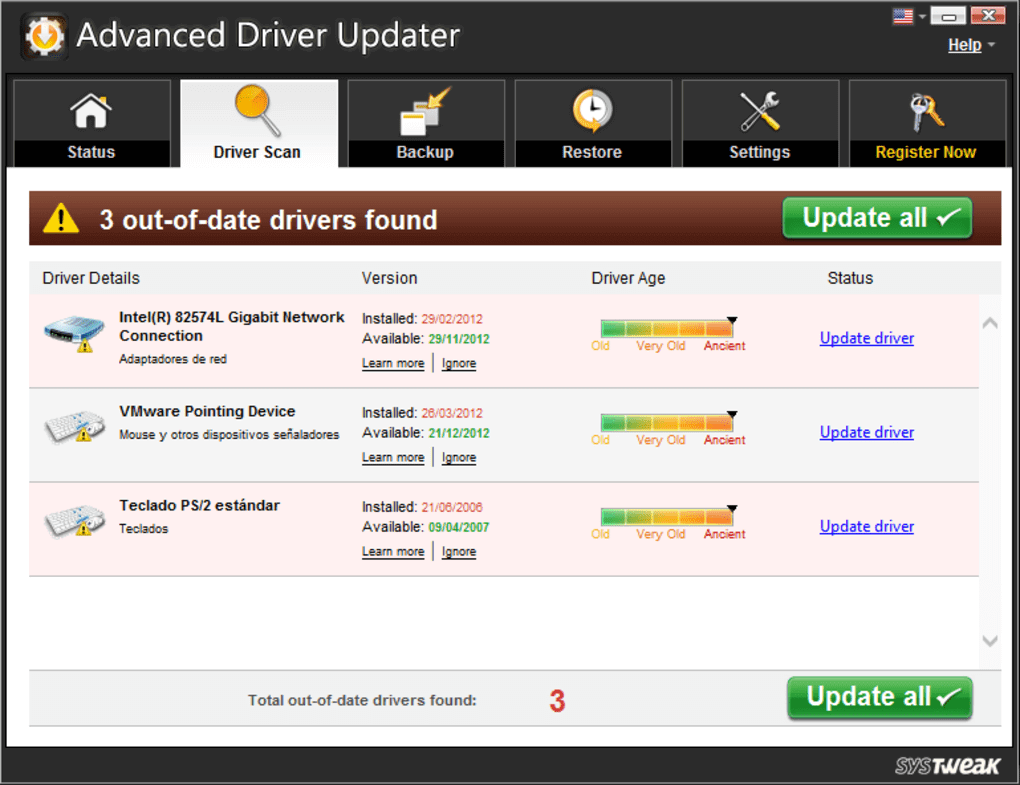
The kernel data inpage error is frequently caused by bad or corrupted device drivers, causing the PC to perceive that your hard disk or other hardware is malfunctioning. The good news is that you only need to update your drivers rather than replace your hardware. Drivers can be updated manually by using the Device Manager or downloading/installing them from the official website. However, we recommend using Advanced Driver Updater to scan/download and install the most compatible drivers with a few mouse clicks.
Method 9: Initiate the System File Checker
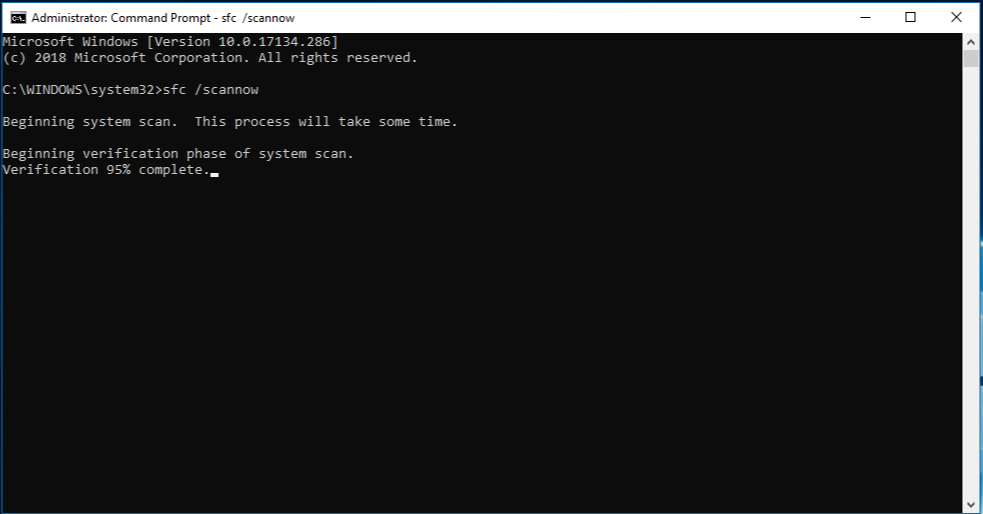
The System File Checker program is the best remedy if the problem is caused by missing or corrupted files. It’s a Windows feature that tries to automatically locate and repair damaged or missing computer system files. Here are the steps:
Step 1: To run a command, press Win + R and type cmd. To run Command Prompt with administrative rights, press Ctrl + Shift + Enter.
Step 2: To proceed, type sfc /scannow at the prompt and press Enter.
Step 3: Be patient as the procedure can take a long time. It should take a short time to complete if there are no errors.
Note: If any errors are discovered, you’ll be given a list of what was discovered and whether it may be corrected.
Method 10: Restore your BIOS settings
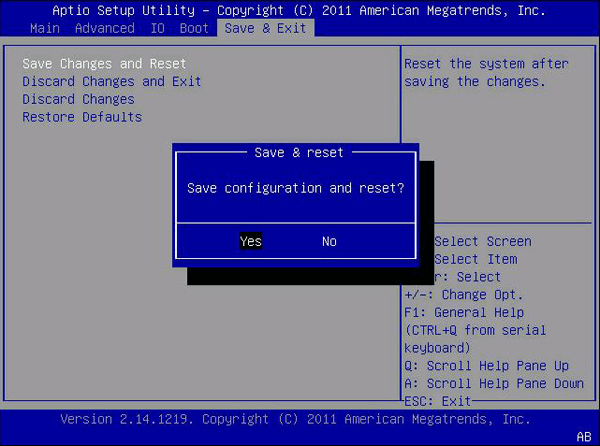
Except for changing the boot sequence, most of the users never alter anything in their BIOS settings. Any wrong settings or setups, on the other hand, can cause chaos on your computer, including a BSoD with the kernel data inpage error. There’s no way to tell if this is the problem without resetting your BIOS to factory defaults. Here are the steps:
Step 1: Restart your computer and push the BIOS button.
Step 2: Search for the “Reset to Default” option in your BIOS.
Step 3: Restart your computer once you’ve reset the BIOS to see whether the error persists.
The Final Word On How to Fix the Kernel Data Inpage Error in Windows?
The stop code “kernel data inpage error” usually indicates a hardware failure, such as a memory or hard drive failure. It can, however, arise as a result of faulty system files, incorrect BIOS settings, motherboard problems, or even infections. If something isn’t correctly connected, your PC interprets it as a hardware failure and displays the corresponding BSOD. The above methods will help you resolve this error on your computer.
Follow us on social media – Facebook, Instagram, and YouTube. For any queries or suggestions, please let us know in the comments section below. We would love to get back to you with a solution. We regularly post tips and tricks, along with answers to common issues related to technology.