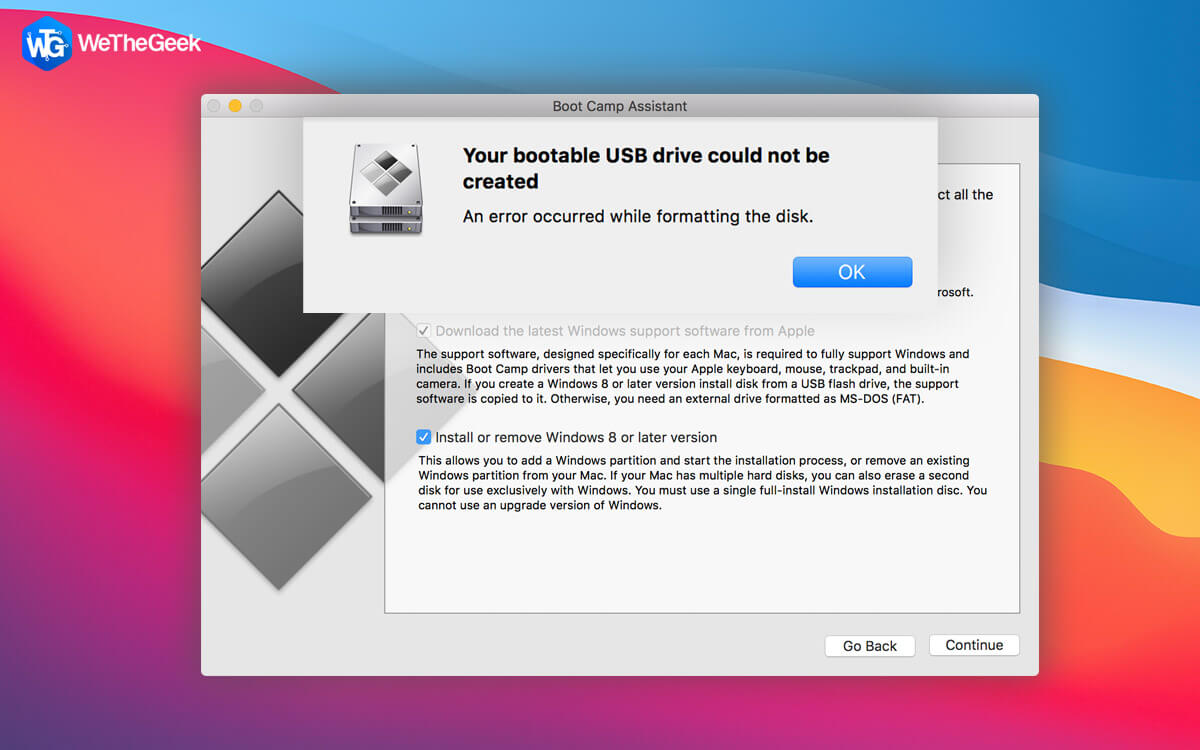
Mac in itself is a great operating system. Yet, many users want to install Windows OS on Mac and enjoy both worlds. However, many users who have tried running the Boot camp assistant with a USB have been stopped by the error message “your bootable USB cannot be created.” There could be multiple reasons for the same. If this is a situation you have encountered, we’ll look at all the possible ways to fix the issue.
Want to get down to the basics first and wish to learn how to install Windows on Mac in simple steps, we recommend that you first check out this post. Now that you have familiarized yourself with how to install Windows on Mac and if you are getting the “your bootable USB cannot be created” error, it is time to address it successfully.
Words of Wisdom – Keep A Data Recovery Tool Ready
Some users have found themselves in a situation where they lost crucial data while working out the fixes for the “your bootable USB cannot be created” error. We don’t want you to lose your precious data. You can use a data recovery application like Tenorshare 4DDiG for Mac Data Recovery if you have lost data.

What Does A Tool Like Tenorshare 4DDiG for Mac Data Recovery Do?
It helps recover data from a Mac in various situations, such as formatting, malware attack, accidental deletion, etc.
What Are The Various Features of Tenorshare 4DDiG Mac Data Recovery?
- Recovery of all kinds of data
- It can handle any data loss situation
- Recover data from both internal and external storage mediums
- High data recovery rate
- High level of security
- Supports M1 Macs
How To Recover Data On Mac Using Tenorshare 4DDiG Mac Data Recovery?
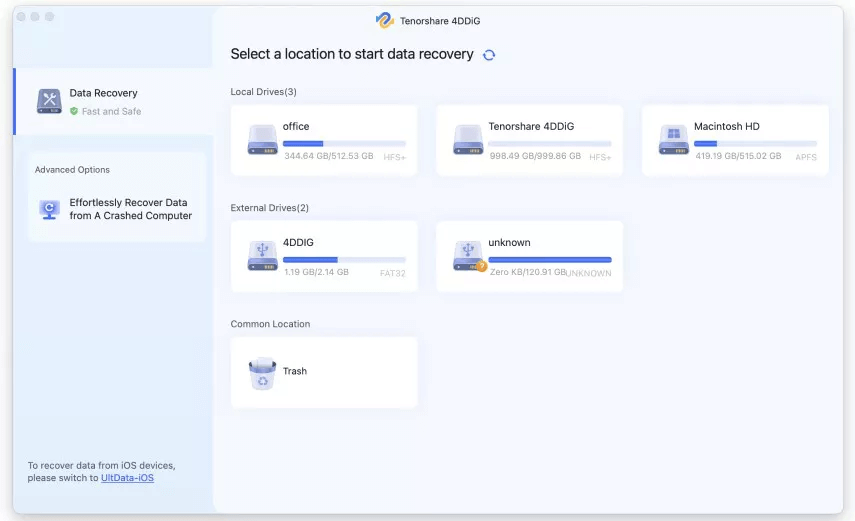
1. Download, install and run Tenorshare 4DDiG Mac Data Recovery.
2. Select a location from where you have lost data. Click on the Scan button that you will find at the lower right corner of the screen.
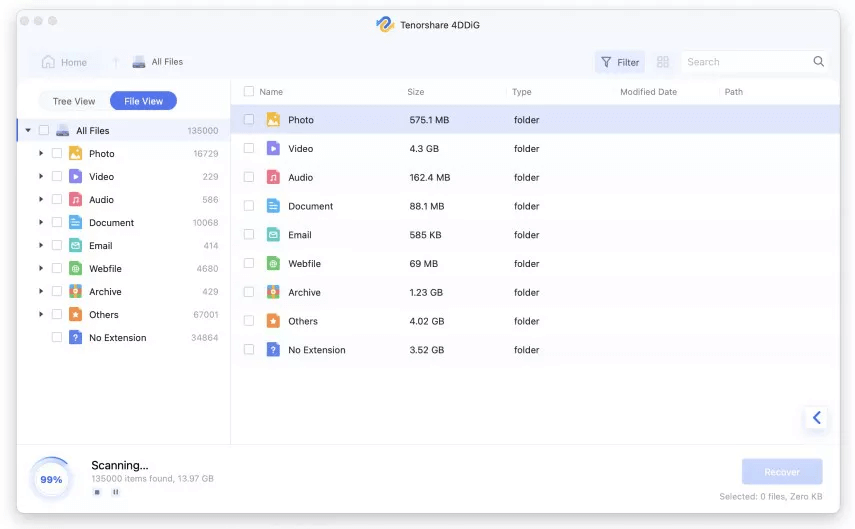
3. After the scanning process is over, you can see all deleted files. The best part here is that you can click on specific files and preview them before restoring them.
4. Select the files you want to recover and choose a location where you want to save these files. Please be careful not to save files at a location from where they were originally lost, as you may lose them permanently.
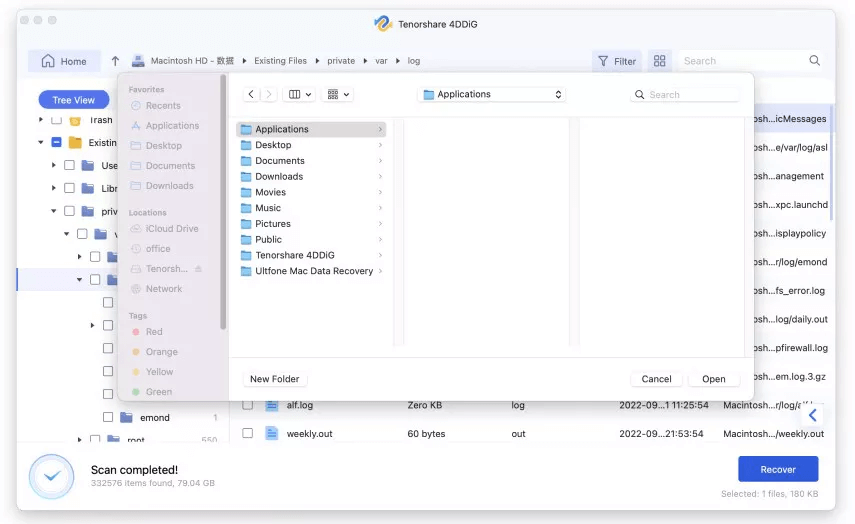
There you have it! This is how you can successfully retrieve permanently deleted files.
Best Ways To Fix “Your Bootable USB Cannot Be Created”
1. Update macOS
Software updates are quite crucial for your computer. So, one of the first things you should do to fix the “your bootable USB cannot be created” issue is to update your Mac. To do that –
1. Head to System Preferences.
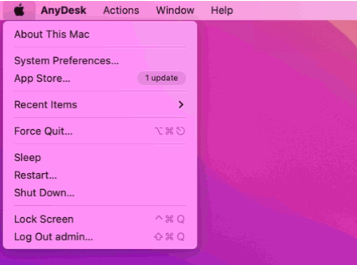
2. Click on Software Update.
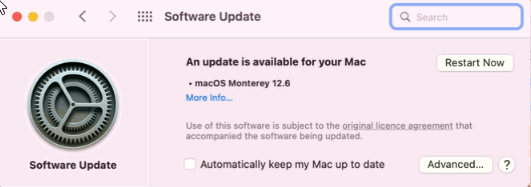
3. If an update is available, click on the Update Now button.
2. Does Your USB Drive Have Enough Storage Space?
It goes without saying that Windows OS will take up considerable space on your Mac. This means you should have sufficient storage so your Mac can accommodate Windows. Preferably, your Mac should have at least 2GB RAM and a hard disk capacity of 30 GB to run the Boot Camp and then successfully install Windows.
In case you have insufficient storage, consider freeing some. Here is how you can clean up your Mac hard drive and recover storage space on your Mac. For instance, you can start by removing duplicate files.
If you want to make the process of removing duplicates fast, simple, and safe, you can use a tool like Duplicate Finder and Remover for Mac.
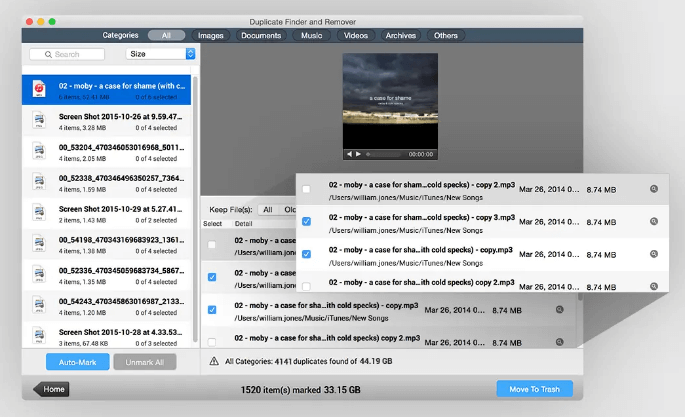
Reasons To Count On Duplicate Finder and Remover –
- It helps you find duplicates in no time.
- Has an intelligent algorithm that helps find accurate duplicate files.
- You can auto-mark duplicates where only the duplicate file in each group is selected. So, if you have 1000 unwanted duplicates in a group, 999 will be marked in seconds.
- You can even scan external devices for duplicate files.

Want to see this tool in action? Check our post on how you can remove duplicates on Mac.
3. Unmount ISO File
While installing Windows on your Mac, if you still encounter the “your bootable USB cannot be created” error, you can try unmounting the ISO file. In most cases, the mounted ISO can be found on your desktop. To eject it, all you have to do is, right-click on it and click on Eject. Once you have done that, you can start Boot Camp Assistant again and create a bootable USB.
4. Reinstall The Latest Windows Version
If you are receiving the “Your bootable USB cannot be created,” chances are that the Windows version you have installed is not compatible with your Mac. You can retry installing the latest Windows OS version and then follow the steps mentioned below –
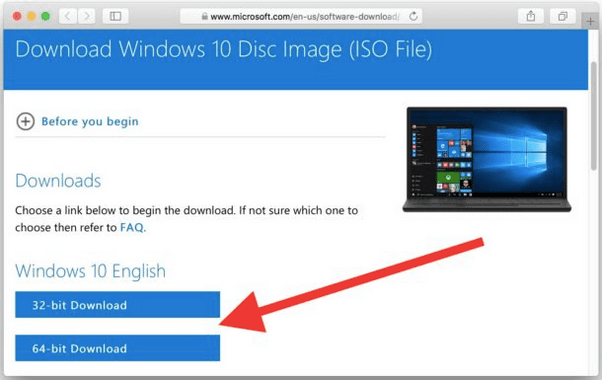
1. Download the latest version of Windows from Microsoft’s website.
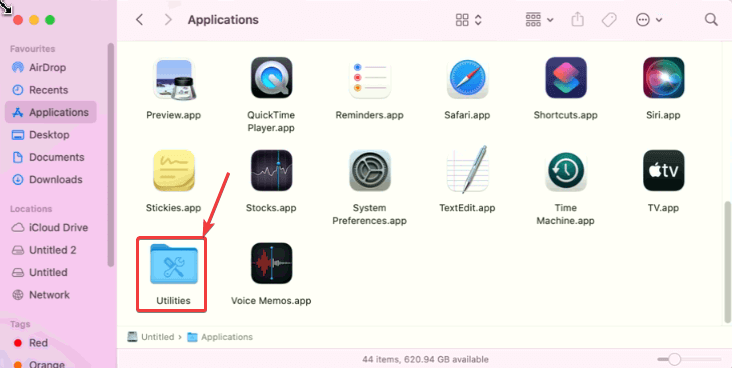
2. Click on your desktop until you can see Finder at the top left-hand side.
3. Click on Utilities.
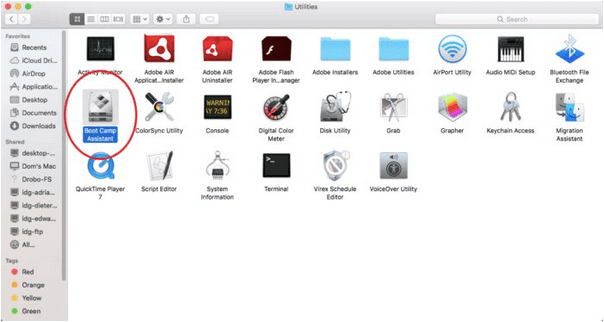
4. Open the Boot Camp Assistant and when the window appears, click on Continue.
5. Select the Windows ISO you downloaded earlier and again click on Continue.
6. Partition your Mac’s disk and follow the instructions that will appear next.
5. Build A USB Windows 10 Boot Camp Installer
Still getting the error, “your bootable USB cannot be created”? You can try building a USB Windows 10 Boot camp installer. Here are the steps to do that –
1. Get a USB drive with more than 8GB of storage space.
2. First, format this USB drive as MBR/FAT 32.
3. Head to Apple and download BC6 drivers into the USB drive.
4. Copy and paste all Windows ISO files to this USB drive.
5. Generate a FAT32 partition using Disk Utility.
6. You must boot from this USB drive and choose the FAT32 partition as your destination.
Frequently Asked Questions –
Q1. Can’t create a bootable USB drive?
Check if your USB drive is in use by your system or any other app. You may also want to check if there is enough storage space, a macOS update, or if an app is interfering.
Q2. What to do if your bootable USB drive is not available?
Ensure that you use a USB drive of at least 16 GB. Before using the Boot Camp Assistant, fetch any impending macOS updates and if you are installing Windows, ensure that you install the latest version.
Q3. How do I boot from a USB drive?
Press and hold down the Option key till you hear the startup sound. When Startup Manager appears, release the Option key. Startup Manager will scan your Mac for drives from which it can boot, including the USB.
Wrapping Up
If you have successfully fixed the “Your bootable USB cannot be created” issue, let us know which of the above methods helped you out. For more such content, keep reading WeTheGeek. You can also find us on YouTube, Twitter, Facebook, Instagram, Pinterest, and Flipboard.