
Storage space has always been one of the major concerns while using any gadget. No matter how much space any device has, we still crave for some extra gigabytes—one can never get enough of it! Whether it’s your Mac, iPhone or any other device, they all come with a specific finite amount of space which sooner or later gets occupied with our personal data.
So, if you have ever wondered how to partition a hard drive on Mac you’ve landed at the right spot. You can upgrade your Mac’s hard drive in two ways—either you can upgrade it internally via SSD or by connecting your Mac to an external hard drive.

 How to Erase and Format an External Hard...Want to how to format your external hard drive? Learn here, how to erase and format an external hard drive...
Before we proceed further, first let’s understand a few perks to partition hard drive on Mac
Benefits of Partitioning your Mac’s Hard Drive
One of the most common reason why individuals tend to partition their Mac’s hard drive is when they want to run more than one operating system like Windows and Mac. So, once you are through on how to partition external hard drive of your Mac you can easily manage both the operating system separately as if they’re running on two different devices.
Just Remember…
Before you decide on partitioning your Mac’s hard drive here’s a quick tip which’ll help you get through with this process without any hassle. You can download Cleanup My System tool which can optimize your Mac’s hard drive and make your device a lot more stable. It can enhance your Mac’s speed with ease and improve your experience exclusively by cleaning junk and unwanted applications.


So, before you partition your Mac’s hard drive just make sure you declutter the hard drive with a powerful and effective tool like Cleanup My System.
How to Partition your Mac’s Hard Drive or SSD
There are basically two ways to disk partition your Mac: First is using Bootcamp and other is with the help of Disk utility. Let’s discuss both of these ways in detail.
Using Bootcamp

If you’re willing to run Windows on your Mac, then this happens to be one of the most simple and powerful ways to partition hard drive on Mac. Mac’s inbuilt Boot Camp assistant eases down all the process and guides you with simple on-screen instructions.
Once you through with the process, you can run both operating system (Windows and Mac) on your MacBook. But apart from this reason, if you want to partition your Mac’s hard drive then you can use the second way which is via Disk Utility that we’ll be discussing in our next section.
Using Disk Utility
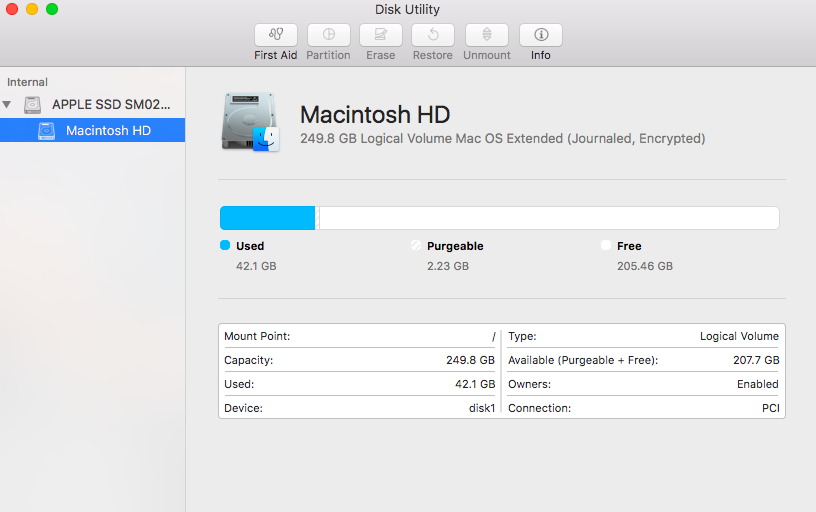
If you’re sole purpose is just to partition your Mac’s hard drive, then using a disk utility manager might be an ideal choice. Disk utility acts like a smart Mac Partition manager and is a useful in-built Mac application that sits within your Utilities folder, inside Applications folder.
Before your start up with this process, just make sure that you back up all your important data, create a clone on your entire hard drive, just in case anything goes wrong.
Here are a few things you might want to consider before you jump on partitioning your Mac’s hard drive via Disk utility.
- Clone your Mac’s hard drive.
- To double check whether this clone works or not, plug the clone in and go to System Preferences > Startup Disk.
- In this way you can make sure that the cloned drive is successfully working, and you can proceed to partition your Mac’s hard drive without any worries.
How to Partition Mac Hard Drive via Disk Utility
Here are few steps you need to follow to disk partition your Mac via Disk utility.
- Head on to Utilities> Applications Folder or tap Command + Shift+ U key.
- Double-click the Disk Utility application.
- Now select your Mac’s internal hard drive name.
- Tap on Partition.
- Tap the ‘+’ below Partition Layout.
- Once the new partition appears, you can change the size of both disks accordingly.
- Assign a name to your newly partitioned disk drive.
- Tap on “Apply” to save changes.
If you’re unhappy with the disk partition, you can anytime revert back to old state. Tap on “Revert to un-partition hard drive” option on Mac.
Once you’ve successful partitioned your Mac’s hard drive, you can use it like an all new hard drive or internal SSD, store any data you like, upload anything you like!
So fellas, here was a quick guide on how to partition a hard drive on Mac. For any other queries or feedback feel free to hit the below mentioned comment box.