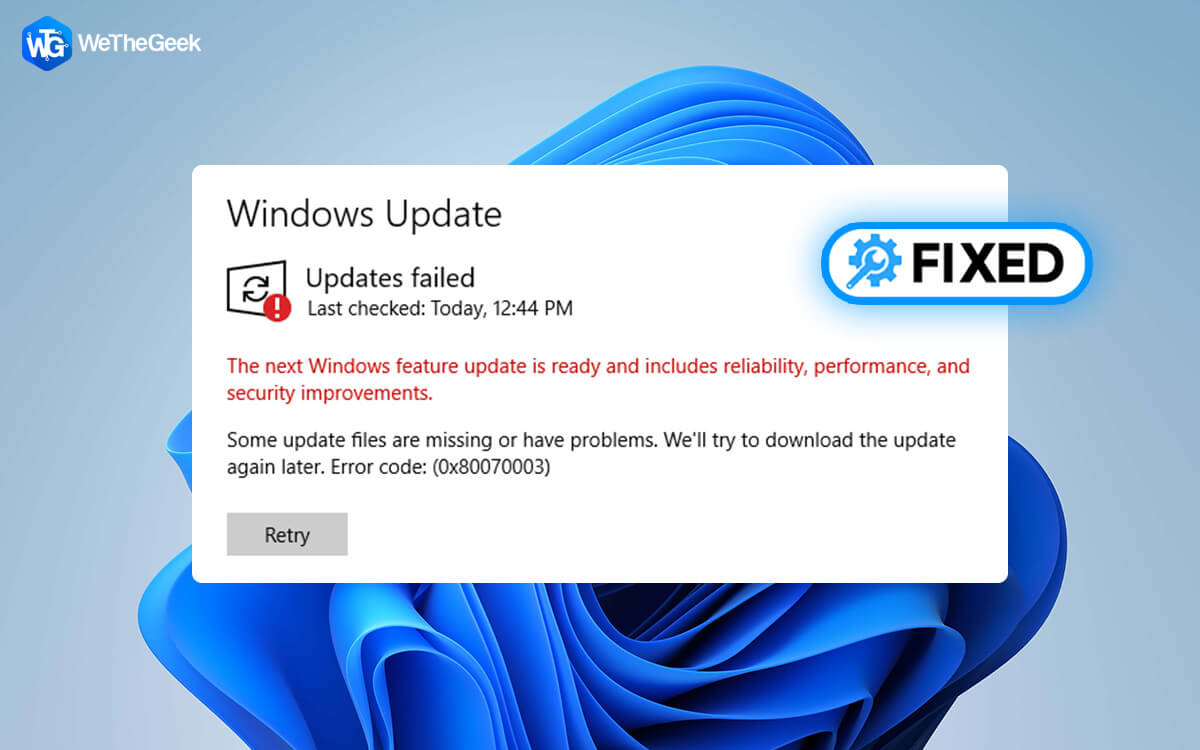
When updating to the newest version of Windows or installing updates, sometimes users face certain issues and errors. The issue with these error codes is that they often do not indicate what caused the error or how consumers might prevent it. Users frequently encounter the 0x80070003 issue when attempting to update the PC. A message stating that “Some update files are missing” is displayed along with this problem. Let’s investigate the causes of this problem and work out the potential solutions.
Methods To Fix The “Update Files Are Missing” Error 0x80070003 On Windows
1. Delete The DataStore Folder’s Contents
Windows has a log file called DataStore that contains details about all the updates that have been installed on the machine. This folder can be found in the Windows directory for update-related data called the SoftwareDistribution folder. In a number of instances, the corrupt DataStore folder components that were obstructing the system update process were the root source of the underlying problem. Delete the contents of this folder or the Data Store folder entirely to solve this problem quickly. Here are the steps:
Step 1: Launch File Explorer, then go to the location listed below:
C:\Windows\SoftwareDistribution
Step 2: Right-click on the DataStore folder located in the SoftwareDistribution folder.

Step 3: Select Delete from the context menu.
Step 4: To continue, click on “Yes” on the confirmation message.

Step 5: Open the Settings app and try installing the updates once more after the folder has been deleted.
2. Scan The PC
The following step is to check the PC for any potential problems. Utilizing built-in system tools like the System File Checker and DISM you can do that easily. The protected system files will be checked for discrepancies by the System File Checker (SFC). SFC will replace a corrupt file with its healthier version.
In contrast, DISM will fix the system image. To run these tools, we will be using the Command Prompt. Before continuing, make sure you are logged in as an administrator on Windows. Here are the steps:
Step 1: Launch Command Prompt in administrator mode.
Step 2: In the User Account Control window, select Yes.
Step 3: Enter the command listed below into the Command Prompt window.
sfc /scannow

Step 4: When the command has finished running, issue the next command:
Dism /Online /Cleanup-Image /ScanHealth

Step 5: Next, carry out the following instruction:
Dism /Online /Cleanup-Image /RestoreHealth

Step 6: Close the Command Prompt window after this command has been executed successfully, to see if you can now download the desired updates.
Also Read: SFC Scan Stops Working on Windows 10? Here’s the Fix!
3. Update Component Repairs
Step 1: Start the Run dialogue box by pressing Windows + R.
Step 2: Type CMD in the RUN box and then press Ctrl + Shift + Enter to open the Command prompt in elevated mode.
Step 3: Execute each of the following commands one at a time
net stop wuauserv
net stop cryptSvc
net stop bits
net stop msiserver
Step 4: Once every service has been shut off, run the subsequent commands. These will empty the system’s update cache:
ren %systemroot%\softwaredistribution softwaredistribution.bak
ren %systemroot%\system32\catroot2 catroot2.bak
Step 5: To restart the Windows update services, execute each of the following instructions one at a time:
net start wuauserv
net start bits
net start cryptsvc
net start trustedinstaller
net start appidsvc
Step 6: Restart your computer after the orders have been carried out. On reboot, perhaps you’ll be able to apply the necessary upgrades.
Also Read: How to Fix DISM Host Servicing Process High CPU Usage
The Final Word
Hopefully, by this point, the bothersome update error has been successfully fixed. If the problem persists, you can manually install the updates using the Microsoft update catalogue. In order for Microsoft to release an official fix for this problem, it could also be a good idea to report this problem to their support staff.
Please let us know in the comments below if you have any questions or recommendations. We would be delighted to provide you with a resolution. We frequently publish advice, tricks, and solutions to common tech-related problems. You can also find us on Facebook, Twitter, YouTube, Instagram, Flipboard, and Pinterest.