Thinking about how to uninstall MySQL on Mac? Well, it’s not as simple as you think. Dragging the MySQL icon to the trash bin just won’t do the job as you might also have to remove the associated files, database, and other configurations.
In this post, we have summarized a step-by-step guide that you can follow for uninstalling the MySQL app from your macOS device.
Also read: How to Properly Uninstall iMovie on Your Mac
What is MySQL?
MySQL is a popular relational database management server (RDBMS) that operates based on SQL (Structured Query Language). Tech giants like Google, Facebook, YouTube, Adobe rely on MySQL for storing their database files.
Developed by Oracle, MySQL is open-source software that is compatible with Windows, macOS, Linux, and Ubuntu. MySQL is more like a database platform that forms a crucial part of most popular software and websites.
But if you’re sure about the fact that you won’t need this app anytime in the future, you can easily uninstall MySQL on Mac by just making a few quick changes to your device’s settings. Also, by uninstalling the MySQL app, you can even recover some additional storage space on your device for saving your other files and data.
Also read: Best Database Software For Large, Medium & Small Businesses
Let’s show you how!
How to Uninstall MySQL from macOS
To manually uninstall MySQL from your macOS device, follow these quick steps:
Tap the Apple icon placed on the top-left corner of the menu bar, select “System Preferences”.
In the System Preferences window, scroll down and select “MySQL”.
A new window will now appear on the screen before MySQL launches. Switch to the “Instances” tab. Hit on the “Uninstall” button to remove the app from your device.
Now, once the app has been successfully removed from Mac, the next step is to delete the associated files and data. And to do so, you might have to run a few commands in Mac’s Terminal application.
Also read: How to Uninstall OneDrive on Mac
Head on to Mac’s Application folder, open Terminal.
In the Terminal window, enter the following command and press the Return key to execute it.
sudo mysqldump --all-databases
Running this command will backup all your files in the .txt format.
Now, the next step is to check whether any MySQL processes are running in the background. To do so, type the following command in the Terminal:
ps -ax | grep mysql
If you find any MySQL processes running on your device, terminate them right away.
Now, execute the following command in the Terminal.
sudo rm /usr/local/mysql
Your Mac might prompt you to enter the password for authentication. Enter the credentials to proceed.
After the authentication process, run the following commands one by one in the same order in the Terminal. These commands will help in removing the MySQL files and preferences from your device.
sudo rm -rf /usr/local/mysql
sudo rm -rf /usr/local/var/mysql
sudo rm -rf /Library/StartupItems/MySQLCOM
sudo rm -rf /Library/PreferencePanes/My*
sudo rm -rf /Library/Receipts/mysql*
sudo rm -rf /private/var/db/receipts/*mysql*
Now remove the line MYSQLCOM=-YES- from /etc/hostconfig
And that’s it, folks! Exit the Terminal window, reboot your Mac. MySQL has now been successfully uninstalled from your Mac. To verify, you can even check the System Preferences window to see whether you’re still seeing any trace of the MySQL app on your Mac.
Also read: How To Quickly Uninstall Skype From Your Mac
Download and Install Disk Clean Pro to Optimize your Mac

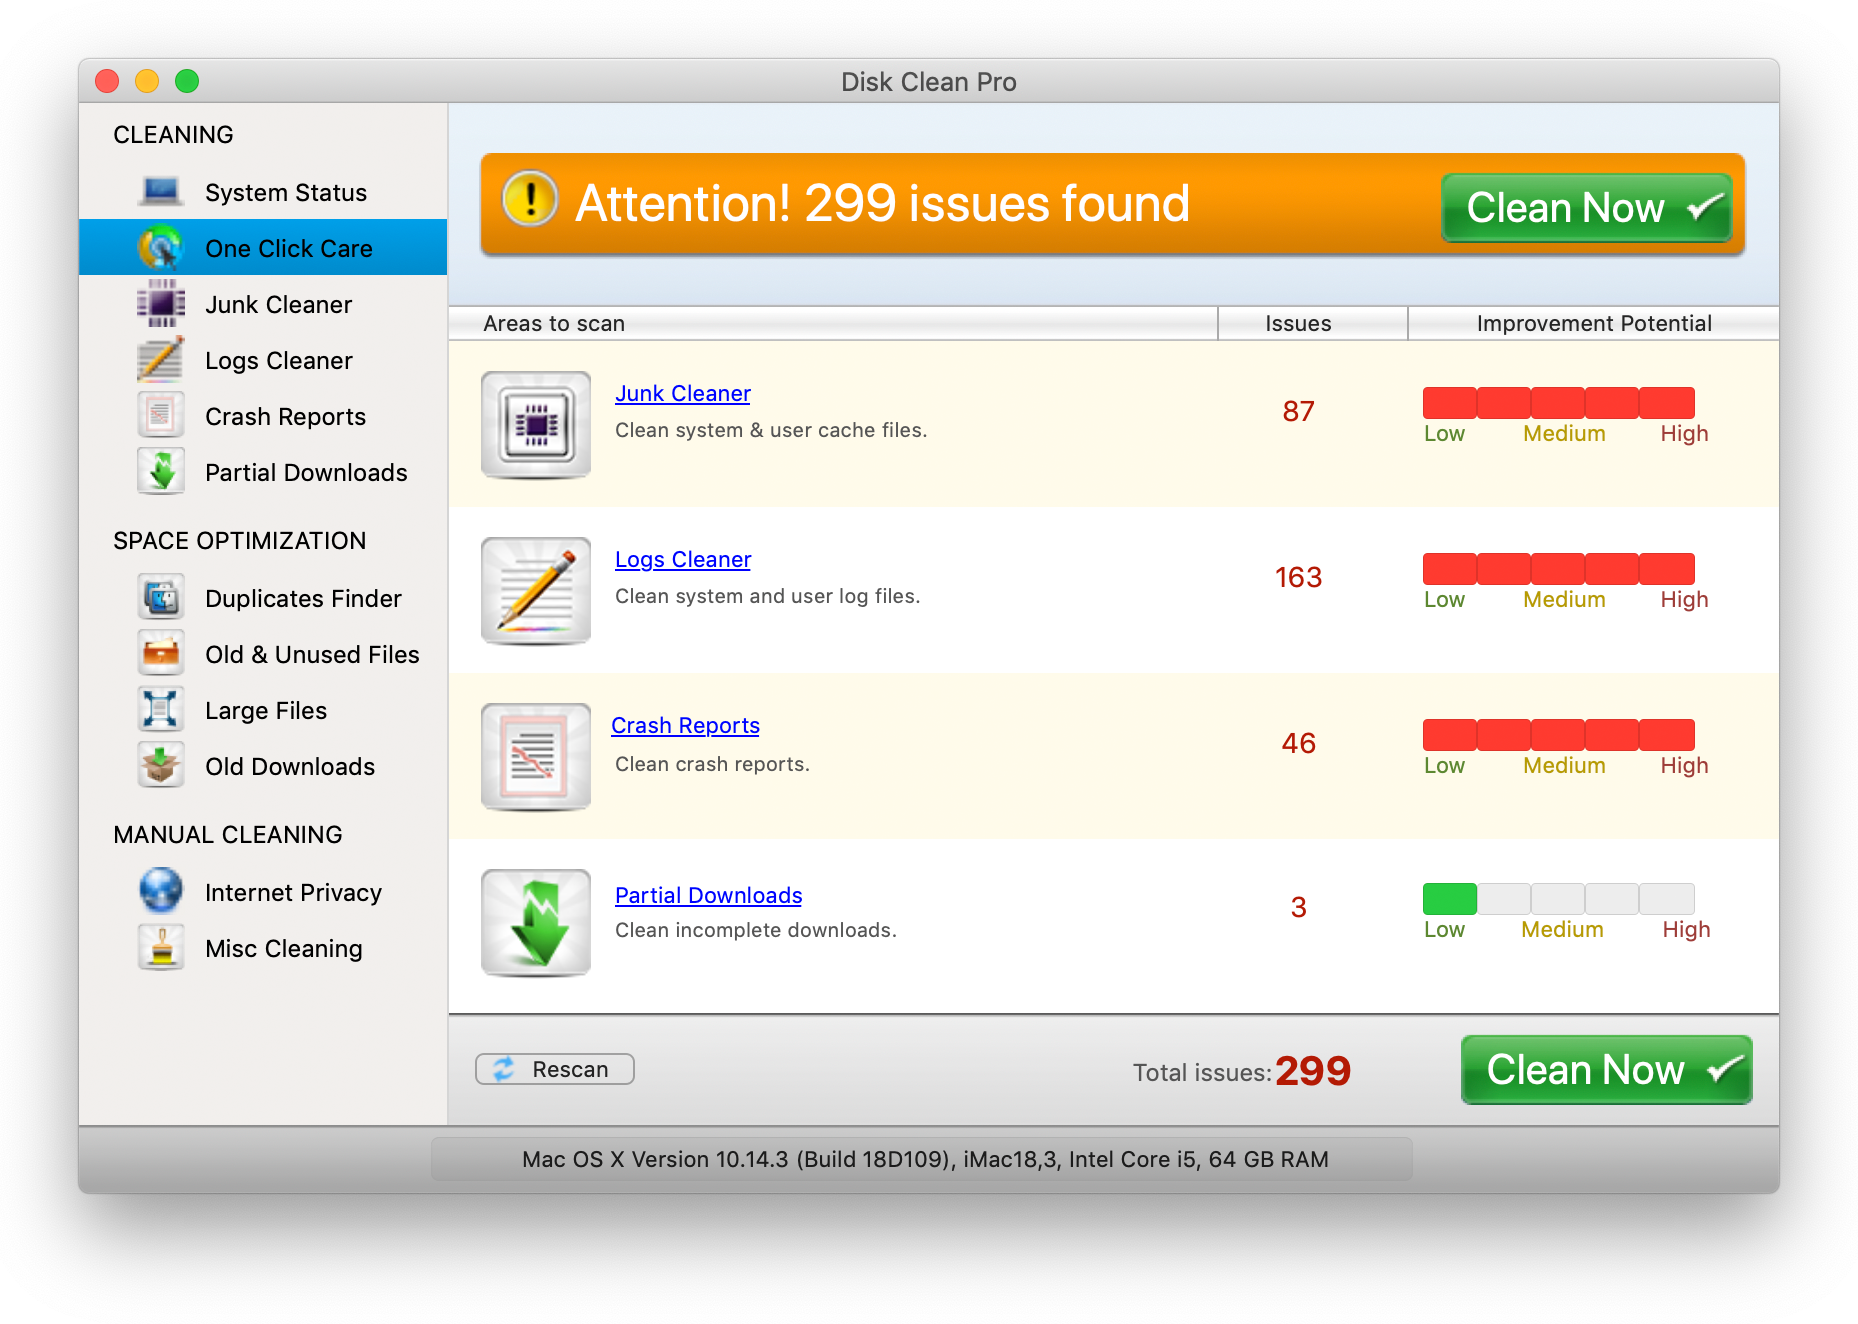
Over time and prolonged usage, a plethora of junk files and data gets cluttered on your disk space. Wondering how to remove all the junk files and data from your Mac to optimize its performance. Download and install Disk Clean Pro, a must-have utility for your macOS that fine-tunes your device’s performance by securely cleaning up obsolete data.

Disk Clean Pro performs a thorough scan on your device to find redundant files, junk files, and other obsolete data that takes up a considerable amount of storage space. Disk Clean Pro can be the one-stop automated cleaning app that can help you to clean up your Mac in the most effortless way. It also helps you in removing the partially downloaded apps and files, log files, crash reports, and other junk data.
Conclusion
This wraps up our guide on how to uninstall MySQL on Mac. If you follow this guide in a step-by-step manner, you will be able to delete the MySQL app, associated files and preferences, related background processes, and almost any trace of MySQL on your Mac.
Was this post helpful? Feel free to hit us with your queries. You can use the comments space to shoot your questions.


 Subscribe Now & Never Miss The Latest Tech Updates!