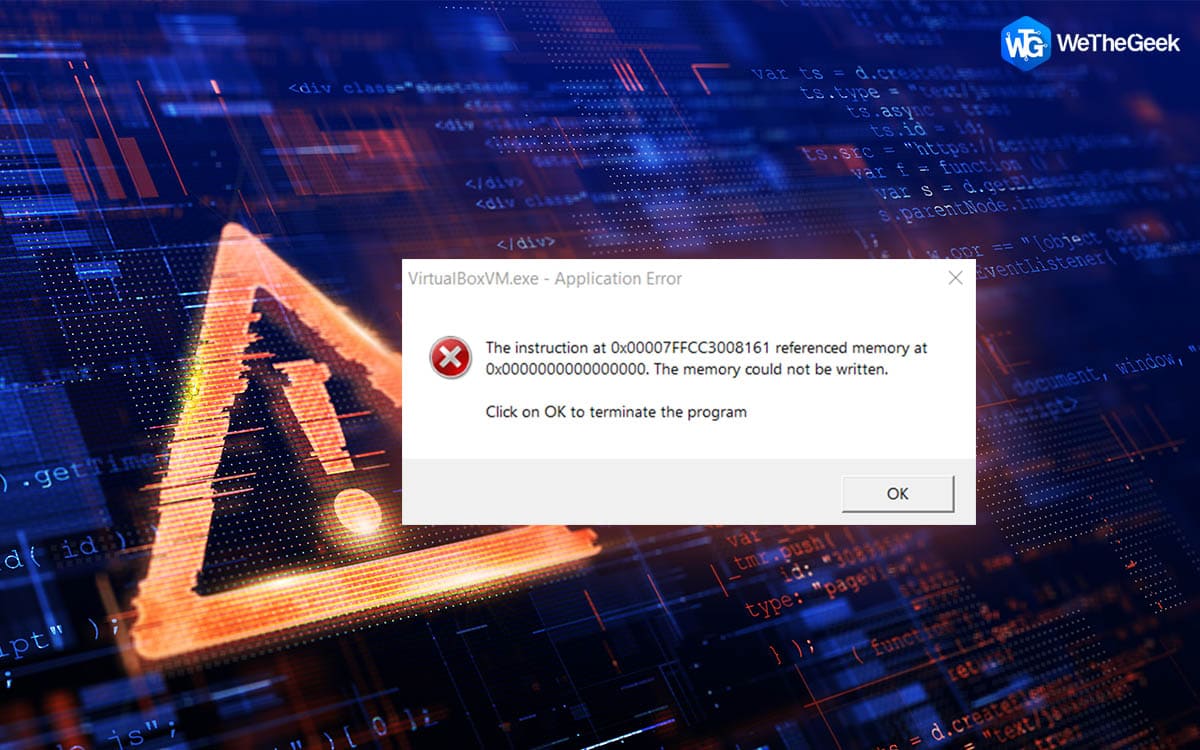
“The memory could not be written” issue can arise in a variety of circumstances, including when shutting down a Windows PC without closing all open programs, launching web browsers, starting a program that uses lots of graphics, or even when playing a game.
While it typically appears when your device’s memory resources are low, it can also happen as a result of outdated graphics drivers, corrupted system folders, an intermittent memory glitch, damaged files, incorrectly set up graphics programs, disruption from third-party services, or hardware-related problems.
Also Read: How To Fix The GPU Memory Is Full Error On Windows 11
How To Fix “The Memory Could Not Be Written” Error
Method 1: Close All Open Applications
Check to see if any open applications are still running if you receive the “memory could not be written error” when shutting down your PC. Close all open applications before turning off your computer if this is the situation. By doing this, you might be able to prevent this problem from happening again. You should restart your computer if you occasionally have this issue while using it. If the issue disappears after restarting your computer, it suggests that it might have been a brief glitch.
Also Read: How To Fix The Memory Integrity Feature Grayed Out On Windows PC
Method 2: Restore Damaged System Files
Check to see if any missing or corrupted system files are the source of the problem if you’re still having trouble. Running an SFC (System File Checker) scan is the most effective way to accomplish this. Your system’s integrity is checked by SFC, which replaces lost files and fixes damaged ones. Most problems on Windows PCs are frequently fixed by it. Here are the steps:
Step 1: Press Win + R to open the RUN box.
Step 2: Type cmd in the search box.
Step 3: Press CTRL + SHIFT + ENTER to open the command prompt in an elevated mode.
Step 4: Next, type the following command and press the Enter key.
sfc /scannow

SFC scans typically finish successfully and inform users that no system file problems were found or that corrupted files have been automatically fixed. Make sure you thoroughly study the scan results and follow any displayed instructions.
Also Read: What Is Vmmem Process? How To Fix Vmmem.exe High Memory Usage
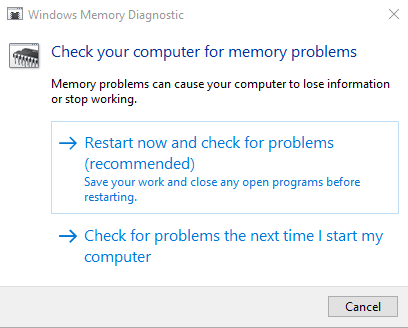
Method 3: Perform A Memory Diagnostic Test
This problem may also be brought on by deteriorating RAM. The Windows Memory Diagnostic Tool is the greatest tool to use to examine the condition of your RAM. Here are the steps to run this tool:
Step 1: Press Win + S to open the Search box.
Step 2: Type “Memory Diagnostic” and click on the relevant search result under Best Match.
Step 3: The Windows Memory Diagnostic will now open. Click on the “Restart Now….” option and this tool will reboot your PC and run the scan.
Get your RAM tested as soon as possible if the system finds any issues with it. Your PC could crash at the worst possible time if a serious technical problem affects its memory.
Also Read: How to Fix Diagnostic Policy Service High CPU & Memory Usage
Method 4: Boost Virtual Memory
When other programs fill up all of the system memory, your operating system uses a small portion of the HDD or SSD as virtual memory. Your device will have adequate memory to process its needs if you allot extra virtual memory, which will fix the issue. Here are the steps:
Step 1: Open the Settings app by pressing the Windows key + I.
Step 2: Access System -> About.
Step 3: Make your way to Advanced system options.
Step 4: Go to Performance and choose Settings. Click on the Advanced tab.
Step 5: Select Change from the Virtual Memory menu.
Step 6: Uncheck Automatically manage paging file size for all disks which is the default setting.
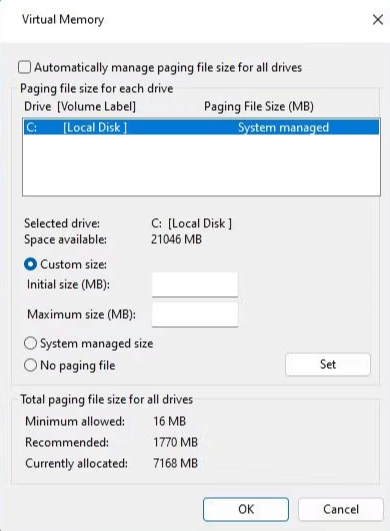
Step 7: Next, choose the Custom size. Set the maximum size you choose for your paging file, keeping in mind the system-recommended size.
Note: Keep in mind that Windows limits the size of your paging file to three times the size of your installed RAM.
Step 8: Click Set, then click OK.
Also Read: Your System Has Run Out of Application Memory; How to Fix?
The Final Word On How To Fix The “The Memory Could Not Be Written” Error On Windows
Memory failures have unquestionably been among the most irritating issues that Windows users have encountered over the years. The techniques mentioned above should assist you in locating the root cause of the “the memory could not be written” error and fixing it. If the aforementioned methods do not work then it is preferable to have your device checked out by an expert if nothing functions or the memory diagnostic test reveals RAM issues.
Please let us know in the comments below if you have any questions or recommendations. We would be delighted to provide you with a resolution. We frequently publish advice, tricks, and solutions to common tech-related problems. You can also find us on Facebook, Twitter, YouTube, Instagram, Flipboard, and Pinterest.
Suggested Reading: