
When it comes to managing and editing documents, Adobe Reader is the first name that strikes our mind. Adobe Reader offers an intuitive platform where you can create, manage, edit and print your documents and files (Especially the PDF ones) using some of the best tools and features. Adobe Reader works seamlessly well on Windows 10 as well and is the #1 document reading software. Isn’t it?
We’re sure most of you must have used Adobe Reader for editing and printing documents? But in rare circumstances when your printer just won’t show in Adobe Reader, you can easily fix this issue via simple troubleshooting.
Stuck with the “Printer not showing in Adobe Reader” error on Windows 10. In this post, we have covered 4 simple solutions that will allow you to resolve this issue by making a few tweaks in the settings.
Let’s get started.
FIX: Printer not Showing in Adobe Reader (Windows 10)
Solution 1: Update Software
When was the last time you updated the Adobe Reader on Windows? Been a while? Well, one of the most common reasons why your printer just won’t show on Adobe might be because you’re using an outdated version of Adobe Reader software. Hence, we recommend you install the latest version of Adobe Reader from its official website that offers performance improvements, new features, and bug fixes.
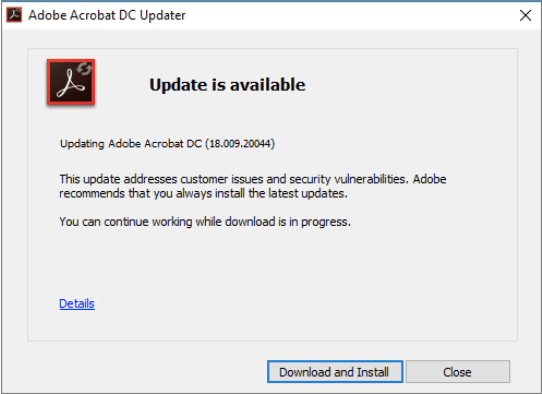
After installing the latest version of Adobe Reader on your device, open the document that you needed to print and check if your connected printer is showing up on the list.
Also read: How To Fix Missing Network Printer Issue in Windows
Solution 2: Update Printer Drivers
Updating drivers is quite crucial. Drivers act as an intermediary link between your hardware device and the OS. So, if any of the system drivers installed on your device are corrupted or outdated, it may cause your device to malfunction or crash. To update the printer drivers on Windows 10, follow these steps.
Press the Windows + R key combination to open the Run dialog box.
Type “Devmgmt.msc” in the textbox, hit Enter.
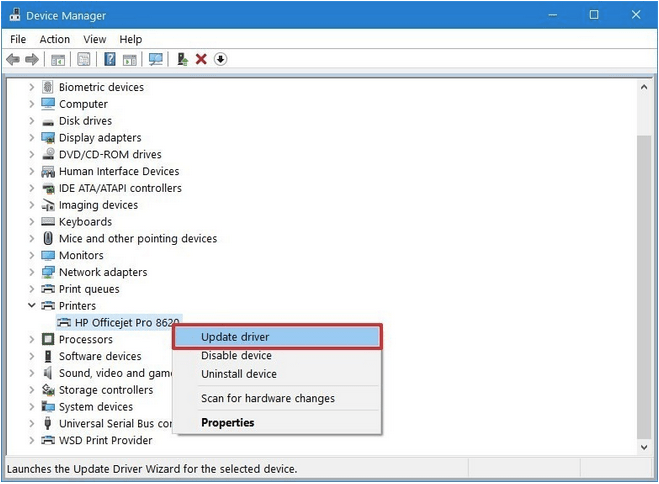
In the Device Manager window, select the Printer option to expand the list. Look for your printer’s name, right-click on it and select “Update Driver”.
Follow the on-screen instructions to fetch the latest update of printer drivers from the web.
However, this technique can be tedious for the users, therefore we recommend using driver updater software. Here at WeTheGeek, we recommend using Smart Driver Care which is an automatic driver updater. Users can make the process of downloading and installing the latest device drivers on their computer smooth with its use. Smart Driver Care can update the incompatible, outdated, faulty, and missing drivers on Windows PC. You can download it from the download button given below-

Once the installation is complete, follow the steps to update the driver to fix the Printer not showing in Adobe Reader error.
- Launch Smart Driver Care.
- Click on Scan Drivers.
- Select all the outdated items.
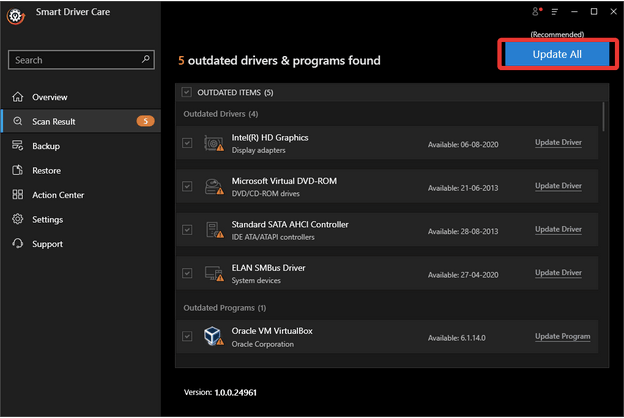
- Click on Update All.
Smart Driver Care will take a few minutes to fetch all the latest updates for the device drivers from its database. Once the process is complete, you will get a prompt message to restart the PC, permitting you to apply the changes.
This is the best way to update drivers on Windows using an automatic driver updater.
Also read: How To Fix Printer Driver Is Unavailable On Windows 10
Solution 3: Repair Adobe Installation
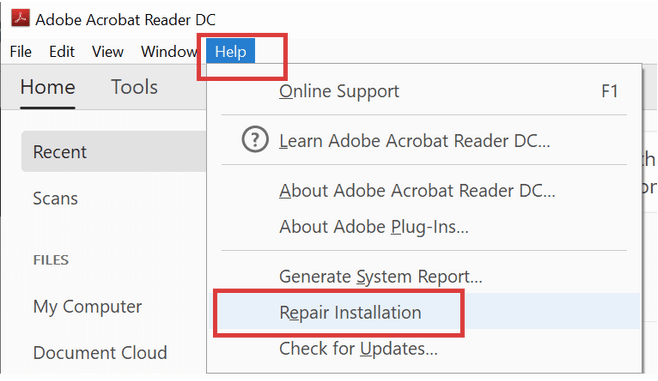
Within Adobe Reader’s help, you can find an option that repairs the installation process, if it was corrupted anyhow. To repair the Adobe reader installation, follow these quick steps:
Launch Adobe Acrobat Reader on your Windows 10 device.
Tap on the “Help” button placed on the top menu bar. Select the “Repair Installation” option from the Help menu.
Tap on “Yes” to confirm so that Adobe begins the Repair process.
After following the above-mentioned steps, quit all windows, launch Adobe Reader and then open the file or document that you needed to print to check if the “Printer now showing in Adobe Reader” issue was resolved.
Solution 4: Printer Troubleshooting
Windows 10 offers you various troubleshooting options that you can use for fixing common errors like BSOD, audio issues, network connectivity failures, printer not connecting, and so on. So, as our next workaround, we will run the printer troubleshooter dug inside Windows 10 settings. Here’s what you need to do.
Open Windows 10 settings, select “Update and Security”.
Switch to the “Troubleshoot” tab from the left menu pane.

On the right side of the window, scroll to find the “Printer” option. Tap on it and then hit the “Run the Troubleshooter” button.
Also read: How To Find Your Printer’s IP Address: Step By Step Guide
Here were a few solutions that will help you in fixing the “Printer not showing in Adobe Reader” issue on Windows 10. You can use any of these tech hacks to resolve the printer connectivity error on Adobe Reader.
Good luck!