Is the internal microphone not working on Mac? In today’s digital world where we majorly rely on video conferencing apps, having a functional webcam and microphone becomes essential to communicate virtually. Isn’t it?
Your MacBook or Mac computer also comes equipped with a built-in microphone that you can use for making calls. Well, there’s always an option to connect an external headphone via Bluetooth or a 3.5 mm audio jack but using the built-in microphone is a comparatively handy approach.

Image source: 9to5 Mac
If your Mac’s microphone fails to perform, it may be due to a variety of reasons. Some of them include misconfigured settings, compatibility issues, interference from the third-party apps, corrupt cache or setting, limited access to the audio devices, and so on.
In this post, we have listed a bunch of solutions that you can use for fixing the “Microphone not working on Mac” issue. Let’s get started!
Download and Install Disk Clean Pro
Before we begin…
Is your Mac performing slowly lately? Are the apps taking forever to respond? Annoyed with slower boot time, app crashes? We might have a useful suggestion for you!

Download and install the Disk Clean Pro utility to optimize your Mac within no time. Disk Clean Pro is an advanced utility tool that cleans up junk files, redundant files, and other obsolete data on your Mac. This nifty utility tool deletes files securely to enhance your Mac’s speed and performance. It helps you delete old and unused files, partial downloads, log files, and other junk data to quickly recover storage space.

How to Fix Microphone Not Working Issue on Mac?
Solution 1: Configure Audio Settings
One of the most common ways to fix this issue is to configure the audio settings on your Mac. Here’s what you need to do.
Tap the Apple icon placed on the top menu bar and select “System Preferences”.

Image source: Apple Support
Tap on the “Sound” icon.
In the Sound settings window, switch to the “Input” tab.

Now, drag and adjust the “Input Volume” slider to configure microphone settings.
After tweaking the sound settings, try the microphone and check if it resolved the issue.
Also read: How To Resolve The Issue Of Skype Microphone Not Working?
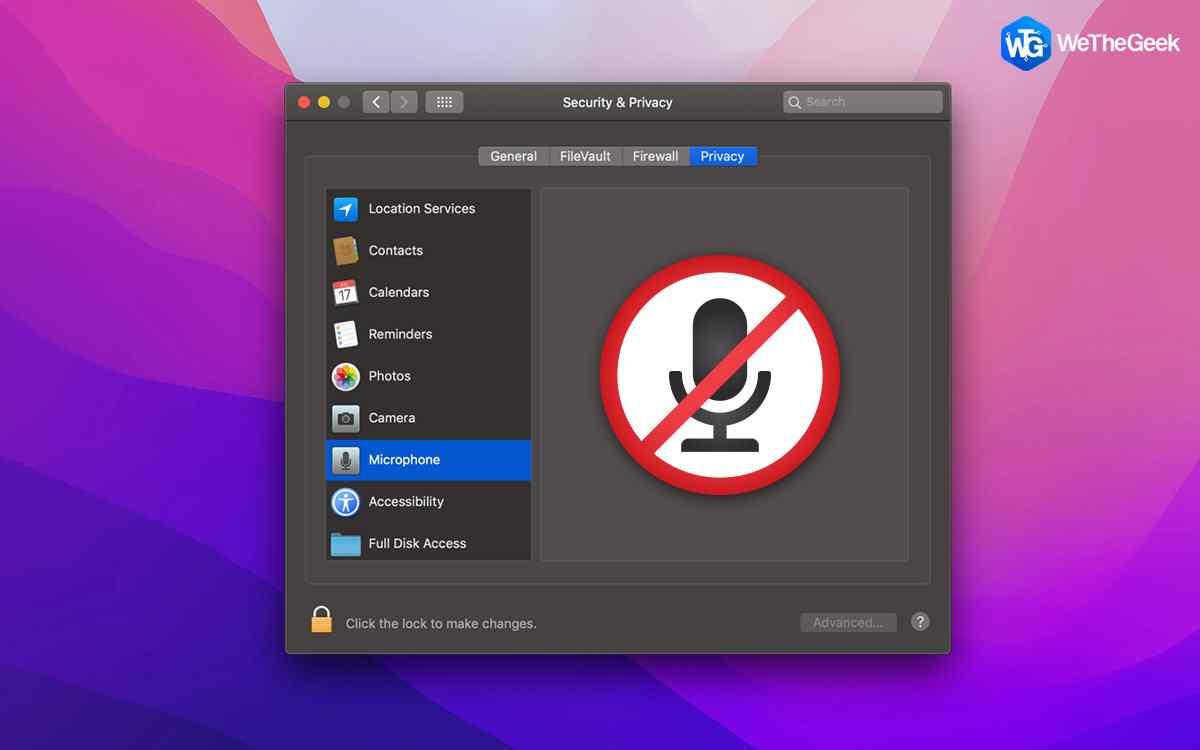
Solution 2: Grant Permission Access to Microphone
If the microphone permission has been disabled somehow, you may not be able to make any calls using the internal microphone. To alter this setting, follow these quick steps:
Tap the Apple icon placed on the top menu bar and select “System Preferences”.
Tap on “Security and Privacy” and then select “Microphone”.

Check on all the apps to grant microphone permission that you intend to use on your Mac.
Solution 3: Enable the Dictation
Enabling the dictation feature on macOS can also help you in fixing the microphone not working issue.
Open the System Preferences window and select “Keyboard”.

In the Keyboard settings window, switch to the “Dictation” tab.
Turn on the dictation and check if this hack works.
Also read: How To Fix Internal Microphone is Missing Error on Windows 11/10
Solution 4: Reset PRAM
PRAM (Parameter Random Access Memory) is a special type of non-volatile memory of Mac that is responsible for storing vital system settings. Hence, resetting the PRAM can help you resolve the microphone not working on Mac issue within no time. Here’s what you need to do:
Power OFF your Mac and remove all the external devices.
Now, when you turn ON your device, hold the Command + Option + P + R key combination for about 20 seconds.

Once you hear the beep sound, release the keys and reboot your Mac normally.
Check whether the microphone is working after resetting the PRAM.
Also read: How to Reset NVRAM, PRAM, SMC on a Mac
Solution 5: Boot Mac in Safe Mode
Tried the above-listed methods and still no luck? Well, booting your Mac in Safe Mode might help. Follow these quick steps to boot Mac in Safe Mode.
Shut down your device.
Now, tap the Power button and turn ON your Mac while holding the “Shift” key.

Enter your Apple ID and password so that your Mac can boot in Safe Mode.
Launch any microphone-enabled app that you intend to use and check if the issue was resolved.
Also read: Must-Have Audio Recording Software For Mac (2022 Picks)
Conclusion
Here were a few simple solutions to fix the “Microphone not working on Mac” issue. Also, make sure that you using the latest version of macOS Monterey on your device. To check for available updates tap on the Apple icon> About this Mac> Software Update. If any update is available for your device, download and install it right away! If you are still facing microphone-related issues on your Mac, then get your device physically checked at a nearby Apple Support.
Follow us on social media – Facebook, Instagram and YouTube.