Recently switched to macOS? Missing the Print Screen button offered by Windows? Well, you’re not alone. Windows users are quite familiar with the Print Screen button and its functionality. It used to work as a go-to button that we used for quickly capturing a screenshot. Although macOS does not offer you a Print Screen button that doesn’t mean that you cannot take a screenshot on your Mac.
Wondering how to print screen on a Mac? In this post, we have listed 4 intuitive ways that you can use for capturing screenshots on Mac. By using a handful of keyboard shortcuts on Mac, you can achieve similar functionality as the Print Screen button.
Let’s get started.
Also read: How to Crop a Screenshot on Mac
How to Use Print Screen on a Mac
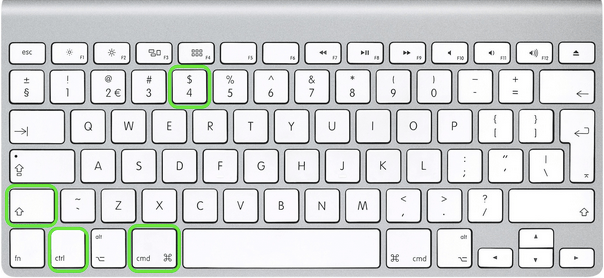
Method #1: Entire Screen
To capture the entire screen and save it on the clipboard, press the Command + Control + Shift + 3 key combination.
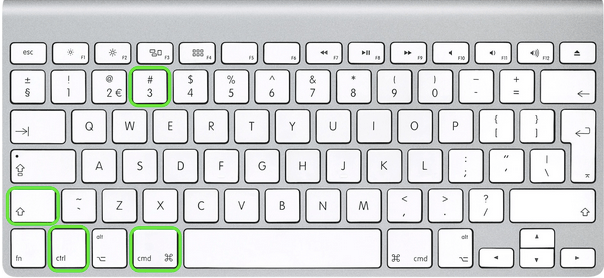
After pressing this combination, you can simply paste the file on any app by using the Command + V keys.
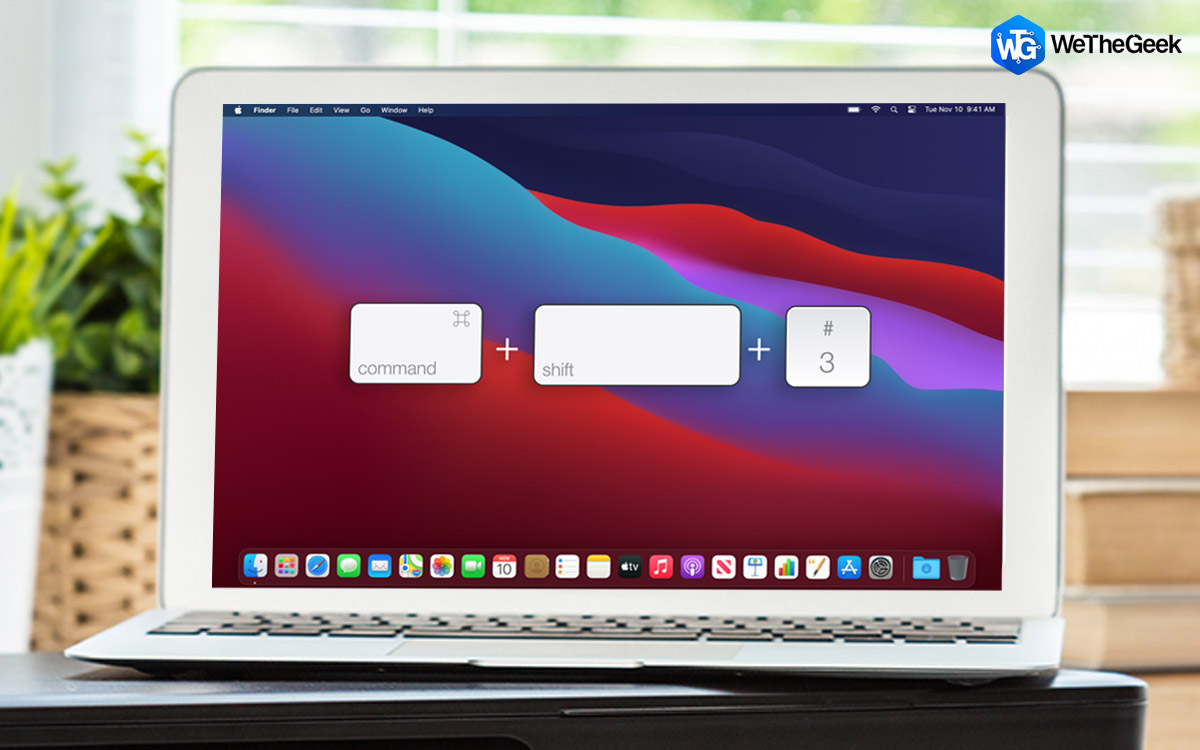
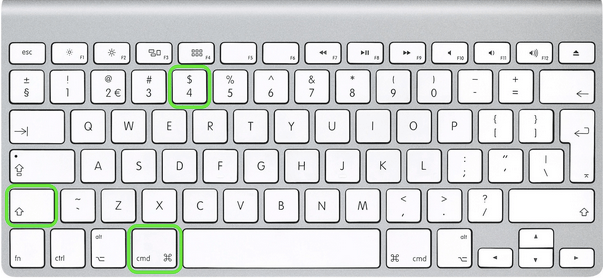
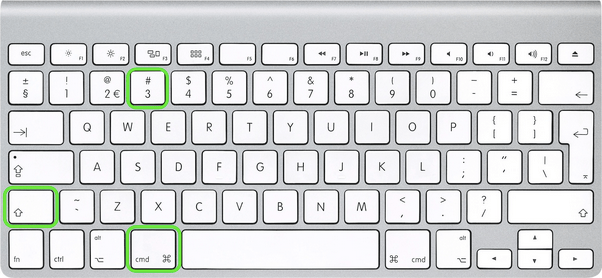
Alternatively, if you want to capture the entire screen but want to save it as a separate file instead, press Command + Shift + 3. Using this combination will capture the entire screen and the screenshot file will be automatically saved on the Desktop.
Also read: 5 Ways To Take Screenshots On Windows 11
Method #2: Selected Area of the Screen
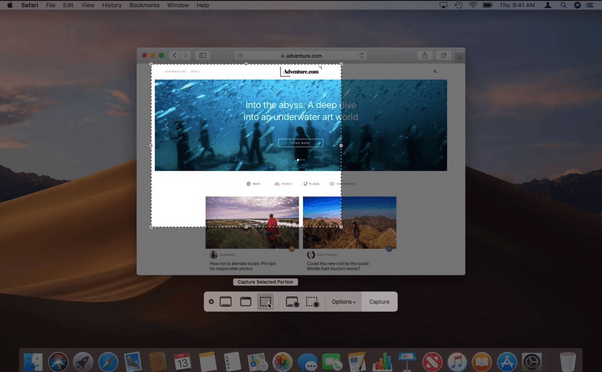
If you don’t want to capture the entire screen and only wish to screenshot a selected area then this method can prove to be super useful. This method is slightly advanced compared to Method #1 but once you get used to it, it can help you save a lot of time which you would have invested in cropping the screenshot file. To print on a Mac of a selected area using keyboard shortcuts, follow these steps:
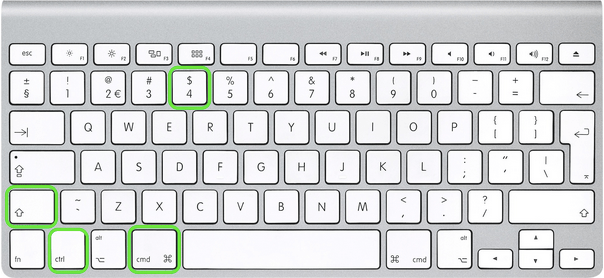
Press the Command + Control + Shift + 4 key combination and then start dragging your mouse to capture a selected area of the screen.
While you’re making the selection, you will notice that the mouse cursor icon will be changed into a “+” icon. Right next to the “+” icon, the pixel coordinates will also be displayed while you move the pointer.
Make your selection while dragging the mouse and once you’re done release the mouse keys.
And that’s it! The selected area of the screenshot will be copied to the clipboard as soon as you release the mouse keys.
If you want to save the screenshot as a separate file on the desktop, press the Command + Shift + 4 key combination.
Drag your mouse to select a specific part of the screen and then release the mouse keys when you’re done. As soon you release the mouse keys, the screenshot will automatically be saved on the desktop as a separate file.
Also read: How To Screenshot On Snapchat Without Them Knowing 2021: 8 Proven Ways
Method #3 (For Applications)
The next method to print screen on a Mac is intended if you want to capture screenshots from specific applications like Keynote, Notes, Numbers, or the web browser.
Press the Command + Shift + Control + 4 + Space Bar + Mouse click to take screenshot from a particular application.
Using this key combination will copy the screenshot to your Mac’s clipboard and you can use it anywhere.
To save the screenshot as a separate file, press Command + Shift + 4 + Space Bar + Mouse click to save the file on the desktop.
Method #4 Change Image Format
By default Mac stores screenshots in the PNG format. PNG files are usually pretty big compared to JPG format. So, if you have a Mac with a big retina display, changing the screenshot in the Terminal will save all the files in JPG format.
Head on to Applications> Utilities> Terminal.
Copy and paste the following command in Terminal and hit Enter to execute it:
defaults write com.apple.screencapture type jpg
Conclusion
Here were the 4 methods that you can use to print screen on a Mac. Alternatively, you can also download and install a few third-party apps to get the job done. A plethora of screenshot capturing apps are available online like Skitch, LightShot, Snappy, etc. that you can use to quickly capture a screenshot, crop, resize or edit the image file on macOS.
Which method do you usually prefer to capture screenshots on Mac? Feel free to use the comments space!