
You may be amazed to know but there are various techniques to crop a screenshot on Mac. Yes, you heard that right. Capturing screenshots on macOS is a quite straightforward process. You can easily capture different parts of the screen or the entire screen by taking a screenshot. All the screenshots that you capture are automatically stored as image files on your Mac’s desktop for easy access.
But yes, aren’t there a few times when you need to crop or edit a screenshot to get rid of the unwanted part of the image? Well, yes, to make sure that you focus on only the essential part of the screenshot, you may feel the urge to improve the framing or composition of the image file.
Also read: 5 Ways To Take Screenshots On Windows 11
In this post, we have covered a step by step by guide listing various ways on how to crop a screenshot on Mac.
Let’s get started.
Shortcuts to Capture Screenshots on Mac
Before you begin, let’s learn about a few shortcuts that will allow you to quickly capture screenshots on macOS.
Command + Shift + 3: Pressing this key combination on your Mac’s keypad will capture the entire screenshot of the entire screen. This is almost familiar to the “Print Screen” functionality on Windows.
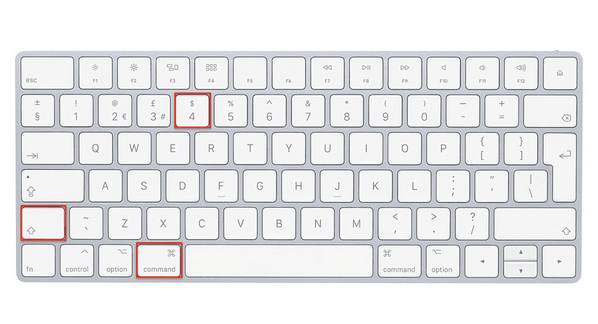
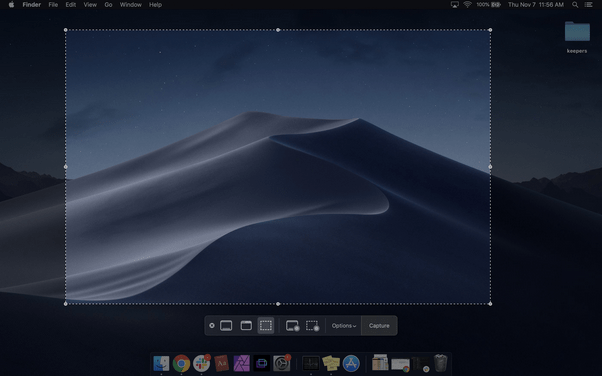
Command + Shift + 4: This combination can be used to capture a specific part of the screen.
Command + Shift + 5: Once you press this combination, a screenshot toolbar will appear on the screen that you can use for taking screenshots.
Also read: How To Fix Screenshot On Mac Not Working Problem
How to Crop a Screenshot on Mac
So, once the screenshot has been captured, here are a few ways to crop screenshots on macOS to modify the image file.
1. Thumbnail Method
One of the easiest ways to capture a screenshot on Mac is by using the thumbnail method. Here’s what you need to do.
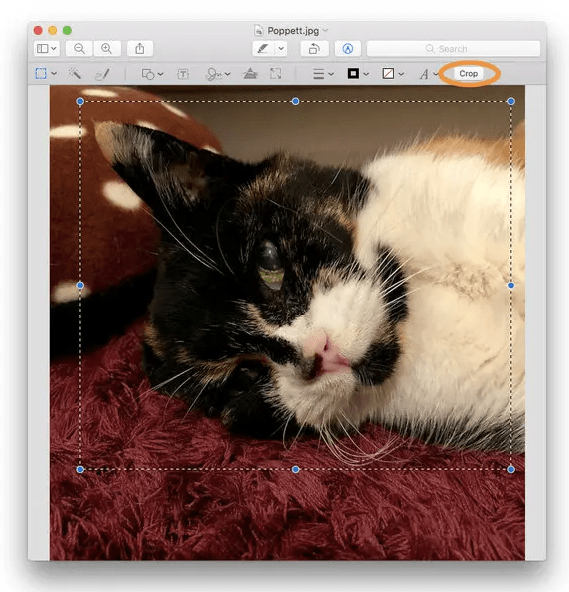
Once you take the screenshot, you will see a thumbnail icon on the corner of the image file. Tap on it and select the Crop button.
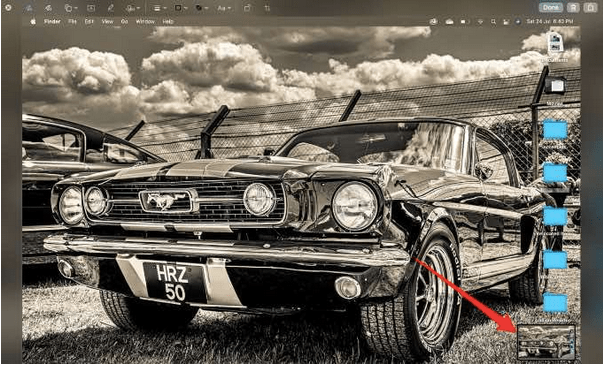
After you move into the crop mode, you will see a border around your image file. Drag any corner of the screenshot file in the desired proportion. The white area that you’re seeing on the screen will be your saved content.
Click anywhere on the screen once you’re done and the cropped screenshot will be instantly saved on the Desktop.
And that’s it!
Also read: How To Capture Screenshot On Chromebook?
2. Preview
Missed clicking on the thumbnail icon after capturing a screenshot on Mac? Don’t worry! You can still crop a screenshot on Mac using Mac’s Preview app. The thumbnail icon disappears right after a few seconds after capturing a screenshot. So, in case you missed it, follow these quick steps to get started:
Open Mac’s Preview app, browse to the screenshot file’s location to open the image file in the Preview window.
Tap on the “Show Markup Toolbar” option.
Once you see the rectangular section on the screen, drag any corner to select the desired proportion of the screenshot. Select the area that you want to keep and then hit the “Crop” button to modify the screenshot file.
Alternatively, you can also head to Tools> Crop menu to crop a screenshot on Mac.
To save the screenshot, tap on the File menu and then select “Save” to save the cropped screenshot.
Also read: How To Take Screenshots And Record Your Screen On macOS?
3. Photos App
You can also use Mac’s default Photos app to crop screenshots on Mac. The Photos app on Mac comes with a variety of built-in tools and features that you can use to crop the image file.
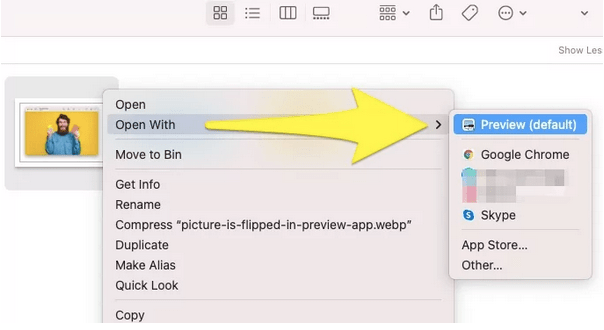
Locate the image file on the Desktop, right-click on it and select Open With> Photos.
Once the screenshot file opens in the Photos app, hit on the “Edit” button placed on the top-right corner of the screen.
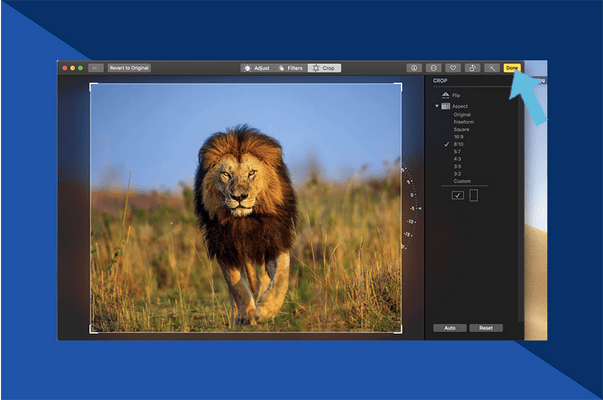
Tap on the “Crop” button on the menu bar.
Drag the portions of the file to crop the image. If you are not satisfied with the recent changes, you can also use the “Revert to Original” option to undo your last operation.
Hit on the “Done” button after cropping the screenshot to save your file.
Use Third-party Tools to Crop Screenshots on Mac
You can even use a third-party tool to crop screenshots on Mac. A myriad of screenshot editing tools is available online. Download and install Skitch on your Mac, a simple, easy-to-use screenshot editor tool that will allow you to crop a screenshot on Mac.
Launch the Skitch app on your Mac and follow these quick steps.
Tap on the arrow icon placed next to the “Screen snap” button. Select the “Open an image or PDF” option to open the screenshot in Skitch.
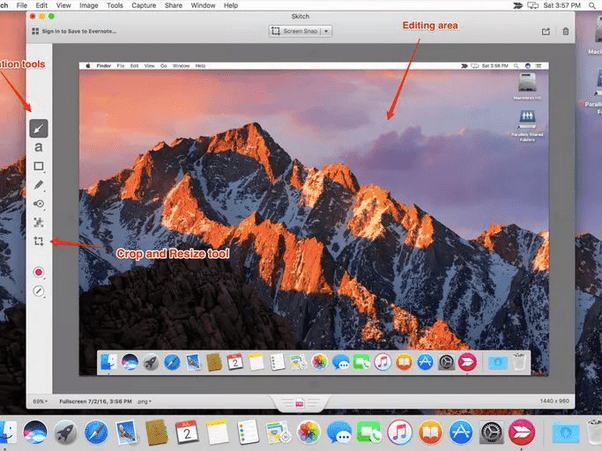
On the left toolbar, select the “Crop” icon.
Drag the corners to select the desired proportion of the file. Tap on “Apply” when done.
To save the cropped screenshot, navigate to File> Export.
Also read: How To Take A Screenshot With The iPad Pro
Conclusion
So fellas here were a few ways to crop a screenshot on Mac using built-in tools or third-party software, whichever way you prefer. You can use any of the above-listed methods to customize the screenshot file and focus on what matters.
For any other queries or assistance, feel free to use the comments section.