
Chromebooks are simple, uncomplicated machines that are designed to make their user’s tasks and life easier. However, being the newest kid on the block, there are some features that most of us are not aware of. Most of us know how to capture a screenshot on a Windows or Apple computer, but those ways won’t work when it comes to capturing a screenshot on Chromebook. But that does not mean it is not possible or difficult, in fact, it is much easier and there are multiple options to customize the screenshot as well. Before I describe all the methods to take a screenshot on Google Chromebook, there is a keyboard key that I would like to tell you about first.
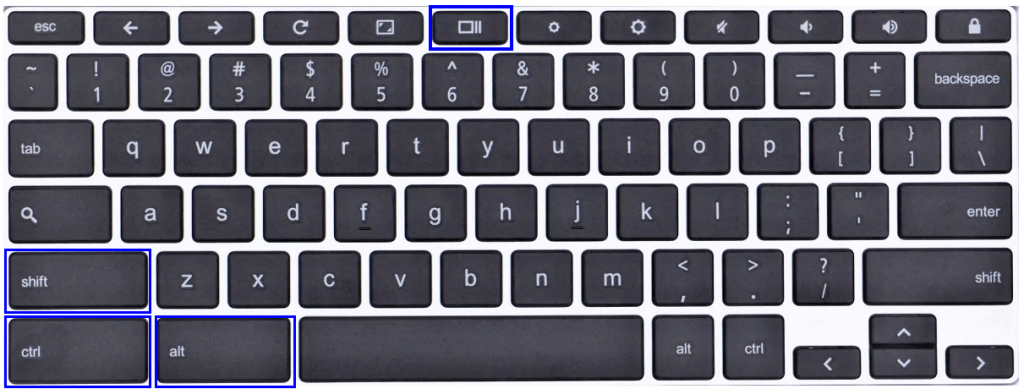
The keys that will be used on the Chromebook keyboard are the CTRL, ALT, Shift and the Overview Key.
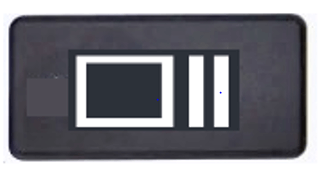
The Overview Key which is the 5th or the 6th key placed on the topmost row of the Chromebook Keyboard. It is also called Show Windows or Windows Switch key. It is generally placed on top of the number 6 key in the keyboard. Google’s own description of this key is “Show all windows in Overview mode.”
Note: If you have connected an external Windows keyboard, then the F5 key will be your Overview key. This would mean that you will have to press the F5 key in place of the Overview key.
Methods to capture a screenshot on Google Chromebook
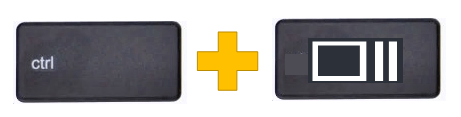
Method 1: Full Screenshot on Chromebook.
To do a print screen on Chromebook, press the CTRL and Overview button together. The entire screen will be captured, and the resultant image will be saved in the Download folder by default unless specified otherwise. This is the easiest way to screen capture on Chromebook.
Method 2: Screenshot of the Active Window.
Chromebook also allows its users to capture the screenshot of a particular program window only instead of the entire screen. This reduces the time and effort to crop the full- screen capture image into the required image. To acquire an active window screen capture on Chromebook, press the CTRL, ALT & Overview button simultaneously. Then, use your mouse to select the window on the screen to take a screenshot on Chromebook.

Method 3: Partial Screenshot on Chromebook.
Like Windows, Chromebook also has a snipping tool feature that can be easily activated by pressing a few keys on the keyboard. This lets the users select a small area of the screen freely and capture a screenshot of that section only. To capture a portion of the screen only, press CTRL, Shift & Overview button together. This action will result in a dimming of the entire screen, allowing the user to capture a screenshot on Google Chromebook.

Method 4: How to Take Screenshot on Chromebook in Tablet mode.
If you can fold your screen all the way back, it means you have converted your Chromebook into a tablet, then taking a screenshot is similar to taking a screenshot on your mobile phone. Just press the power button and any one of the volume buttons at once. This step will print the screen Chromebook and capture a full-screen screenshot.
Note: All the screenshots taken by any of the above four methods will be automatically saved to the default Downloads folder. Chrome OS prefers a PNG image format over others and the naming convention followed by Google includes the Name, Date and Time of the screenshot captured.
Also Read: How to Speed up your Chromebook?
Use Chrome Browser Extensions To Obtain Screenshots On Chromebook.
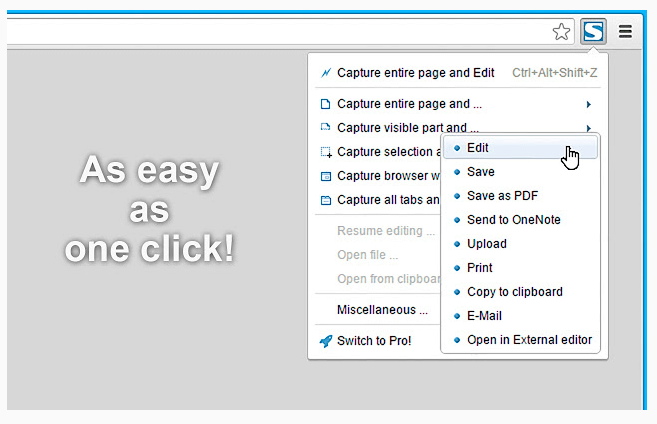
The Google Chrome Browser is one of the most advanced browsers in the world, and it allows users and developers across the globe to develop extensions for Chrome. This enhances the existing functionalities of Chrome as new features are added to it in the form of add-ons and extensions. Some of these extensions can assist the users to take screenshots like:
Lightshot: This lightweight extension allows the user to take a screenshot of any part of the screen. The screenshot captured then can be edited in the extension interface and saved either on the hard drive or over cloud storage. It is free to install and is one of the easiest ways to screen capture Chromebook.

FireShot: Allows you to save the entire page as one screenshot. The final image can be saved in multiple formats, including PDF with links. The screenshots can also directly be shared by OneNote or Gmail. With so many functions, this extension becomes a must for capturing a screenshot on Google Chromebook.
Awesome Screenshot: This extension not only allows you to take a screenshot on Chromebook but also capture a video recording and share your screen with others. It also has a feature to blur some portion if you do not want others to see it. Awesome Screenshot also includes image annotations with text, lines, circles, and other shapes.
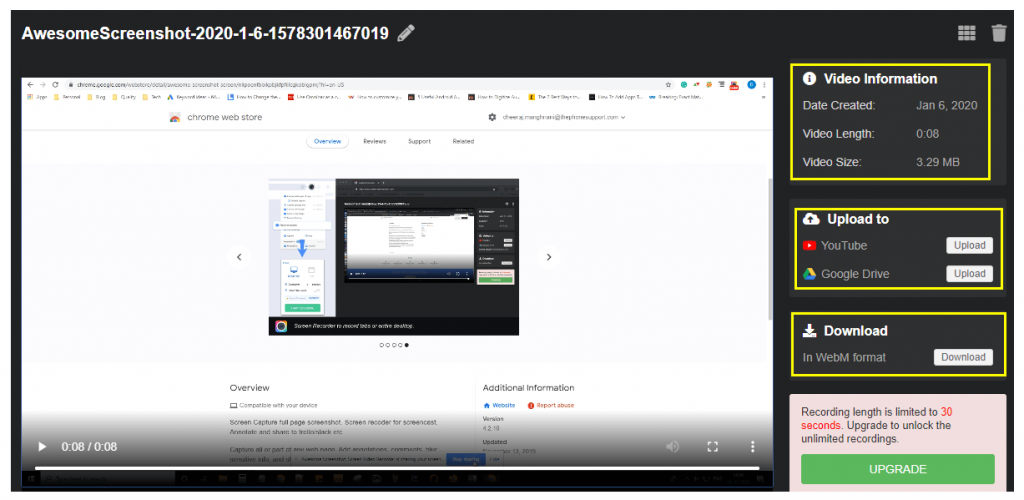
The screen recording can be of 30 secs in the free version and for than 30 secs, you will have to upgrade to Pro version. The video recording can be saved on your computer to uploaded to Google Drive and YouTube Directly from the browser.
How To Take Screenshot On Chromebook Using An Android App?
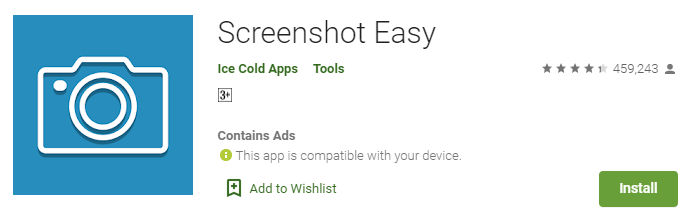
Chromebooks, like other Android devices, can install apps from Google Play Store. One such Chromebook compatible app is Screenshot Easy. It has a folder view which makes it easier to browse the screenshots and users can also edit it with built-in tools.
How To Take Screenshot On Chromebook Using The Stylus?
If you have a stylus with your tablet, then you can take a screenshot with the help of the stylus by following these steps:
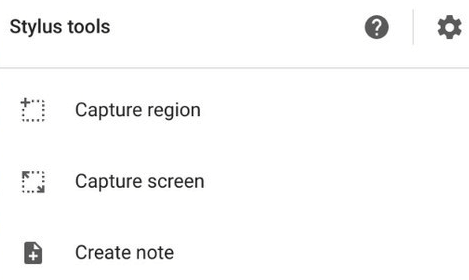
Step 1. Locate the Stylus Button at the bottom of the screen and tap it once.
Step 2. From the options, select Capture Screen and you will be able to capture the entire screen in an image.
Step 3. Else select Capture Region and use your stylus to mark the region you wish to capture.
Note: all the screenshots captured by any methods described above are automatically placed in the Downloads folder. Also, unlike Windows, the captured screenshots will not be copied into the memory of the Chromebook, and hence will not be pasted if you press CTRL + V.
How To Edit The Saved Screenshots On Chromebook?
Once you have located the Saved screenshots in the Download folder, you can share them or use them as you wish. But if you want to edit them then, you can follow these steps:
Step 1. Double -click on any image you wish to edit, and it will open in the image viewer.
Step 2. Next, locate the Pen icon in the right bottom corner of the Window, and tap on it. You will enter the edit mode and will find various in-built tools available. With these tools, you can crop, rotate, adjust brightness and do much more on your screenshots.
Step 3. Click the pen icon again to exit the edit mode.
Note: All the changes made in the edit mode will reflect on the original image, and you will not be able to save these changes as a copy while keeping the original one intact. Hence, make a copy of the image before editing it.
Taking Screenshots On Chromebook Is Now Easy.
Chromebook, featuring Chrome OS is easy to use the computer and you will master it in no-time. It was designed to avoid the complications faced by users on a Windows Laptop or a MacBook. However, there are few changes, like the absence of a Print Screen button, something we have been using for ages on a Windows machine. But the Chromebook provides more options than a simple screenshot and by using extensions, one can even capture screen recording as well. If you face any issues or are not sure how to carry out any task on your Chromebook, then drop us a note in the comments section below.