Want to upgrade your PC’s performance without spending an extra penny? Well, yes, no matter how crazy it sounds but it’s achievable through overclocking. Overclocking your CPU is a great way to make your PC run faster and enhance its performance.
We do understand that most of you must not be ready for an expensive upgrade. Isn’t it? So, choosing to overclock is an affordable way to experiment with your CPU to use to its maximum capabilities.
Let’s learn all about what is overclocking, how to overclock your CPU on Windows, and everything else that you should know.
What is Overclocking?
Before we begin the overclocking process, let’s learn a little about this terminology. In the computing world, overclocking is a process where you increase the clock rate of your device to make it perform at accelerated speed and performance. You can easily overclock the CPU by making some quick changes in the BIOS settings of your Windows OS.
A lot of tech geeks undertake the overclocking just for the thrill of it to enjoy using their device at maximum capabilities and potentially better performance.
Also read: Want To Overclock CPU? The Best Tips You Must Know
How to Overclock the CPU on Windows
Ready to overclock your Windows PC? But yes, we would still recommend you to make a quick Google search about whether your CPU qualifies and supports overclocking. If yes, then go for it!
Also, if you have no idea about your processor’s name, model/make, here’s a quick way to find out all the relevant information.
Launch the Start menu search box, type “Dxdiag” and hit Enter to open the DirectX Diagnostic Tool.

Once the tool opens, switch to the “System” tab. Look for the “Processor” option and right next to it you can find your processor’s name. Copy and paste the processor’s name and make a Google search whether it supports overclocking.
Check Your CPU’s Speed and Performance
So, looks like everything is going as planned, and if you’ve finally decided to Overclock your Windows PC. Before we proceed, let’s take a quick note of your CPU’s current speed and performance so that we have at least something in hand to compare with later. Let’s begin!
Open Windows Task Manager, switch to the “Performance” tab.
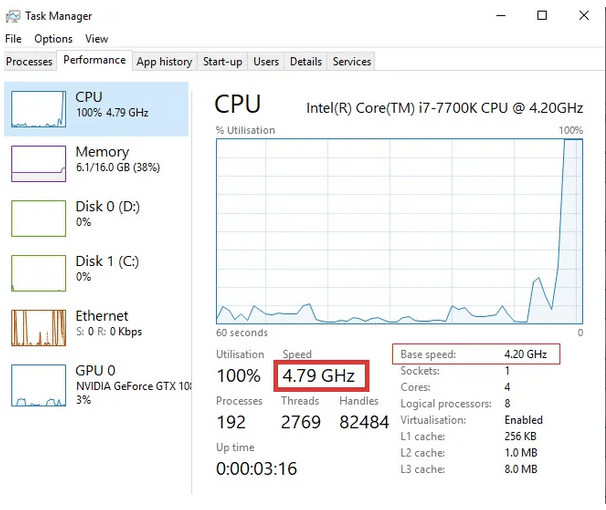
In the Performance tab, look for the CPU speed and compare it to the base speed. These values keep on fluctuating so wait for a little time before you make the final call.
Also read: How To Fix 100% CPU Usage In Windows
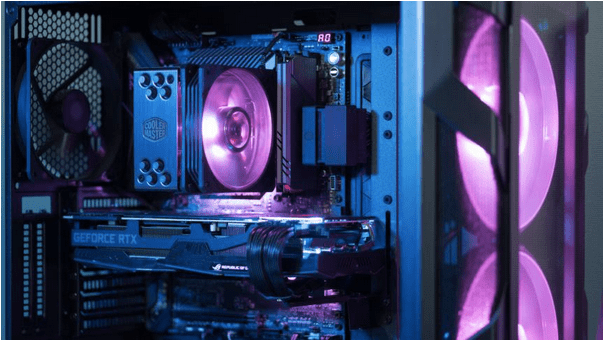
Make Arrangements for “Cooling”
Overclocking may considerably raise the temperature and generate a lot of heat in the CPU. Hence, cooling is one of the most important aspects when you decide to overclock your PC. You certainly need to ensure that your CPU is getting enough cooling and has an in-built cooling fan that takes care of the heated CPU environment.
Also, you may need a good amount of space for the hot air to sink away. So, if you’re deciding to undergo the overclocking process on a laptop then it may be a bad idea. There’s not enough space on a laptop to handle all the heat that may be generated after overclocking your device.
Also read: Best CPU Temperature Monitor Software For Windows 10, 7, 8 PC
Run a System Stress Test
Overclocking a CPU requires a lot of stress testing to get confident enough about everything falling into the right place.
To run a system stress test, download the GIMPS Prime95 tool on your Windows device. Prime95 has always been a popular choice for most users when it comes to trying overclocking.
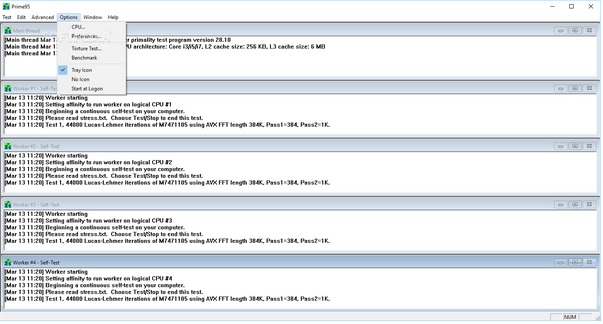
Simply download the Prime95 tool on your device and then run the Prime95 executable file to begin.
Select the “Just Stress Testing” option to run a stress test on your Windows PC. It will take about 1-2 hours until the stress test is completed.
Also read: How to Choose the Best Mac Based on Processor & Turbo Boost?
Customize the BIOS Settings
To enter the BIOS configuration on a Windows PC, follow these quick steps:
Open Windows 10 Settings, select “Update and Security”. Switch to the “Recovery” tab from the left menu pane.
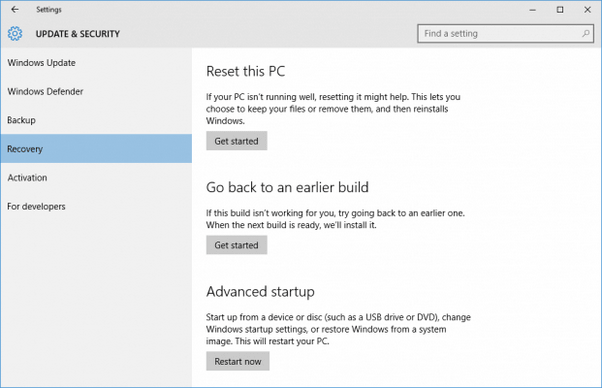
Under the “Advanced Startup” section, hit the “Restart” button placed underneath.

The advanced recovery options will now be listed on the screen. Tap on “Troubleshoot”.
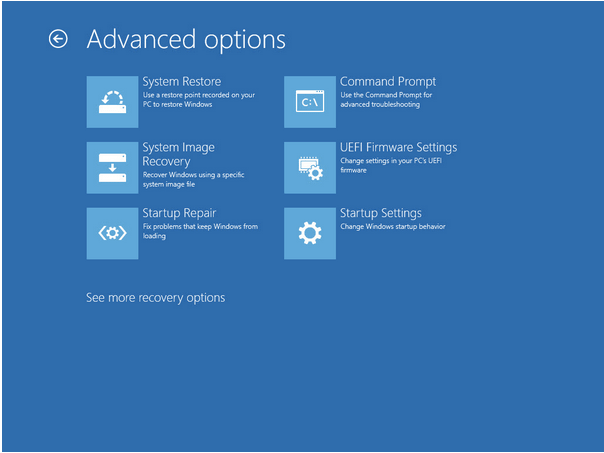
Tap on “Advanced Options” and then select the “UEFI Firmware settings” option.
Once the BIOS settings load, select “Advanced Frequency”.
For overclocking, we just need to focus on two things. One is the CPU Base Clock and the other is the CPU clock ratio.
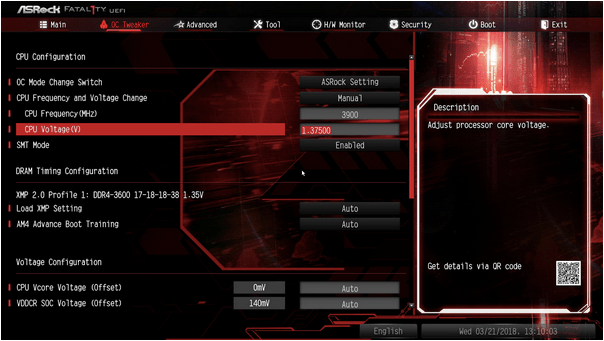
As the tech experts say, you should start with a 4.7GHz value and then keep increasing the value slowly after running the Prime92 stress test. You can even run the Prime92 stress test multiple times to make sure that your device is stable after increasing the clock ratio values.
P.S. Keep a close look at your device’s temperature and make sure it does not rise above 80 degrees as it may prove out to be harmful to your device. A value of 1.35 CPU voltage is considered reasonably safe and will prevent the situation from going out of hand.
Is it Good to Overclock your CPU?
Well, if you already own a new machine then there’s no need to push its limits. But yes, if you have an older device, then overclocking can prove out to be an efficient way to max its speed and performance.
Also read: Best Overclocking Software For Windows PC!
Is it Dangerous to overclock a CPU?
Overclocking is considered as playing with fire and does put your machine at high risk of CPU failure. On the other hand, overclocking is also proved as a great way to enjoy maximum performance on your device. Especially, if you use heavy video editing software, play games, or operate advanced applications with heavy on-screen activities then in that case overclocking sounds like a good idea.
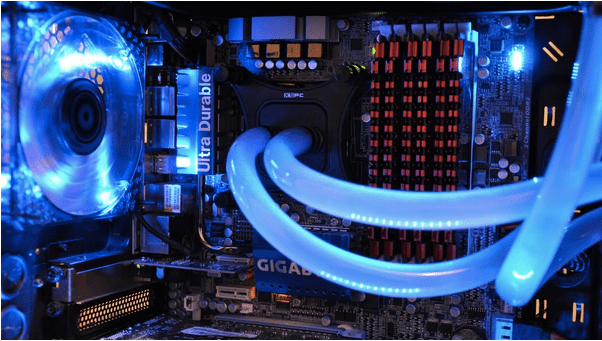
Does overclocking damage RAM?

Overclocking does heat up the CPU temperature and that’s a fact. Experts recommend that your device tends to perform better at a cooler temperature. So, to protect your RAM when you’re overclocking, it is advised that you embed a fan or water-based cooler in the CPU that keeps the environment stable.
Does overclocking a CPU increase FPS?
Yes, you can expect a decent performance boost in FPS after overclocking your CPU. While working on heavy applications, you will experience reduced lag and an enhancement in your machine’s speed.
Download Systweak Antivirus
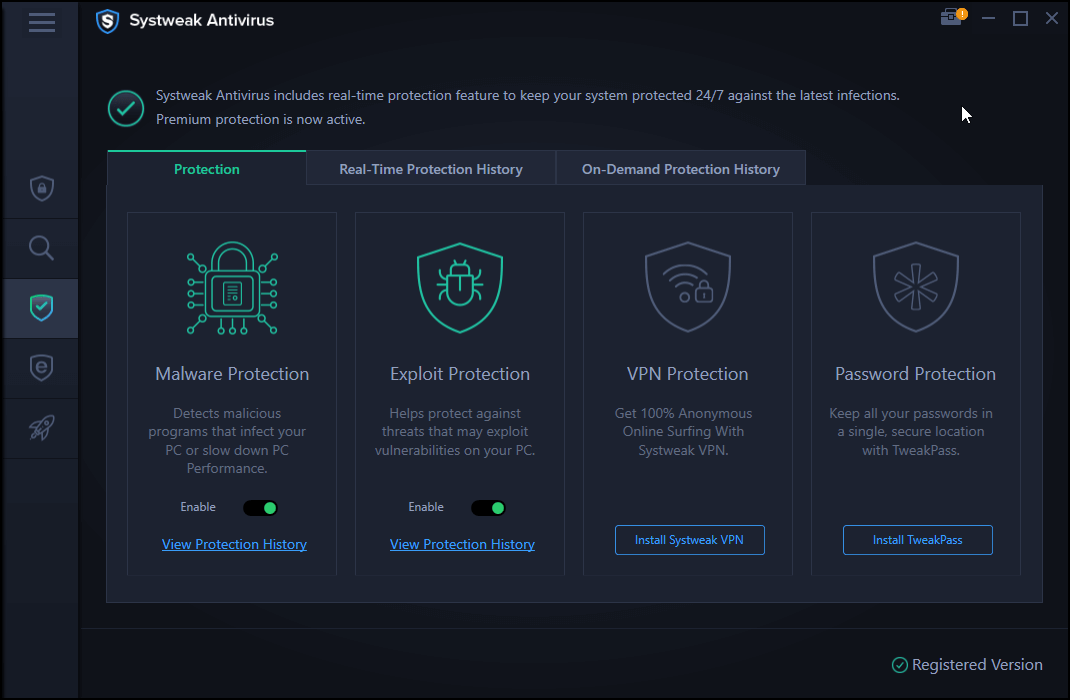

There’s no utter disappointment than working on a slow performing PC, right? Looking for a way to increase your device’s performance while keeping it 100% threat-free? Download Systweak Antivirus for Windows offering real-time protection against viruses, malware, spyware, trojans, and ransomware attacks. Systweak Antivirus is a comprehensive security tool that enhances your device’s performance by getting rid of unwanted startup items and programs.
Conclusion
Hope we’ve all come to an understanding that Overclocking simply pushes your machines past of its limits. Right? So, yes, it’s totally up to you whether you think it’s a risk worth taking or not. Although, yes, if you’re doing everything carefully considering the technical specifications of your device, overclocking can prove out to be magical!
Are you willing to overclock your CPU anytime soon? Feel free to share your thoughts in the comments box below.