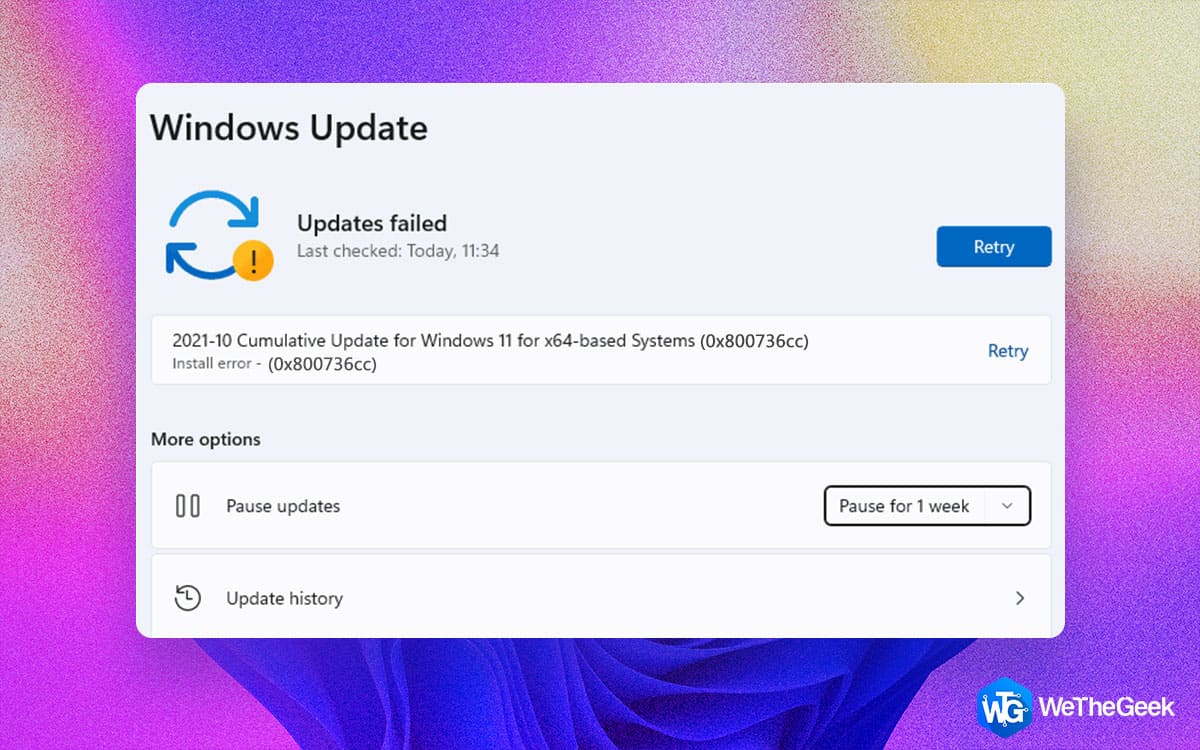
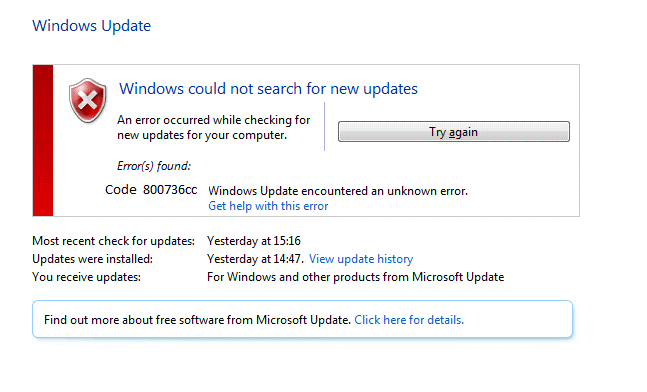
Updates include security patches, bug fixes, and other things, therefore they are crucial for the system’s smooth operation. However, if the update installation fails because of mismatched component files, it may have an impact on the system’s performance. System files connected to Windows Update that are corrupt or missing cause the error 0x800736CC to appear. But other factors, such as obsolete system drivers or interference from third-party apps, can also be to blame.
Also Read: How To Resolve 0x800700a1 Windows Update Error
Expert-Recommended Methods On How To Fix Windows 11 Update Error (0x800736cc)
Method 1: Use The Deployment Image And Servicing Management (DISM) Tool
The DISM tool is an amazing built-in utility that Microsoft has provided to fix system issues. It repairs the system images and fixes any corrupted system files. Here are the steps to use DISM to fix Windows 11 Update error.
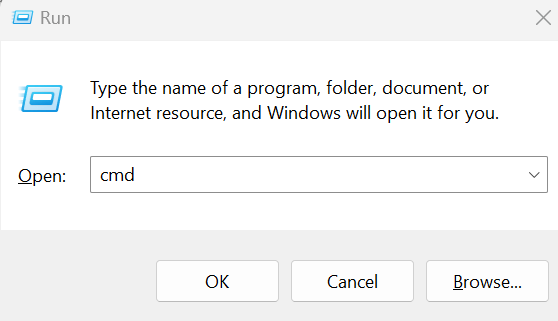
Step 1: Press Win + R to open the RUN box.
Step 2: Type cmd and press Ctrl + Shift + Enter to open the Command Prompt in admin mode.
Step 3: Next, type the following DISM command followed by the Enter Key.
DISM.exe /Online /Cleanup-image /Restorehealth
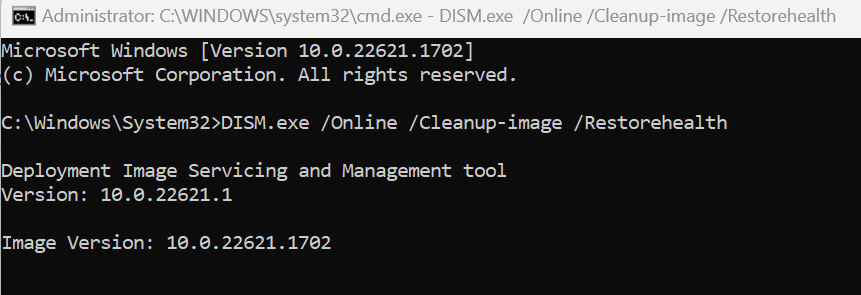
Note: You can copy the exact command from above and press Ctrl + V on the Command Prompt window to paste it.
Step 4: This command will take some time to run and replace the missing and corrupted system files with flawless ones.
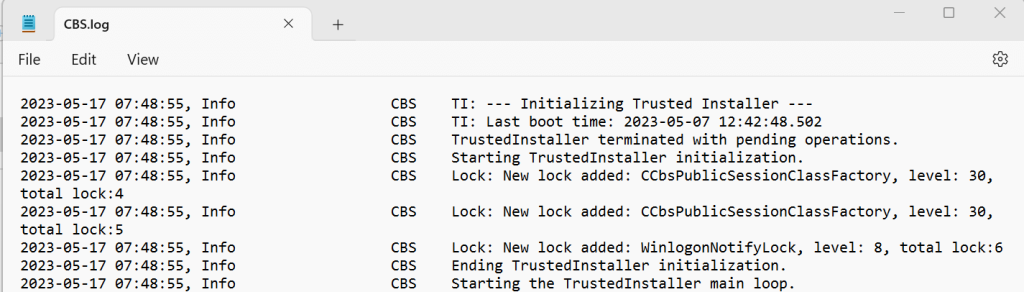
Step 5: After the process is complete you will also find a log file that will list the issues and fixes on your computer. This log file will be located in the following path:
%windir%/Logs/CBS/CBS.log
Step 6: Exit the Command Prompt window and reboot your PC.
Try to update your PC again from Settings and check if the issue has been resolved.
Also Read: How to Fix Windows Update Standalone Installer Error (0x80096002)
Method 2: Initiate The Windows Update Troubleshooter
After fixing your Windows Update files, you may use the Windows Update Troubleshooter to address any Windows Update-related problems. It will search for update-related issues, and if any are discovered, it will automatically apply the fix. It can, among other things, delete the contents of the SoftwareDistribution folder, check to see if the Windows Update services are operating, and clear undesirable temporary files. Here are the steps to run this troubleshooter:
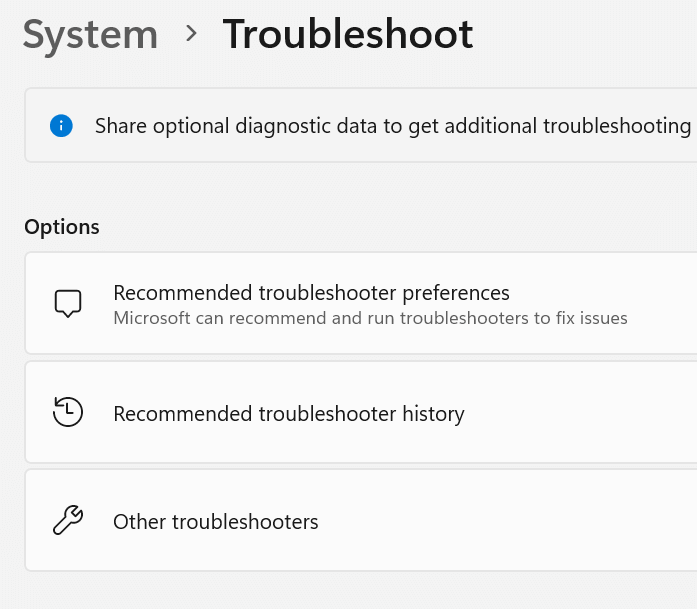
Step 1: Press Win + I to open the Windows Settings.
Step 2: Click on the System tab in the left panel and scroll down on the right side of the panel to locate and click on Troubleshoot.

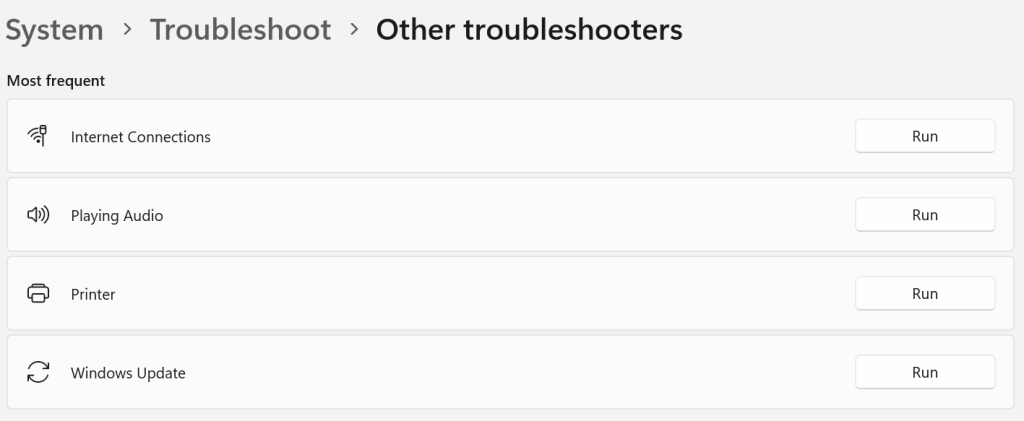
Step 3: Next, click on the Other Troubleshooters.
Step 4: Now, locate Windows Update in the list of troubleshooters and click on the RUN button next to it.
Step 5: Follow the onscreen instructions and reboot your PC.
Also Read:
How to Fix the Windows Update Troubleshooter Stuck on “Resolving Problems”
5 Easy Fixes to Resolve Windows Update Error 0x80072efe
Method 3: Reset Components Of Windows Update
It’s possible that the issue is caused by malfunctioning Windows Update components. To resolve the issue, we must first reset the Windows Update components by stopping the Windows Update services, renaming the SoftwareDistribution folder, and restarting the services. This is how to do it:
Step 1: Press Win + X to open the RUN box.
Step 2: Type cmd and press Ctrl + Shift + Enter to open the Command Prompt in admin mode.
Step 3: Next, type the commands listed below, one by one, and press Enter after each command.
net stop wuauserv
net stop cryptSvc
net stop bits
net stop msiserver
Step 4: Now, type these two below-mentioned commands one by one followed by Enter key after each one.
ren C:\Windows\SoftwareDistribution SoftwareDistribution.old
ren C:\Windows\System32\catroot2 Catroot2.old
Step 5: Finally, enter each of the following commands and press the Enter key after each command.
net start wuauserv
net start cryptSvc
net start bits
net start msiserver
Step 6: Exit the command prompt, restart your PC, and check if the issue persists.
Method 4: Manual Update
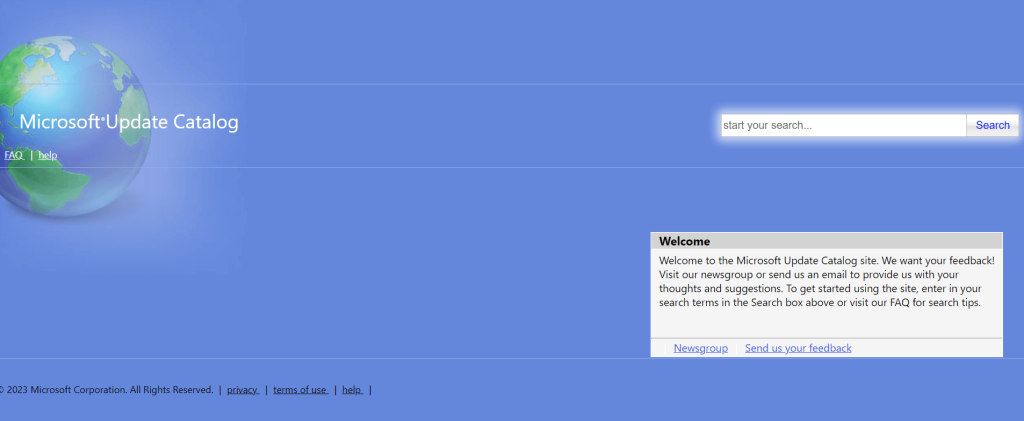
Visit the official Microsoft Update Catalog page to download and install the update automatically if the aforementioned fixes for install error 0x800736CC in Windows 11 do not work. Simply write down the update’s KB number, look it up in the Catalog, and download the most recent version based on your system architecture (32-bit/64-bit). To complete the installation, download the .msu file in the new window and adhere to the installation instructions there. Reboot your computer to apply the update.
Also Read: 9 Ways To Fix Windows Update Fails To Install Windows 11/10
The Final Word On How To Fix Windows 11 Update Error (0x800736cc)
Not enough disk space on the computer is one of the most common reasons as to why the Windows 11 Update fails. Other potential causes include a malfunctioning internet connection, damaged system files, stopped Windows Update services, malfunctioning Windows Update components, and more. Even though there are a variety of potential causes for why we have issues during Windows updates or upgrades, some errors are frequent and can be resolved by attempting the above-mentioned methods.
Please let us know in the comments below if you have any questions or recommendations. We would be delighted to provide you with a resolution. We frequently publish advice, tricks, and solutions to common tech-related problems. You can also find us on Facebook, Twitter, YouTube, Instagram, Flipboard, and Pinterest.
Suggested Reading: