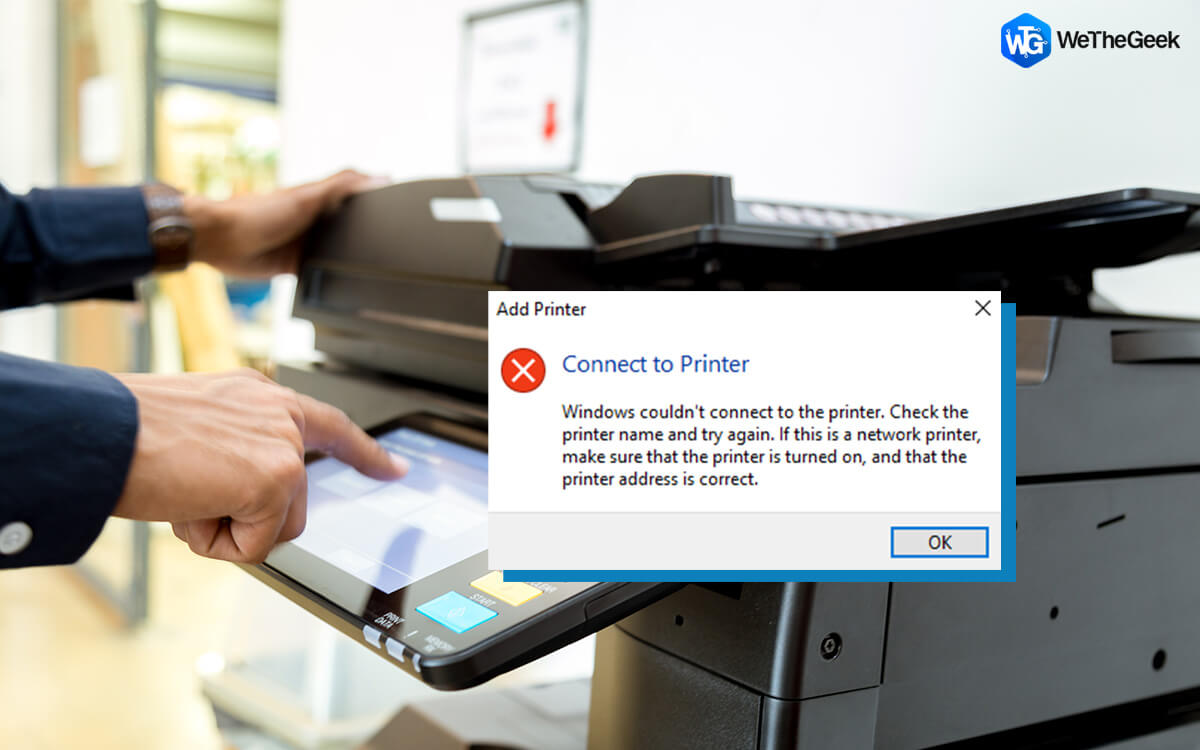
You may receive the error message “Windows Cannot Connect to the Printer” when your Windows PC is unable to connect to your printer. This prevents you from printing documents or managing your printer. If your printer is off, have outdated/missing/damaged printer drivers, or your PC has a minor bug, then you can get this error message. Once these problems are resolved, your PC may successfully connect to the printer and print those files.
Also Read: How to Fix the Printer Not Printing Issue?
Is Your Printer Not Responding? Here’s How to Fix the ‘Windows Cannot Connect to the Printer’ Error
Method 1: Reboot Your Devices
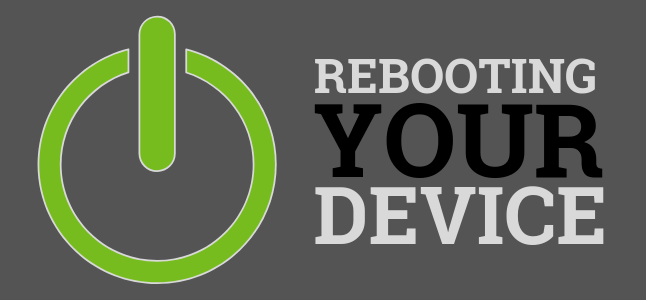
The first way to fix this issue is to restart your PC and printer. All you need to do is shut down the PC and Printer and wait for a minute or so. Then restart the printer and your computer and try to print again to check if you are still facing the “can’t connect to printer” error. When you restart your devices, it clears the temporary memory and thus resolves any unexpected conflicts that may have been caused.
Also Read: How to Fix Printer Offline Errors on Windows 11/10
Method 2: Use The Printer Troubleshooter
Microsoft provides built-in troubleshooters to all Windows users. These troubleshooters runs a through scan to identify common PC issues and fix them as well. Here are the steps to run the Printer troubleshooter to resolve the “Windows cannot connect to the printer” issue:
Note: Make sure your printer is switched on and connected to your computer before you perform the below steps.
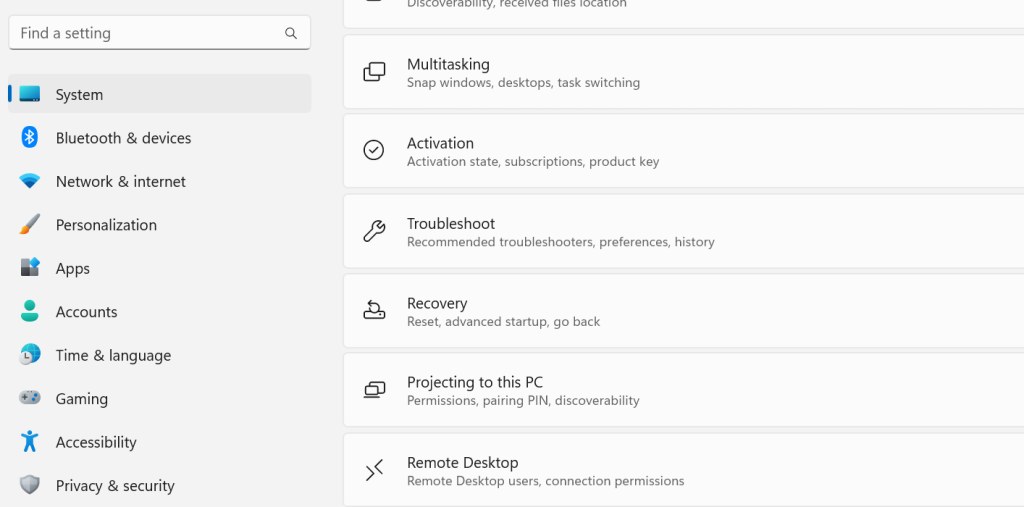
Step 1: Press Windows + I to open Settings.
Step 2: Click on System in the left panel and then scroll down to the right panel and click on Troubleshoot.
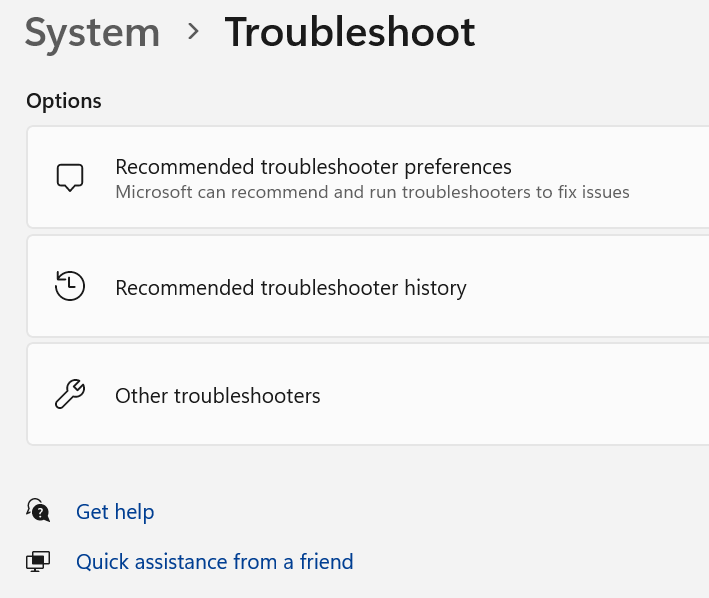
Step 3: Click on Other Troubleshooters on the right side.
Step 4: Now click on the Run button next to the Printer troubleshooter and follow the onscreen instructions.

Also Read: How To Fix Printer Driver Package Cannot Be Installed Error
Method 3: Check The Printer’s Spooler Service
The Printer Spooler service is responsible for maintaining the connection between the Printer and the computer. Simply, restart this service to fix all the associated issues with the same. Here are the steps to fix the “can’t connect to printer” error:
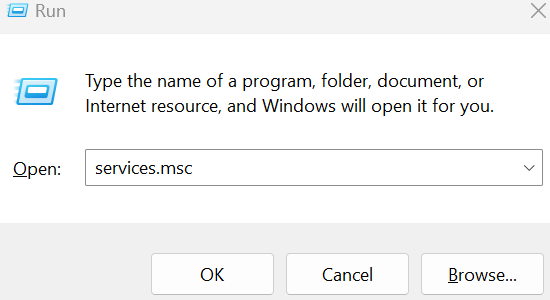
Step 1: Press Win + R to open the RUN box.
Step 2: Enter “services.msc” in the text box and then press the OK button.
Step 3: A new window will open where you have to locate the Printer Spooler service.
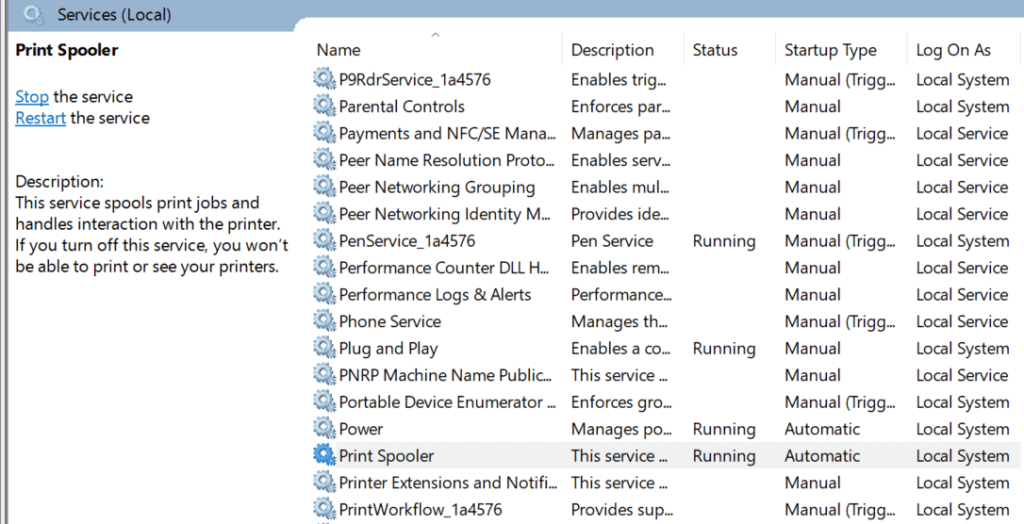
Step 4: Double-click on the service and a new box will further open.
Step 5: Click on the Stop button and wait for 10 seconds.
Step 6: Click on the Start button and close the windows related to Services.
You can now give the print command to check if the “Windows cannot connect to the Printer” error has been resolved.
Also Read: FIX: Wireless Printer Not Responding on Windows 11/10
Method 4: Update Windows
It has been noted that small bugs and errors can be fixed by updating Windows. Here are the steps to update your Windows:
Step 1: Press Win + I to open Settings.
Step 2: Click on Windows Updates in the left panel.
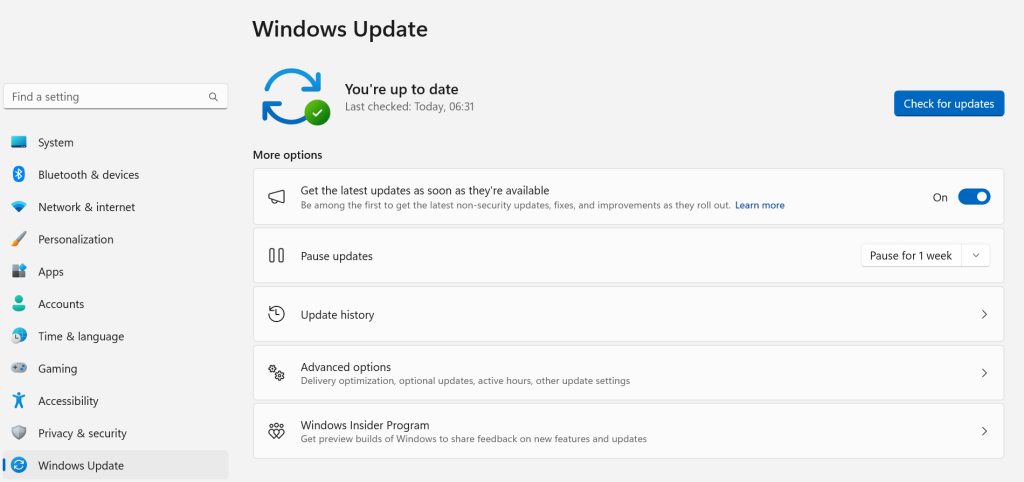
Step 3: Now click on the Check For Updates button in the ride section.
Step 4: Wait for Windows to connect to Microsoft Servers and find new updates.
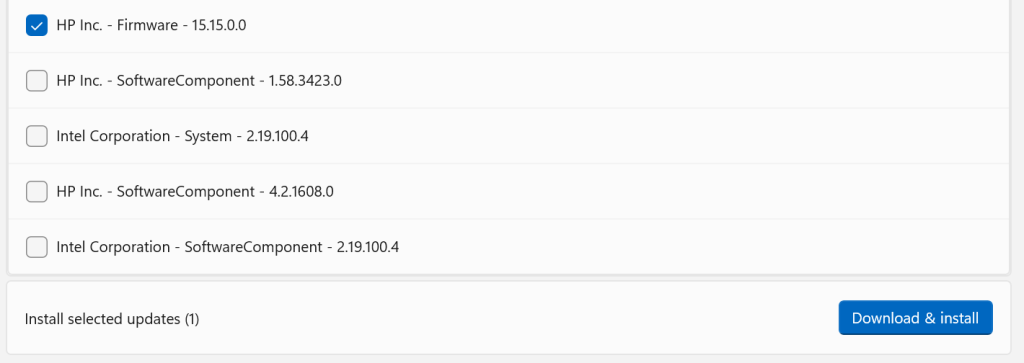
Step 5: Click on Download & Install button under each update to update your PC.
Step 6: Wait for the process to complete and then restart your computer.
You can now try to print something to check if the “Windows cannot connect to the Printer” error has been resolved or not.
Also Read: Unable to Remove Printer Device from Windows 10? Here’s the Fix!
Method 5: Update Printer Driver
The final method to fix the “can’t connect to printer” issue is to update the Printer drivers. For that, you can visit the official website of your Printer’s manufacturer and look for the latest driver according to your operating system. Then you can download it and install the driver on your PC.
Alternatively, we recommend using Advanced Driver Updater, a third-party driver updater that will scan your PC for all the potential driver anomalies and then update all the drivers to fix the problems. It also helps users to back up your old driver with a few mouse clicks. Here are the steps:
Step 1: Download & Install Advanced Driver Updater on your PC.

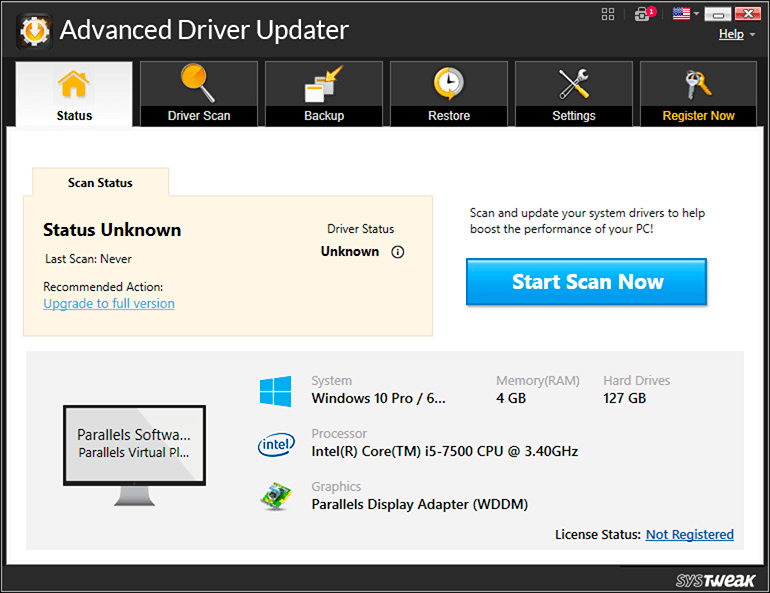
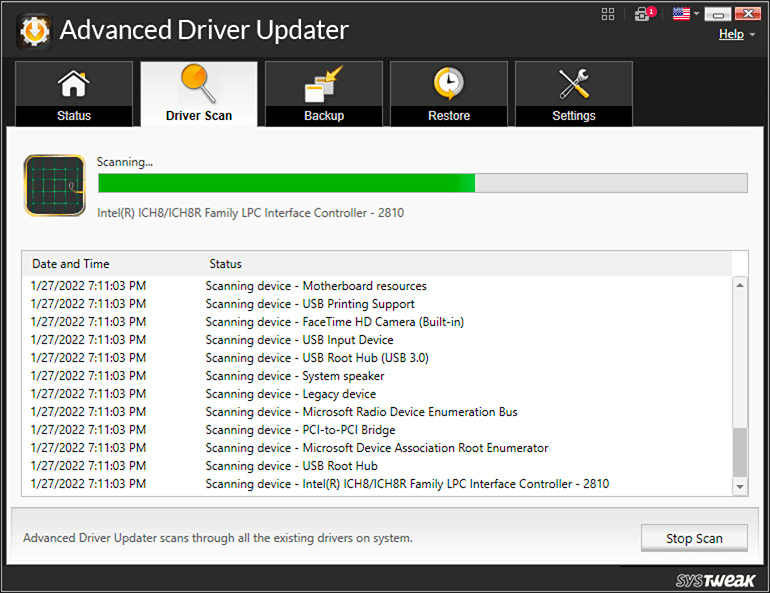
Step 2: Launch the app and then click on the Start Scan Now button.
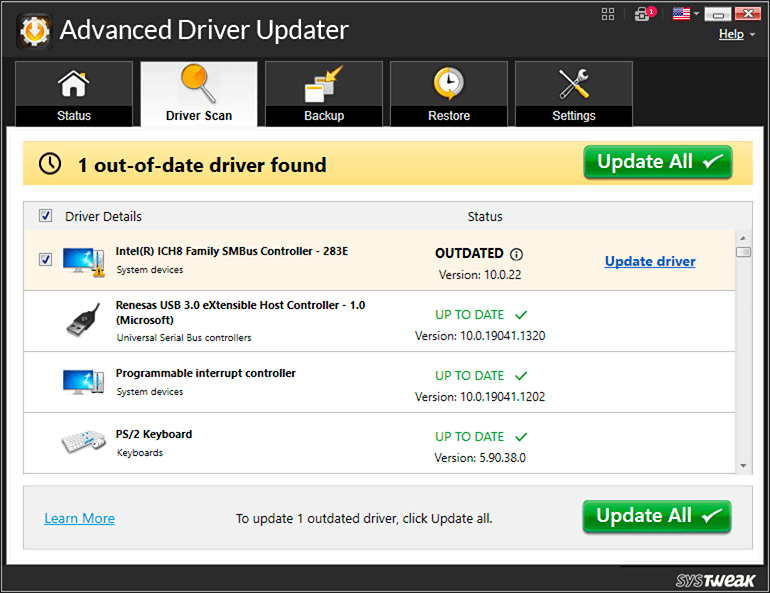
Step 3: Wait for some time and a list of corrupted, outdated, and missing drivers will appear on your screen.
Step 4: Click on the Update button next to the Printer driver for now to fix the current issue. You can later update other drivers as well.
Step 5: Reboot Your PC and check if the issue has been resolved.
Also Read: How to Fix Printer Spooler Errors in Windows 10
The Final Word On How To Fix The “Windows Cannot Connect To The Printer” Error On Your PC?
I hope you can fix the “can’t connect to printer” issue with the aforementioned steps. Once your issue has been resolved then you can print all your documents. Try troubleshooting with a simple restart of your devices and then move forward with the advanced steps. Updating your drivers is an excellent method to make sure your PC runs smoothly and you do not face any minor issues and bugs.
Please let us know in the comments below if you have any questions or recommendations. We would be delighted to provide you with a resolution. We frequently publish advice, tricks, and solutions to common tech-related problems. You can also find us on Facebook, Twitter, YouTube, Instagram, Flipboard, and Pinterest.