
If your Mac has started to restart unexpectedly or has started to show a black or dark grey screen, it could be that it’s going through a Kernel Panic attack. It is a fatal error, but, if dealt with on time, you can fix the issue. In this blog, we’ll have a look at some of the best ways to fix Kernel Panic on Mac.
What Is Kernel Panic Error On Mac?
As the name suggests, the Kernel Panic error occurs when there is a problem with Mac’s kernel. When this happens, your Mac might keep restarting or show a dark grey screen as we have discussed just above.
Why Does My Mac or Macbook Keep Restarting Because Of Kernel Panic
If your Mac keeps restarting because of Kernel Panic, the following could be the probable reasons –
- Not enough RAM on the Mac. Here are some ways to reduce memory usage on Mac.
- Presence of outdated or corrupt apps.
- There is a pending OS update.
- Hardware issues. For example, you have connected peripherals that are not compatible with your Mac. In this case, you can try and detach all peripherals including any external mice or keyboards. Then reconnect each of these one by one to zero down on the problematic peripheral.
- Disk permissions are not configured properly.
Best Ways To Fix Kernel Panic On Mac
Solution No. 1 – Restart Your Mac
Bumped into a Kernel Panic error on Mac? Before you move to some more advanced steps, you can restart your Mac by holding down the power button for a few seconds and then pressing the Restart button.
Solution No. 2 – Check Crash Reports
One of the best aspects of a Mac is that it keeps a log of everything that happens in the background. Using the below-mentioned steps you might also be able to find out the cause behind the Kernel Panic error on Mac.
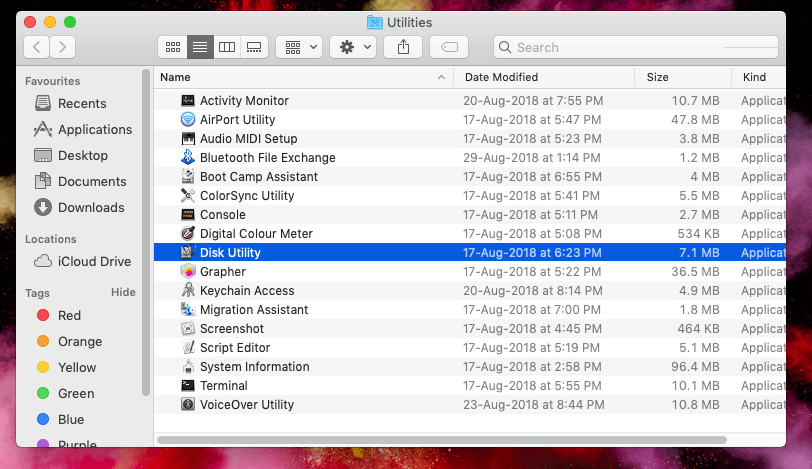
Step 1 – From the Finder, head to Applications and open the Console.
Step 2 – Click on Crash Reports which you can see on the sidebar.
Step 3 – Here look for terminated due to or reason: failed because of to know the reason for the error.
Solution No. 3 – Run First Aid
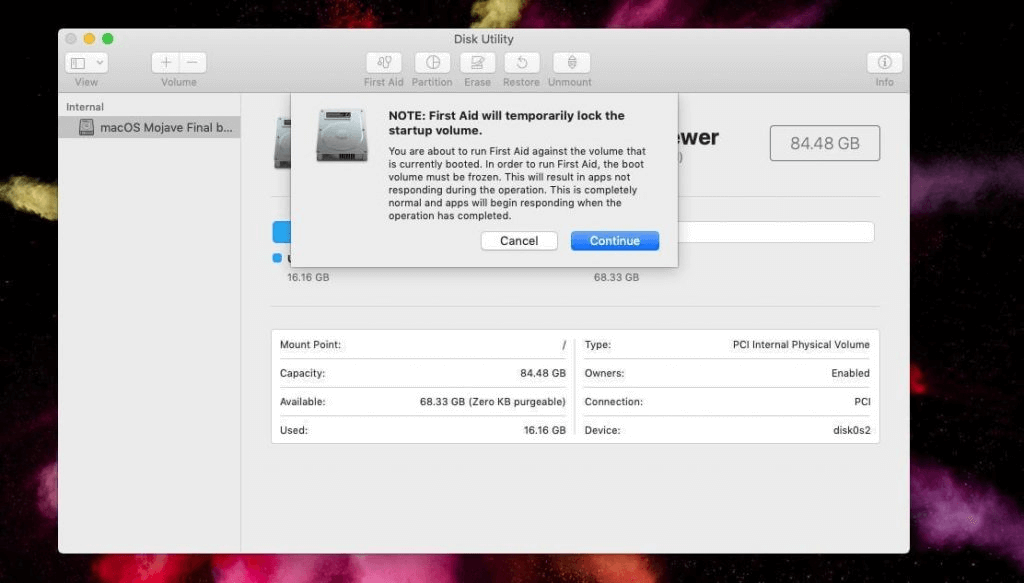
To fix the Mac kernel panic error, you can also take the help of First Aid which is Mac’s inbuilt utility to find and repair disk errors. Here are the steps to run First Aid on Mac –
Step 1 – Shut down Mac.
Step 2 – Press Ctrl + R to start the Recovery Mode. It is also a crucial step if you want to reset a MacBook Pro or MacBook Air as shown here.
Step 3 – Select Disk Utility at the startup.
Step 4 – In Disk Utility, go to external device > First Aid. You can take note of how to go to Disk Utility if you wish to resolve the various hard disk issues on Mac.
One of the reasons why you may want to look into disk issues is because they put your files in jeopardy. And worse, if something happens and you lose your files, needn’t lose hope. You can always count on a disk recovery tool for Mac that can help retrieve accidentally lost files. Here is a list of some of the best data recovery tools for Mac.
Solution No. 4 – Enter Safe Mode
Safe Mode helps restart the Mac with only essential apps. Here is how you can boot your Mac in safe mode. Once in Safe Mode, if everything goes well, you’ll instantly know which are the apps that are causing issues.
Solution No. 5 – Update Mac
Haven’t updated your Mac in a while? Maybe now is the correct time to upgrade your Mac to the latest macOS version. To do that –
Step 1 – Click on the Apple logo.
Step 2 – Select System Preferences.
Step 3 – Locate Software Update and click on it. Let the update process complete and then check if the issue is resolved or not.

Solution No. 6 – Update Apps on Mac
Outdated apps can be the reason why you are dealing with the Kernel panic error on Mac since such apps are vulnerable to bugs. These may interfere with Mac’s Kernel and therefore, make your Mac crash. The best bet is to check for outdated apps and update them –
Step 1 – Open Mac and go to App Store.
Step 2 – From the sidebar, click on Updates.
Step 3 – You will now be able to see the apps that need updates. You should click on Update All.
Solution No. 7 – Uninstall Problematic Apps
If you have started to encounter issues after installing an app, it is recommended that you uninstall the app with immediate effect. Here are some of the best ways to uninstall apps on macOS.
Solution No. 8 – Free Up Storage on Mac
In case your Mac’s running out of storage, you might see a dip in performance and in the worst case scenario, issues like Kernel Panic error may occur. You can first, ascertain that the storage space is going down by following these steps –
Step 1 – Click on the Apple menu and go to About this Mac.
Step 2 – Select More Info.
Step 3 – Head to Storage Settings.
Here if you see that your main volume is nearing its full capacity, it might be the time that you free up storage space. To free up storage space, and get rid of excessive junk, unwanted apps, and other important tips and tricks, refer to this post.
Writer’s Tip
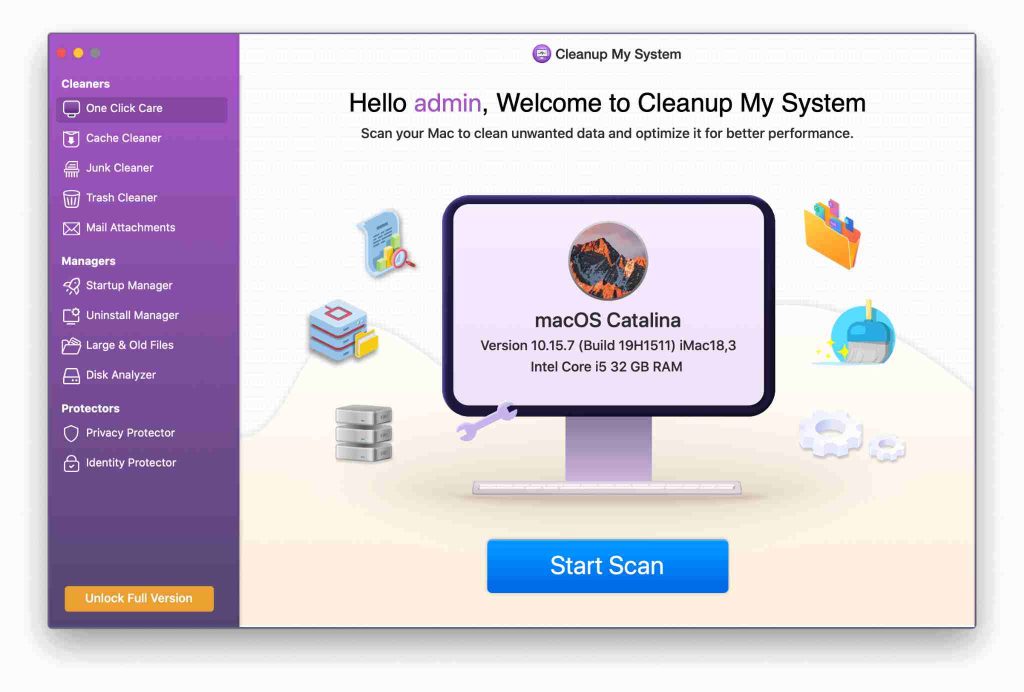
Do you wish to expedite the process of freeing up storage space on your Mac? Cleanup My System is a tool that can help you do just that. If you are wondering how? Here is what the Mac cleaning utility is capable of doing –
- Get rid of unwanted cache
- Eliminate redundant junk
- Delete mail attachments
- Uninstall apps completely including those that are problematic
- Analyze disk space
- Manage startup items
- Manage/ remove large and old files safely
To dive deeper into the various features and other aspects of this wonderful tool, check out this post.

Solution No. 9 – Disable Startup Programs
Too many startup items might be putting a lot of load on your Mac’s processor and hence the Kernel Panic error is booting up Mac again and again. Here’s how you can remove startup programs on Mac.
Needn’t Panic, Try Out These Solutions!
In case your Mac refuses to boot because of a kernel panic error, needn’t worry, try out the solutions mentioned in this post and you can easily get your Mac back on track. If you found the post helpful, don’t keep the goodness to yourself, instead share it with a friend who might be going through a similar issue. For more such content, keep reading WeTheGeek.