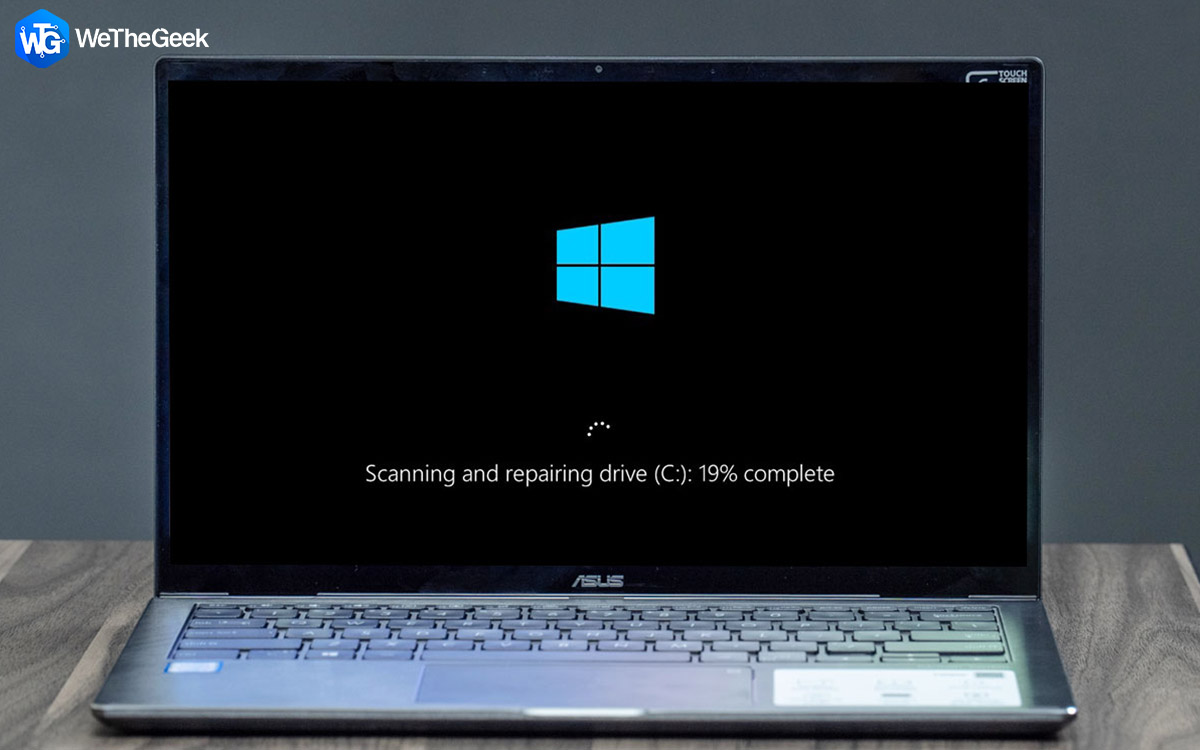
Amongst the common startup error messages on Windows 10, scanning and repairing drive C: or D: is most recurrent. This error occurs due to the following reasons:
- Improper system shutdown
- Bad sectors on the hard disk
- Virus or malware on the system
- Outdated or incompatible driver
- Other reasons
This post will discuss how to fix the scanning and repairing drive C: issue on Windows 10. Whether the startup window is stuck at 0%, 10%, 19%, 40%, or any, this guide will offer a solution for all.
Quickest, Simplest, and Most Effective Method
The easiest and automatic way to fix outdated drivers, clean malware, virus infections from the system, fix bad sectors & remove junk files is to use Advanced System Optimizer. Using this PC cleanup and system optimization tool, you can perform all these tasks in just a few clicks and fix the significant reasons for scanning and repairing drive C error on Windows 10.
To use Advanced System Optimizer, follow the steps below:
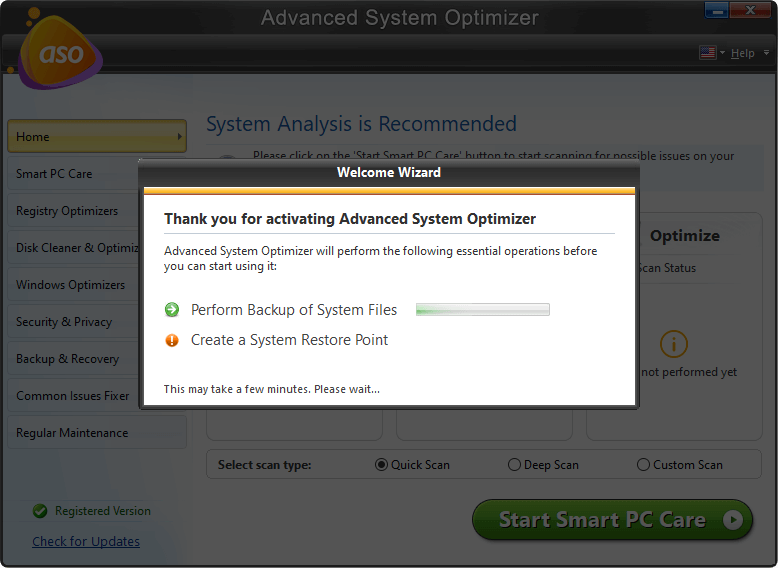
1. Download, install, and launch Advanced System Optimizer.

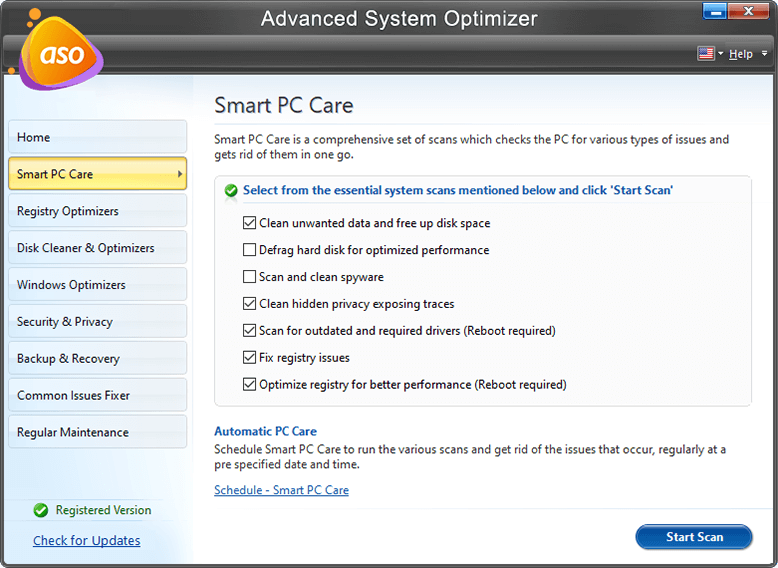
2. Click Start Smart PC Care
3. Wait for the scan to finish. Once done, click Optimize to fix errors.
4. Afterward, to update drivers, click Windows Optimizers > Driver Updater > run scan and update outdated drivers.
5. Next, click Security & Privacy > System Protector > run scan and fix errors.
6. Once this is done, click Disk Cleaner & Optimizers and run all the modules.
7. After fixing all these errors, reboot the system and check for the scanning and repairing drive boot error message.
However, if you would want to perform all these actions manually, follow the steps below.
Below you will find 5 workable fixes to get rid of Windows 10 stuck at scanning and repairing drive error.
To check out the solutions and skip them refer to the tutorial manual.
| Workable Solutions | Step by Step Troubleshooting |
| Check Disk and repair disk | Scan and repair drive for errors. Detailed Steps |
| Check disk connection | Check if the disk is connected correctly. Detailed Steps |
| Update drivers | To update drivers, you can use Driver Updater or can do it manually. Detailed Steps |
| Disable automatic repair | Shut down the PC > reboot PC > hold the power button for 10. Detailed Steps |
| Let scan finish | Do not cancel skipping when a drive is in bad condition; it might take time. Detailed Steps |
| Check disk in safe mode | Enter Safe Mode and check the disk for errors. Detailed Steps |
| Disable check disk on boot time | Go to the registry editor and make changes. Detailed Steps |
Top Ways to Resolve Screen Stuck on Scanning and Repairing Drive in Windows 10
Step 1: Check Disk and Repair Errors
1. Press Windows + E and open File Explorer
2. Right-click C: drive and so on > Properties.

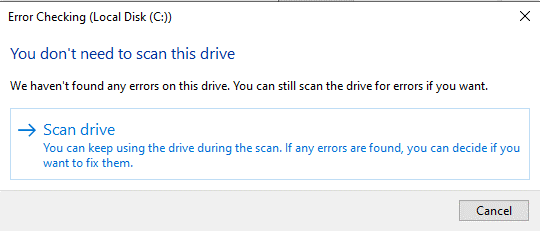
3. Click Tools tab > Check

4. Click Scan drive to find errors, once the Error Checking is done, follow on-screen instructions, and fix errors.
5. After scanning, C drive checks all the other partitions and ensure you check all the drivers to repair disk errors.
Alternatively, you can use Disk Tools offered by Advanced System Optimizer. This module will scan the disk for errors. Alongside this, run all the modules under Disk Cleaner & Optimizers.
Step 2: Check Disk Connection
There’s a possibility that you are facing scanning and repairing drive stuck errors due to disk connection issues. Hence, we suggest checking the cable connection and port to ensure that the disks are correctly connected.
Step 3: Update Drivers
If the above two steps did not help, try updating drivers using Driver Updater. To use it, follow the steps below:
1. Download, install, and launch Advanced System Optimizer.
2. Click Windows Optimizer > Driver Updater
3. Run the scan and fix all outdated, corrupt, and incompatible drivers.
4. Once this is done, click Security & Privacy > System Protector.
Run the scan and fix all the infections detected by System Protector. This will help improve scanning and repairing drive C.
Step 4: Disable Automatic Repair
Automatic repair doesn’t always work; sometimes, it causes Preparing Automatic Repair, Automatic Repair loop; hence you can disable it and avoid scanning and repairing drive stuck. To do so, follow the steps below:
1. Press and hold the power button for 10 seconds until the system shuts down
2. Restart the system; once you see the Windows logo again, press and hold the power button for 10 seconds.
3. Press the power button to boot the system, and again hold the power button for 10 seconds. This will shut down the system.
4. Reboot the system, and this time, let the process finish. You will not see WinRE.
5. Choose Troubleshoot > Advanced options > Command Prompt
6. Type bcedit and remember the values of identifier and recoveryenabled under Windows Boot Loader.
Note: Usually, it is “{current}” and “Yes.”
7. Enter bcdedit /set {current} recoveryenabled no
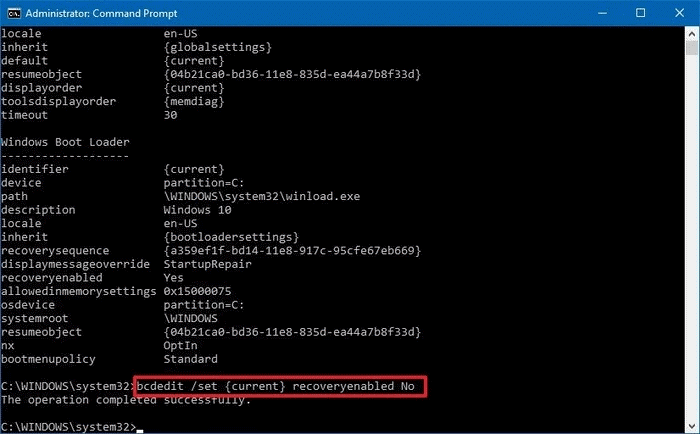
8. This will disable Automatic Repair; reboot the system after this.
Step 5: Let the scan finish.
Never interrupt the “Scanning and repairing drive” process. Sometimes when the drive is corrupt and there are too many disk errors, it might take time. So, wait for the process to finish even if it takes hours.
Step 6: Check disk in safe mode
Generally, scanning and repairing drive C on Windows 10 is caused due to disk errors. Therefore, we suggest entering Safe Mode and running CHKDSK to fix errors. To learn how to boot in Safe Mode, click here. Once you are in Safe Mode, open This PC right click C drive > Properties > Tools > Check
Waiting for the scan to finish should help.
Step 7: Disable check disk on boot time
If you have checked the disk for errors and none are found still scanning and repairing drive stuck in the loop, we suggest modifying and disabling the CHKDSK self-test on booting. To do so, follow the steps below:
1. Press Windows + R
2. In the Run window, type regedit > Ok.
3. Navigate HKEY_LOCAL_MACHINE\SYSTEM\CurrentControlSet\Control\Session Manager
4. Now click BootExecute in the right pane.
5. Double click BootExecute the default value is autocheck autochk * replace it with autocheck autochk /k:C *.

6. Click OK.
Restart the system and check if the problem scanning and repairing drive stuck should now be resolved.
Hopefully, you can resolve to scan and repair drive C on Windows and make your system boot normally by using these steps. If you have any questions or concerns, do let us know in the comments sections.