
What is the PC Doctor Module and why is it consuming high CPU on my computer? Do you also want to learn about the PC doctor module’s high CPU usage? Slow PC performance, frequent crashes, low disk space are certain problems we are familiar with. But why do they occur? What causes a drop in system performance? There can be different reasons for it like a process like the PC Doctor module running in the background and consuming system resources, malware infection, junk files, and more. Hence to fix this issue it is important to identify the cause.
Generally, to understand why the computer slows down we open Task Manager and check disk usage, right? If you find a process named PC Doctor module the culprit, you are at the right place. In today’s post, we will discuss how to fix the PC Doctor module, high CPU usage both manually and automatically.
Fact Check – Usually Dell computers shipped with the Dell SupportAssist diagnostics have a PC Doctor module running on their system. That means the PC doctor dell supportassist api is already installed on the computer.
Short on time?
If you are short on time and can’t read the post till the end, try Advanced System Optimizer – the best PC cleanup and memory booster tool. Using this one-click system tweaking tool in no time, you can clean junk files, remove malware infections, optimize disk, clean duplicate files, optimize registry, clean invalid registry entries, and do a lot more. So, what are you waiting for?
Click the Download button and get the tool.

To learn more about the tool, you can go through the review of Advanced System Optimizer.
Now that we know the easiest way, let us learn about other ways to fix the PC Doctor module Dell.
Is the PC Doctor module a Virus or Malware?
After noticing that the PC Doctor module is occupying 100% CPU if you are thinking whether it is a virus, malware, or PUA. Here’s what you need to do to find out.
1. Press Ctrl + Shift + Esc and open Task Manager
2. Click the Processes tab.
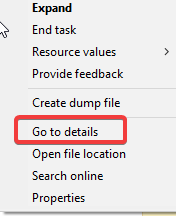
3. Select PC-Doctor Module process > right-click > Go to details
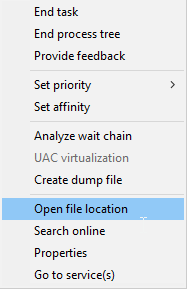
4. Doing so will help find the executable file name of the application. Right-click > Open file location.
5. Check if you are redirected to pcdrmemory2.p5x in the process as shown below :
C:\Program Files\Dell\SupportAssistAgent\PCDr\SupportAssist\6.0.7193.611\pcdrmemory2.p5x" run -e -lang en -cust dell -var dsc -bd "C:\ProgramData\PCDr\7193" -engineClientPid.
6. Then this file is not a threat.
Note: The executable file runs under NT AUTHORITY\SYSTEM (LocalSystem) account.
What is Dell SupportAssist?
Offered by Dell SupportAssist helps keep the PC optimized by giving recommendations regarding software and driver update. PC-Doctor Module is a component of it, and it runs in the background to detect issues and find a solution by sharing the problem with Dell Technical Support agents. Alongside giving driver recommendation, Dell SupportAssist runs a hardware scan to analyze the following components:
- Memory, USB Composite CPU, Hard Drive, Network Card, DVD-RW Drive, PCI Bridge, PCI Bus, Hub, HD Audio Controller, Mouse, USB.
Moreover, it does a SMART Short Self Test, Targeted Read test, Linear Read test, CPU stress test, among other tests. Due to this many times, the Disk Usage spikes to 100%, and you see the PC Doctor Module eating up most system resources. To deal with this problem, we can tweak the optimization settings and lessen the burden on the CPU.
How To Fix PC Doctor module 100 CPU Issue
Let’s take a look at the few methods to fix the PC doctor module on Dell consuming high CPU.
Method 1 – Tweak optimization settings via Support Assist
This first method is used to tweak a few settings on your Support Assist for PC doctor module and the following steps will guide you –
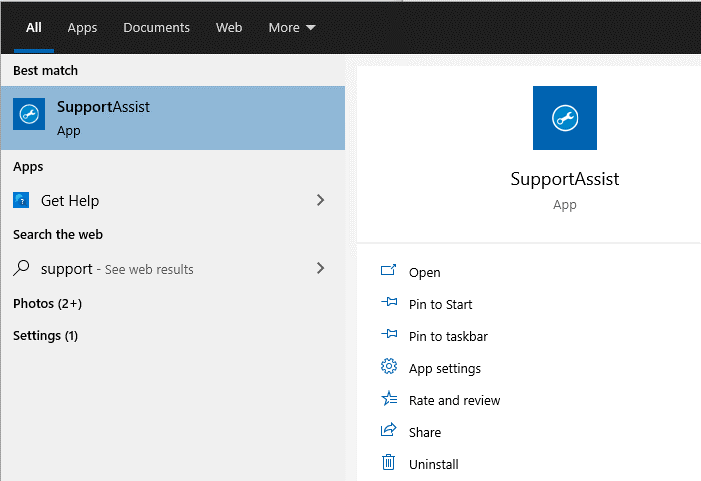
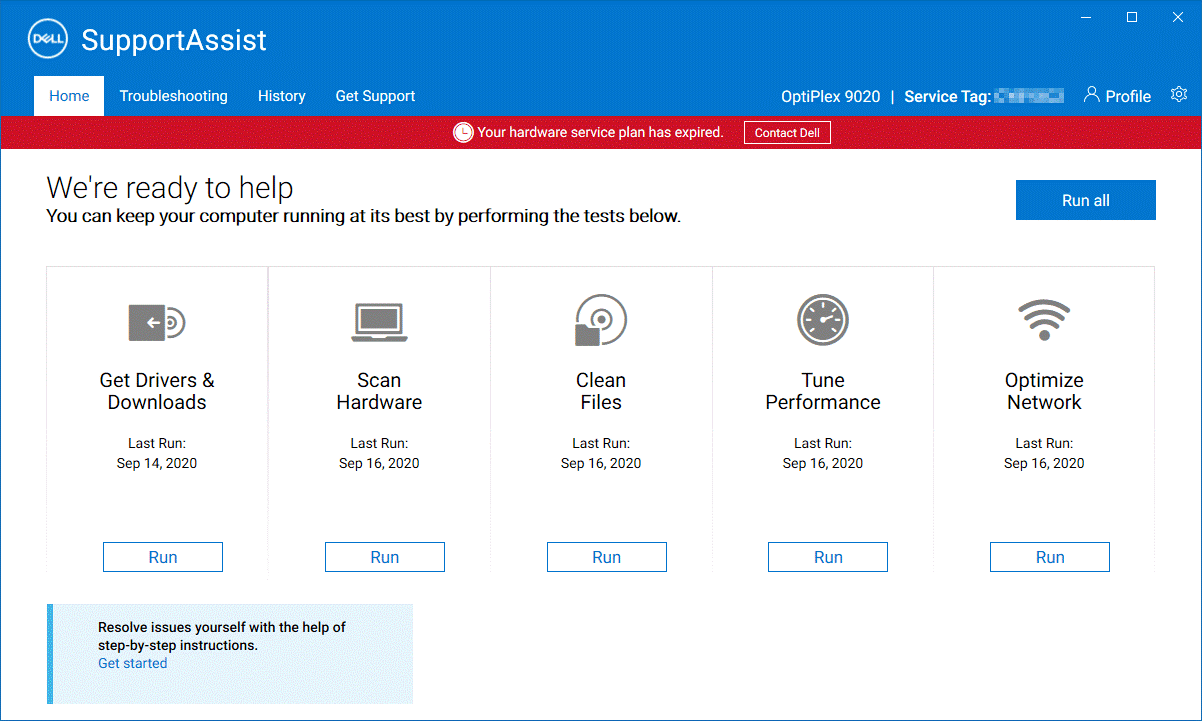
1. Launch SupportAssist tool.
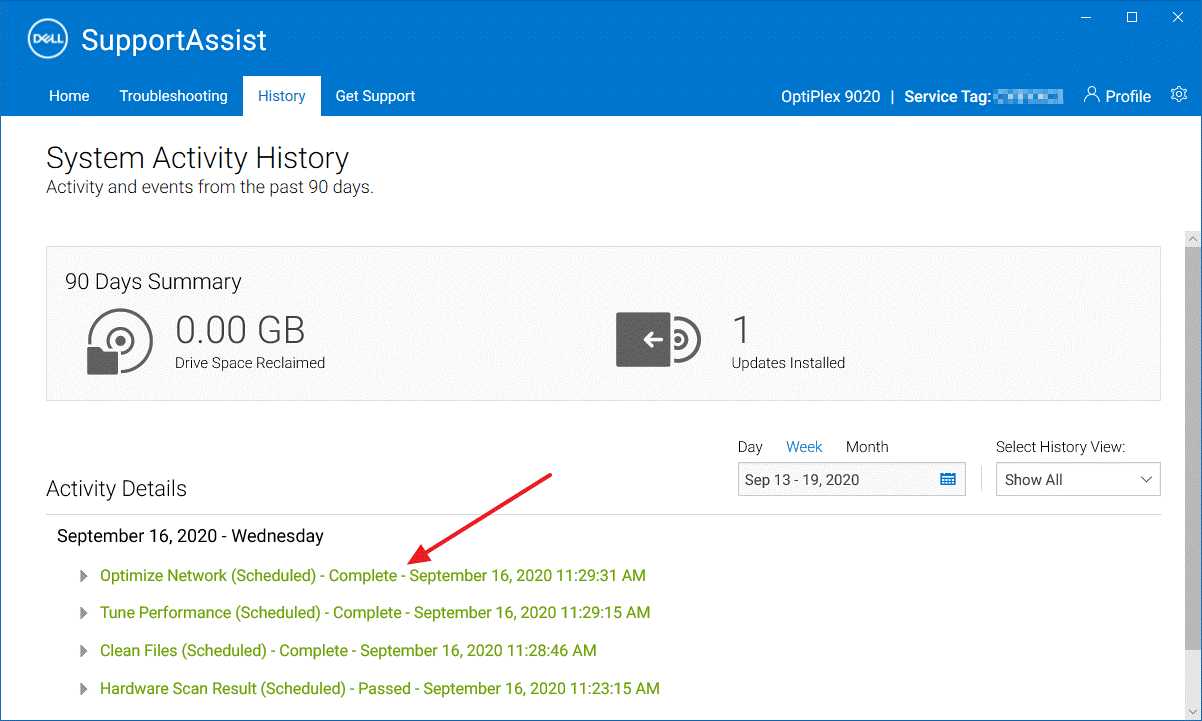
2. Go to SupportAssist Scheduled Scans
You can get the older hardware scans and optimization tasks, under the History tab.
3. Open Settings by clicking the gear icon at the top right corner of the SupportAssist window.
Note: Hardware scans by default are set to run once a month.
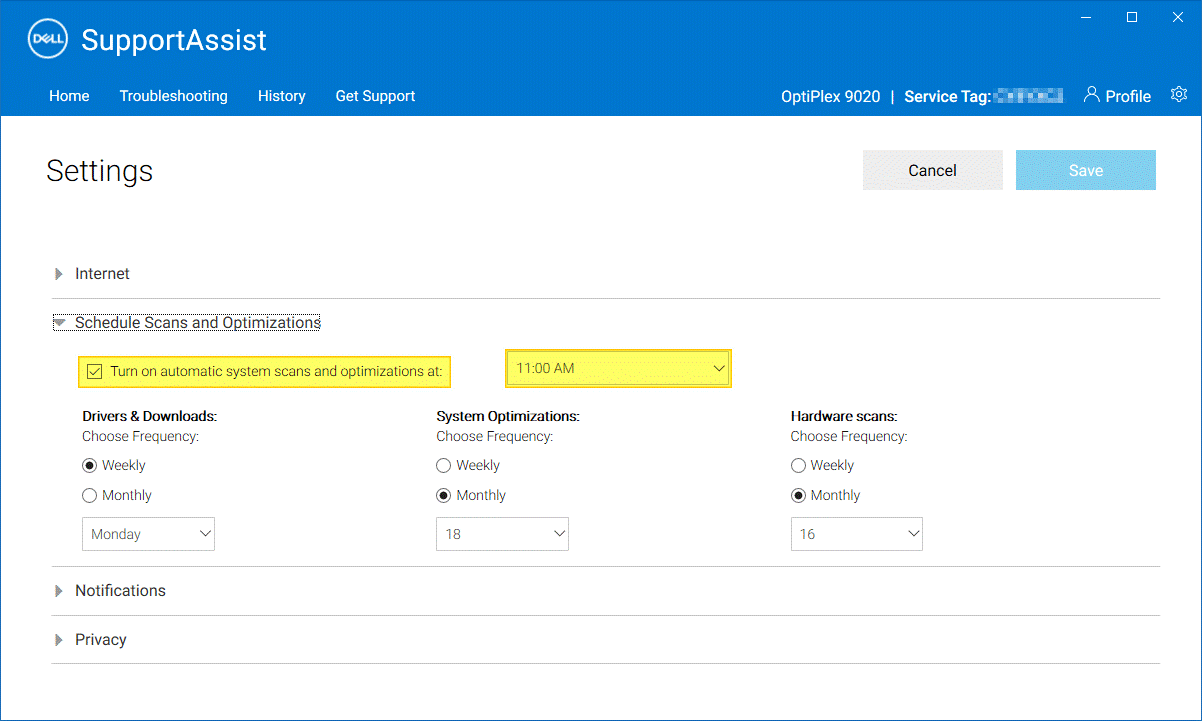
4. To disable automatic scan, uncheck Turn on automatic scans and optimizations at:
However, if you don’t want to disable it, you can change the schedule and run tasks at different times. This will help prevent facing performance bottlenecks while working.
Note: Disabling automatic scan, doesn’t mean you are stuck. You can run a manual scan anytime from the Home tab.
Alternatively, press Windows + R > type services.msc > Ok.
This will open the Windows Services window.
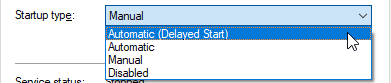
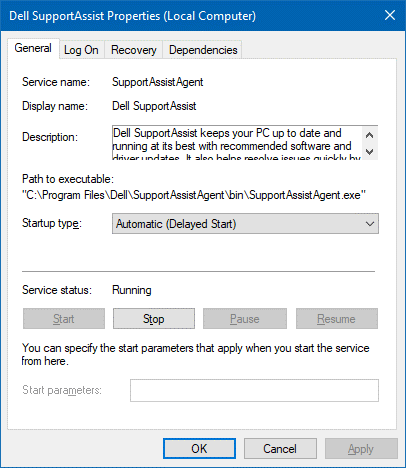
Look for Dell SupportAssist (short name: SupportAssistAgent) > double click it and set it to Automatic (delayed started) by default.
The service’s executable path is "C:\ProgramFiles\Dell\SupportAssistAgent\bin\SupportAssistAgent.exe"
Disabling the service will turn off scheduled hardware scans as well.
These steps will help you fix the PC doctor module issue on your computer.
Method 2 – Uninstall SupportAssist
In case you think SupportAssist is not what you want, you can uninstall it and get rid of the PC Doctor Module on Dell. To do so, follow the steps below:
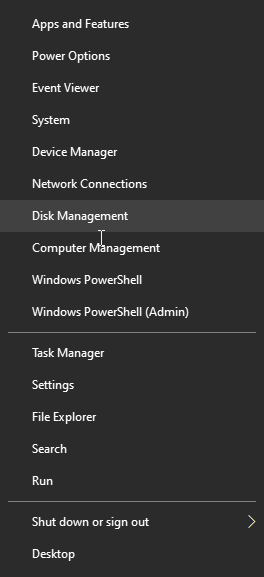
1. Press Windows + X > Apps & Features
2. Look for Dell SupportAssist
3. Select it > Uninstall
By visiting the following link, you can learn more about Dell SupportAssist:
Automatic Way to Optimize PC and clean malware
Using the above steps you can fix the PC Doctor module’s high CPU, but what about PC Optimization? What if there is something else that is causing high disk usage?
Need not worry about it, we have a solution to this try Advanced System Optimizer. This powerful PC cleanup tool in no time identifies junk files, malware, invalid registries, and more, the main reason for common Windows issues.
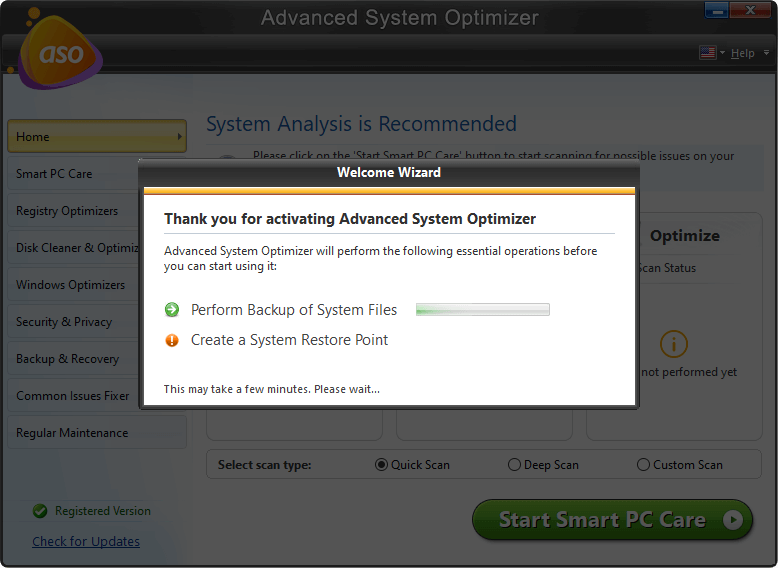
Note: Advanced System Optimizer creates an automatic system restore point, the first you run it.
To use it, follow the steps below:
1. Download and install Advanced System Optimizer
2. Launch the best PC cleanup tool
3. Click Start Smart PC Care and wait for the scan to finish
4. Thereafter, to clean errors click Optimize.
5. Restart the system to save changes.
You’ll now experience improved PC performance without lags and screen freezes. Also, a good amount of storage space will be recovered that was occupied by junk, obsolete and unwanted files. So, what are you waiting for to use Advanced System Optimizer and fix 100% CPU usage? Moreover, by disabling SupportAssist’s automatic scan, delaying its service you can fix the PC Doctor Module error on Dell.
We hope you find the information helpful and were able to resolve PC Doctor Module High Disk Usage. Please share your feedback in the comments section.
Frequently Asked Question
Q1. Is the PC Doctor module a virus?
No, PC Doctor is not a virus. PC-Doctor Module is a component of Dell SupportAssist. In case you suspect that the file is infected you can try running the best antivirus or can use the System Protector module added in Advanced System Optimizer.
Q2. What is the PC Doctor module?
PC-Doctor Module is an essential part of Dell SupportAssist. It helps keep the PC running seamlessly and recommends software and driver updates. By detecting common problems and sharing them with the Dell support team, it helps troubleshoot problems.
Q3. How do I get rid of PC Doctor?
The easiest way to get rid of PC Doctor is to uninstall Dell SupportAssist. Once that is done, no longer will you face PC Doctor Module 100% CPU usage.
Q4. How do I disable Dell PC Doctor?
To disable Dell PC Doctor you can either uninstall it or disable automatic scan by unchecking Turn on automatic scans and optimizations at option.
To uninstall Dell PC Doctor follow the steps below:
1. Press Windows + X >Apps and Features > look for PC Doctor > Uninstall
Next Read: