
System and compressed memory were introduced in Windows 10 as a process used to allocate files and folders in RAM. Generally, it uses a small space to perform the actions related to system and memory. The issue arises when the process which was supposed to make space takes up 100% of disk usage for it. As the process starts causing high disk usage on your computer, other programs suffer. It has been reported by a number of users that System and Compressed Memory in Windows 10 are using a lot more disk usage than needed.
Additionally, use Disk Speedup to defrag the disk on your computer to consolidate free space. This will help you to organize the free space and put to use in a productive form for storing more data.

Download Disk Speedup

You can check if the process is making your computer slow. Check it on task manager, if the System and compressed memory process running on high memory percentage. It can be caused by several reasons, we discuss them with the solutions as we fix it.
Method 1: Disable System and Compressed Memory
You need to disable the process completely remove the root cause of the issue. In very simple steps below, you can perform the operation of disabling the System and compressed memory.
Step 1: Open Control Panel and go to Administrative tools.

Step 2: Click on Task Scheduler.

Step 3: Go to Microsoft>Windows>MemoryDiagnostic.
Step 4: On the right panel, you can see RunFullmemoryDiagnosticEntry, right-click on it.

Step 5: Choose Disable from the options available.
Restart the computer to see the change.
Method 2: Virtual memory
It can be a reason as the paging size will affect the system and compressed memory. During any other process, you must have changed it to a certain number. Follow the steps below to set the page file size:
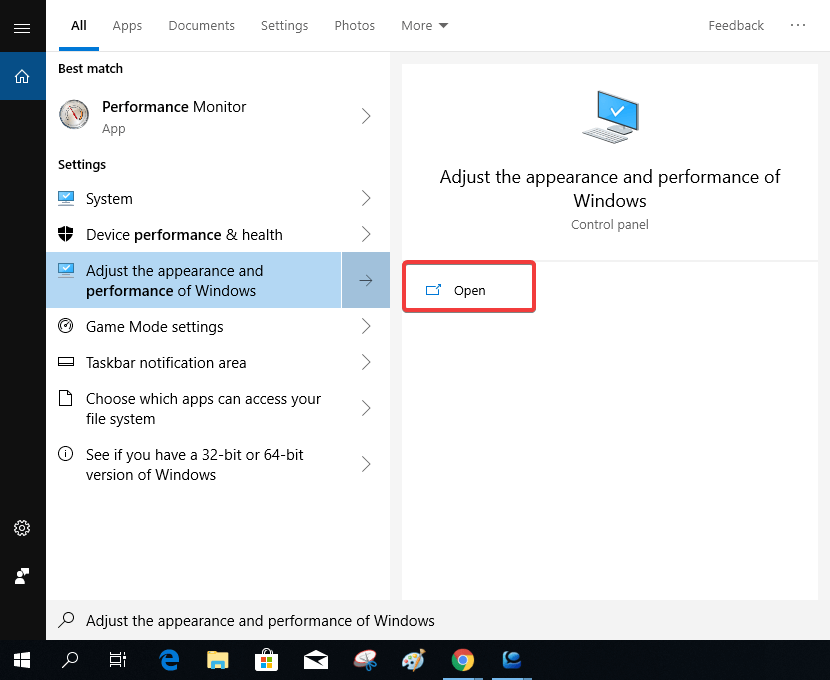
Step 1: Go to Start Menu, and type Performance in the search bar. And open Adjust the appearance and performance of Windows.
Step 2: This will open a tab named Performance options. Go to Advanced, under the section Virtual Memory you can see the space used by page file. The number indicates the total of page files in overall all drives.
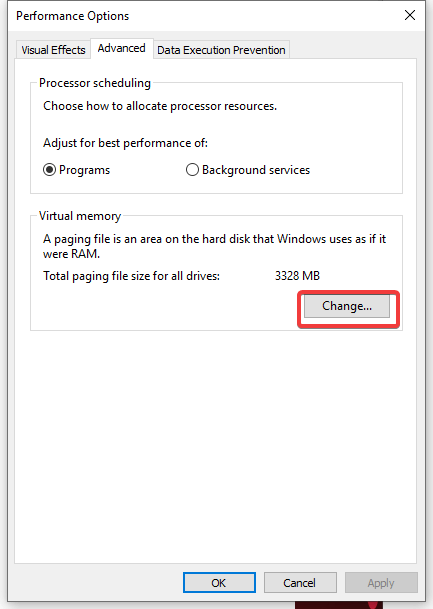
Step 3: Click on Change, and you can set the page file size to Automatic.

It can be seen at the bottom, the assigned values which we should follow for our computer.
Once changed it to Automatic, click on OK.
Method 3: Superfetch
Superfetch is basically a service host for Windows, which helps to preload any program quickly.
You need to disable Superfetch for improving the services on Windows. To disable it, follow the steps below:
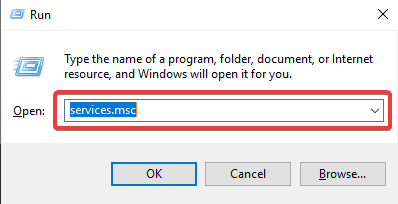
Step 1: Press Windows key + R to open the Run command, type services.msc and press Enter.
Step 2: This opens the Service Manager window. You can locate the Superfetch and click on stop.
Restart the computer, once you are done with this process.
Method 4: Speech Runtime Executable Process
In Windows 10, speech runtime executable process appearing in the task manager can be related to the issue. It increases the usage of CPU and thus contributing to disk usage by system and compressed memory issue.
All you need to do is:
- Open Task Manager: Press CTRL ALT & DELETE to launch it
- Locate Speech Runtime Executable Process.
- Select it and click on End task at the bottom right.
Method 5: Visual Effects
It can be a reason if you use a video wallpaper on desktop or have a high definition Screensaver. It can contribute to the system and compressed memory taking up more disk usage to settle its files.
To make changes to visual effects, follow the steps below:
Step 1: Type Adjust the appearance and performance in the Start Menu’s search box to open Performance Options and press Enter.
Step 2: Now on Visual effects tab, select Adjust for best appearance.

Method 6: Hardware failure
The disk usage reaching up to 100% can be generated because of worn-out disks. It is possible that one of the disks is spent and thus the load is shown in the system and compressed memory process. All you need to do to deal with this issue is to replace your Ram stick and see if the problem persists. If your computer does not show the same signs of disk usage, then your issue has been resolved.
Conclusion
Using one of the methods will resolve the issue for your Windows 10. Although it is seen to be the virtual memory changes turning the system and compressed memory to take up the most disk space. Now you know how to fix the problem and so it will no longer trouble you to run operations on your system. Please let us know in comments if you used any other method to get rid of the 100% disk usage. Also, subscribe to our newsletter for regular updates on technology.