With Windows 10 not only the interface was changed but a lot of system processes in Windows were introduced. However, some of the system processes like Service Host Superfetch have become painful and make your system slow. One of the processes SuperFetch causes high disk usage in Windows 10, which slows down the performance of your Windows 10.
The issue is quite common, and you might have come across the message, “Service Host: Superfetch”. It is the successor of Prefetch introduced on Windows Vista. If you are facing the same issue and want to know about it, then you have come to the right place.
Before moving forward, let’s know how to your system’s memory optimized without getting hassled with the manual process. One of the best optimizing tools for Windows, Advanced System Optimizer, comes with a wonderful feature, Memory Optimizer, which helps in optimizing the system and managing the system’s cache. It improves the system performance and reducing response time of your computer.

Let’s start with a brief introduction to Superfetch.
Also Read: best free pc cleaner 2020 windows 10
What is Superfetch?
![]()
Superfetch is a memory manager which examines usage patterns over time to enhance memory content. This is a Windows service which is supposed to make your apps launch faster and improve your system’s speed.
For that, the service pre-load frequently used programs into RAM so that they could be launched faster. So, whenever you want to launch a frequently used app, then Windows 10 won’t have to run it from the disk. However, if the service has an adverse effect on your system performance then, you must disable it.
Note: This problem doesn’t concern computer’s with SSD as those systems don’t require SuperFetch to pre-load an app.
You must be thinking if Superfetch is helpful then why it is taking high disk usage in Windows 10. Well, the explanation behind this is that this memory manager service uses some amount of RAM to run. Furthermore, it also runs as a background process.
Also, it could sometimes not understand when to stop or which process should be pre-loaded. It might worsen the speed when you are playing games, resulting in frame rates down.
Now, when you know how useful it is and how down-right irritating it can be! Let’s get on to whether you should keep SuperFetch enabled!
Well, we always wonder whether there would be an adverse effect on disabling a certain service or not. In SuperFetch’s case, you don’t have to worry about it. It is safe to disable SuperFetch on Windows 10.
However, it is not an unwanted process as it helps your system to run in a systematic manner. There could be issues such an increase in boot time, apps and programs launching at a slow rate.
These issues can be ignored, however, when it comes to 100% disk usage, it is a matter of concern.
If you are facing the same issues and want to disable the process, then go to the next section.
 How To Kill Unresponsive Programs Without Task ManagerIf you always find yourself stuck with the recurring problem of frozen windows then you are at the right place....
Disable Service Host Superfetch
There are a couple of methods to disable Superfetch, we have listed them below:
Note: if find any unusual errors after disabling Superfetch you can always enable it again.
Method 1: Use Command Prompt
Step 1: Type Command Prompt in the search bar on your Taskbar and click Run as Administrator.

Step 2: Now on the Command Prompt window, type the below command and hit Enter.
net.exe stop superfetch

Now type “sc config sysmain start=disabled” and hit enter

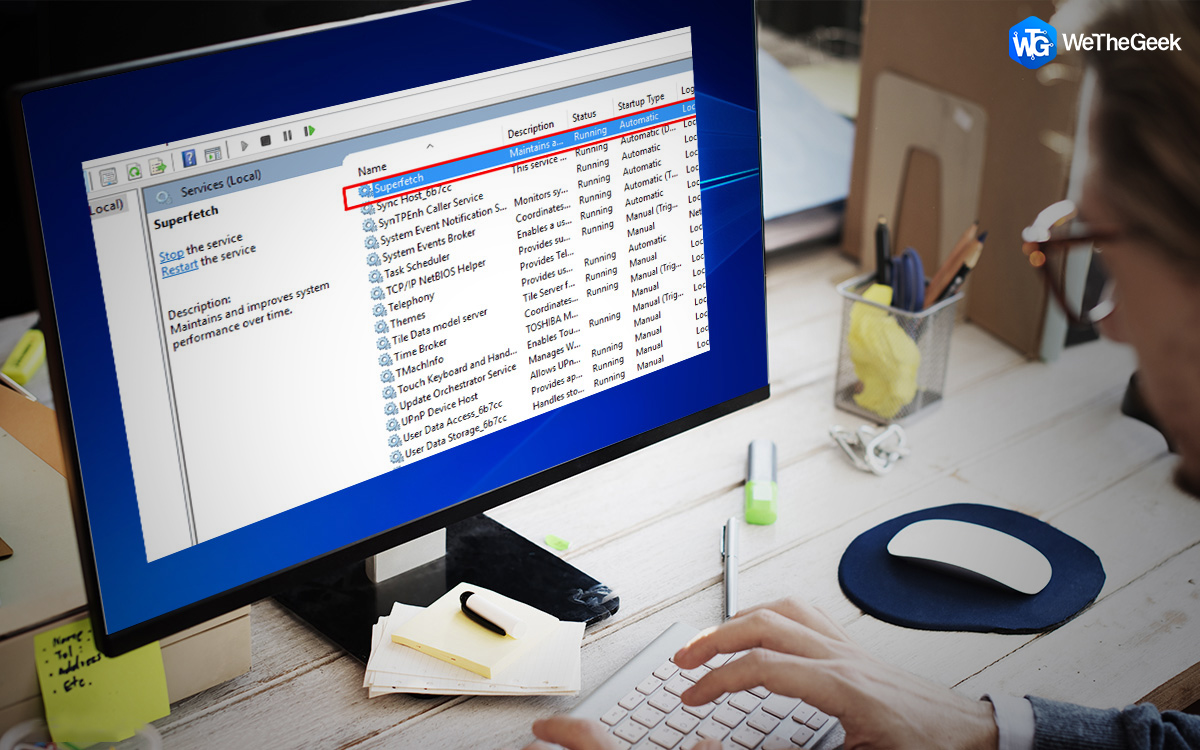
Method 2: Use Services Snap-In
Step 1: Press Windows and R to Run window. Type services.msc and press OK to launch Services.
Step 2: from the list of services, locate and click Superfetch and double click it.
Step 3: Now on the following window, Superfetch Properties. Under the Startup Type menu, click on the checkmark beside Disabled to turn it off.

Step 4: Under Service Status, click Stop.
Now restart your computer.
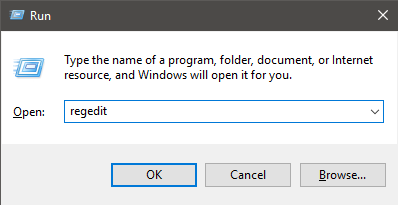
Method 3: Use Registry Editor
Step 1: Press Windows and R to Run window. Type Regedit and press OK to launch Registry Editor.
 Step 2: Go to:
HKEY_LOCAL_MACHINE->System->CurrentControlSet->Control->Session Manager->MemoryManagment->PrefetchParameters.

Step 3: Navigate to Enable Superfetch on the right side of the pane and double click on it.
Step 4: Change the value data from 1 to 0 and click Ok to confirm.
Close Registry Editor and restart your computer.
So, this is how you disable Service Host Superfetch and get rid of this unnecessary service which might slow the booting process or might make your apps unresponsive.