
WPP, or Windows Protected Print Mode, is a new feature that makes printing more secure and seamless on Windows PCs. It only supports printers that have been Mopria-certified and blocks third-party printer drivers that may pose security risks. On Windows 11 Insider Preview, WPP will be turned on by default.
The Windows Protected Print Mode is one of the many improvements, modernizations, and security enhancements Microsoft has revealed for the Windows 11 Insider Preview Build 26016. The functionality’s goal is to change how people print from Windows devices completely.
Also Read: How To Fix The “Windows Cannot Connect To The Printer” Error On Your PC?
What Is Mopria Certified?
Mopria certification refers to a standard developed by the Mopria Alliance, a non-profit consortium aiming to simplify mobile printing. When a device or printer is Mopria-certified, it means it meets specific criteria set by this alliance, ensuring compatibility and seamless printing across various devices and platforms.
This certification ensures that printers and devices can communicate effectively with each other, allowing users to print documents, photos, or other content wirelessly from their mobile devices without the need for additional drivers or complex setup procedures. Essentially, Mopria certification guarantees a more straightforward and consistent printing experience across a range of compatible devices and printers.
Also Read: How To Fix The “Active Directory Domain Services” Printer Error On Windows?
How Do I Turn Windows Protected Print Mode On Or Off?
There are couple of methods that you can follow to enable Windows Protected Print Mode:
Method 1: Use The Local Group Policy Editor
Step 1: To access Search, press Windows + S. Then, type Local Group Policy Editor into the text area and select the appropriate result.
Step 2: Double-click Printers after expanding Administrative Templates under Computer Configuration.
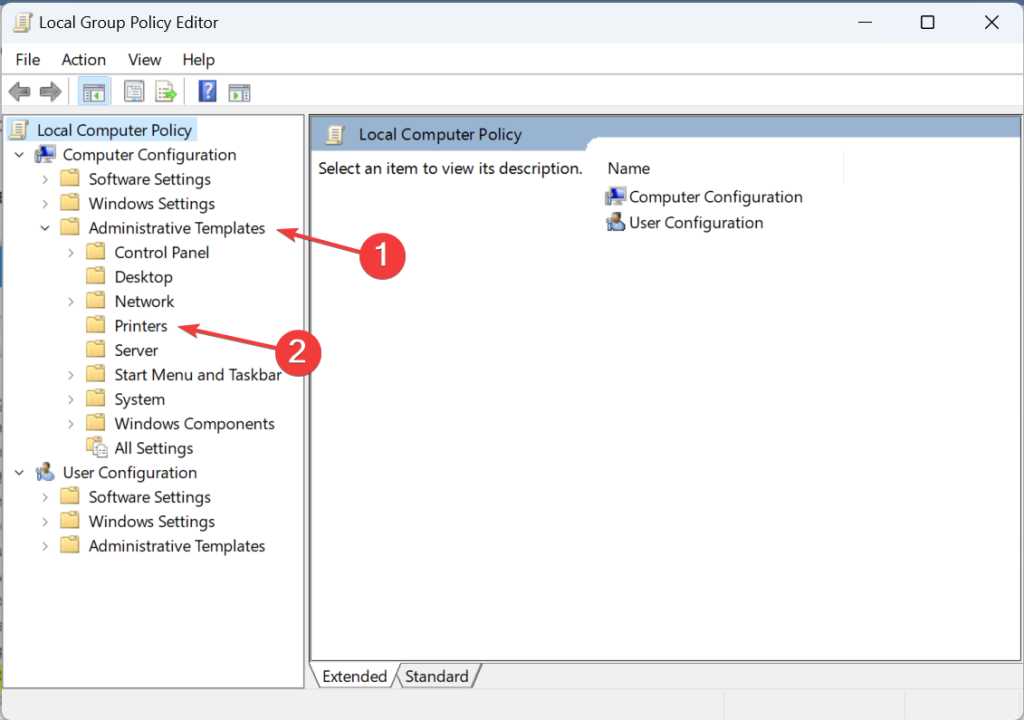
Step 3: From the list on the right, choose Configure Windows Protected Print Policy.
Step 4: Choose Enabled to activate Windows Protected Print Mode.
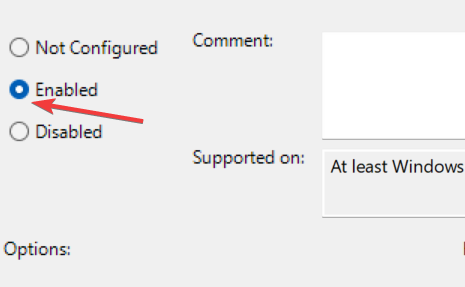
Step 5: Use the Not Configured or Disabled option to disable Windows Protected Print Mode.
Step 6: To save the changes, click Apply and OK at the end.
Also Read: How Can You Access The Windows Print Management Tool
Method 2: Use The Registry Editor
Step 1: Press Win + S to open the Windows Search box.
Step 2: Type Registry and click on the Registry Editor app.
Step 3: If the UAC prompt appears then click on the Yes button.
Step 4: In the address bar of the Registry Window, copy and paste the following address path.
HKEY_LOCAL_MACHINE\SOFTWARE\Policies\Microsoft\Windows NT\Printers\WPP
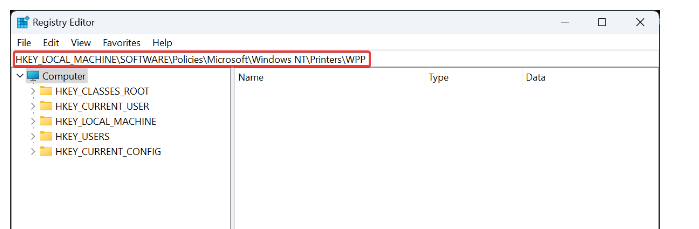
Step 5: Look for the WindowsProtectedPrintMode DWORD on the right side and choose Modify.
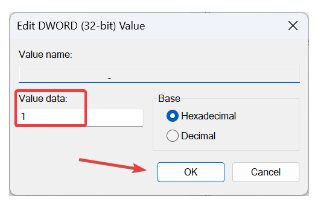
Step 6: A new window will open where you have to enter 1 under Value Data and then click on the OK button.
Step 7: There are three more Registry entries where you have to right-click, select modify and enter a new value data.
EnabledBy: 2
WindowsProtectedPrintGroupPolicyState: 1
WindowsProtectedPrintOobeConfigComplete: 1
Step 8: Reboot your PC to apply these changes.
Also Read: How to Fix Printer Offline Errors on Windows 11/10
What To Do If Your Printer Model Is Not Mopria Certified?
If your printer model is not certified by Mopria then you will not be able to print properly as the drivers for your model will not be recognized by Windows. In this case, you have to disable the Windows Protected Print Mode and use the drivers provided with your device. Also, did you know that you can get updated versions of drivers by using Smart Driver Care?
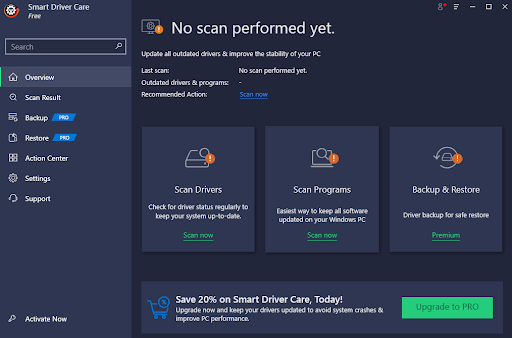
The one-stop shop for driver updates is called Smart Driver Care. You can maintain system performance and increase productivity by using this strong program and all of its wonderful features. With only one click, you can update obsolete, missing, and incompatible drivers with this exceptional and potent driver updater program to experience continuous and enhanced PC performance. Here are the steps:
Step 1: Download and Install Smart Driver Care.

Step 2: Open the app and click on the Start Scan link.
Step 3: A list of driver issues will appear on the screen. Click on the Update link next to the Printer driver.
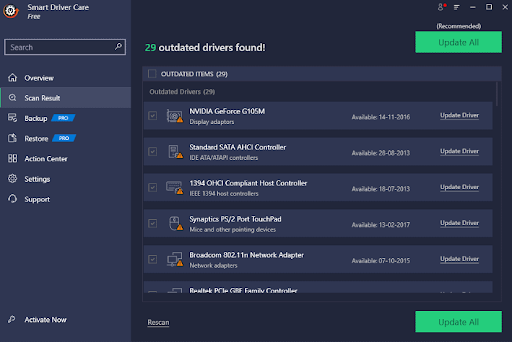
Step 4: Once the Printer Driver has been updated, reboot your PC.
Also Read: How to Fix the Printer Not Printing Issue?
The Final Word: What Is Windows Protected Print Mode And How To Enable It
Understanding and enabling Windows Protected Print Mode offers enhanced security measures for printing within the Windows ecosystem. By following the provided instructions, users can fortify their printing environment, ensuring a more secure and protected workflow while utilizing Windows’ printing functionalities. Both the methods shared above will help you turn on this printing feature without any hassle. In case you know any other workaround to enable Windows Protected Print Mode, then feel free to share your ideas in the comments section below!
You can also find us on Facebook, Twitter, YouTube, Instagram, Flipboard, and Pinterest.